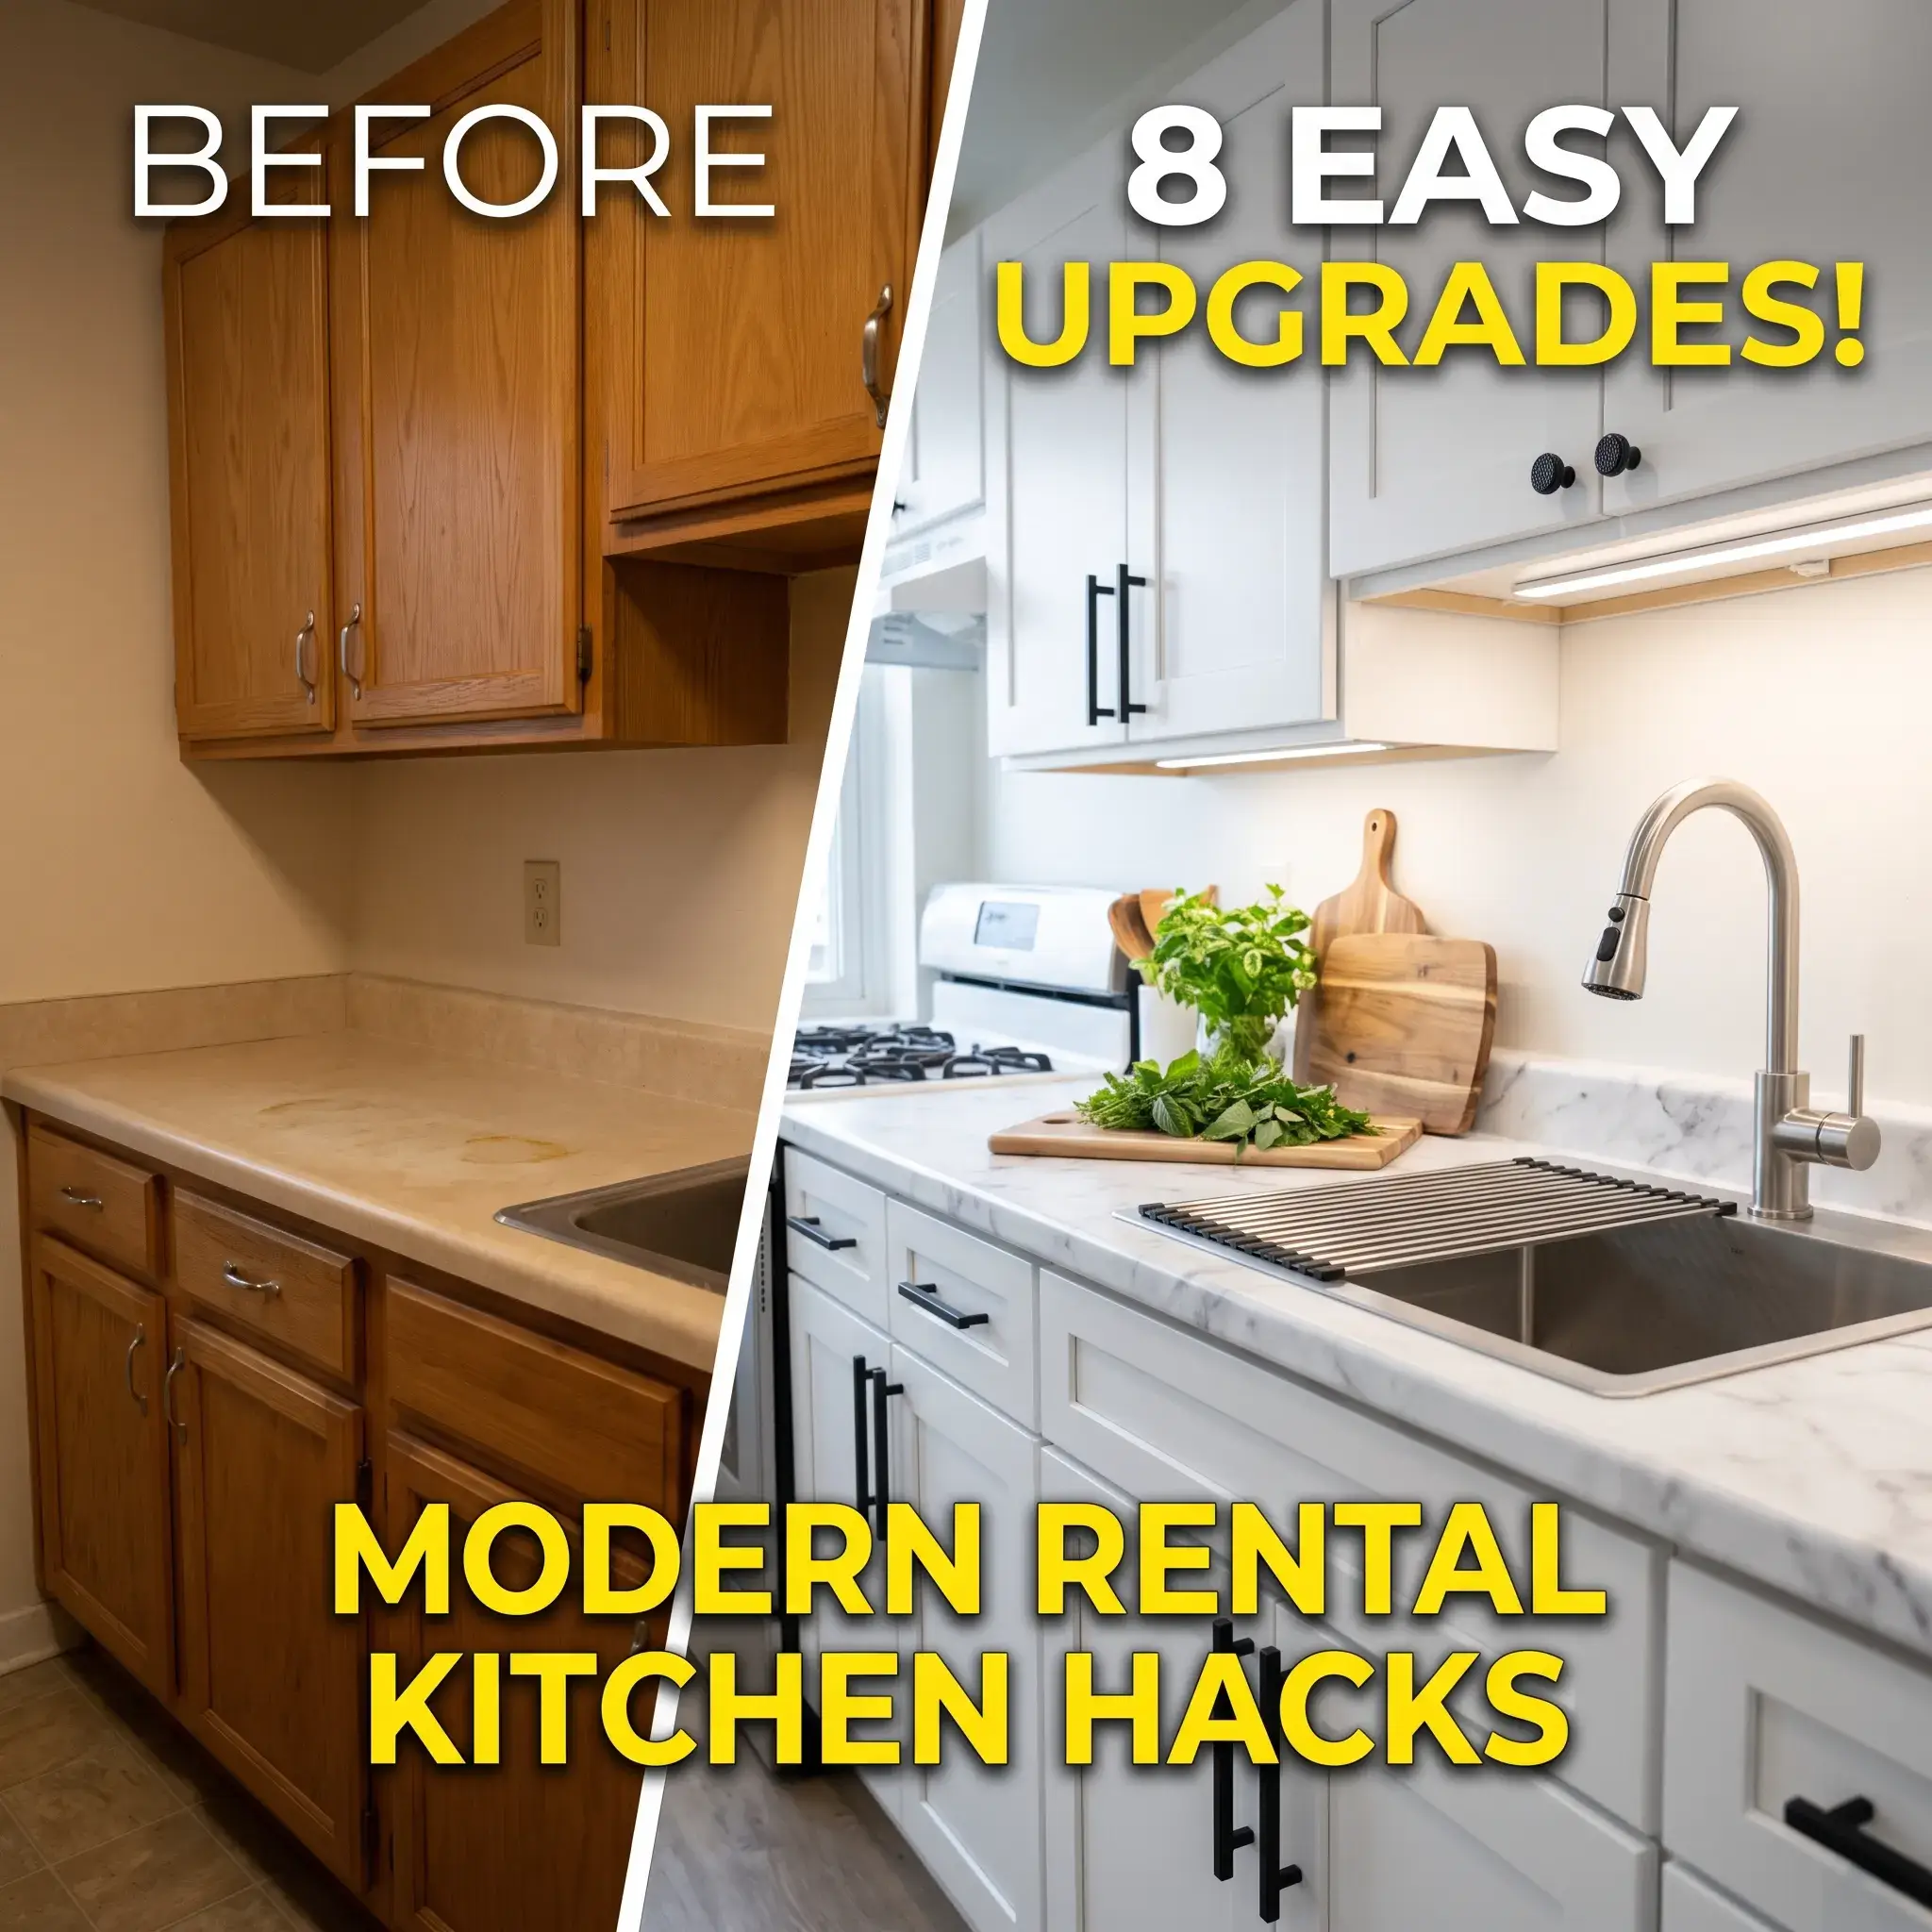
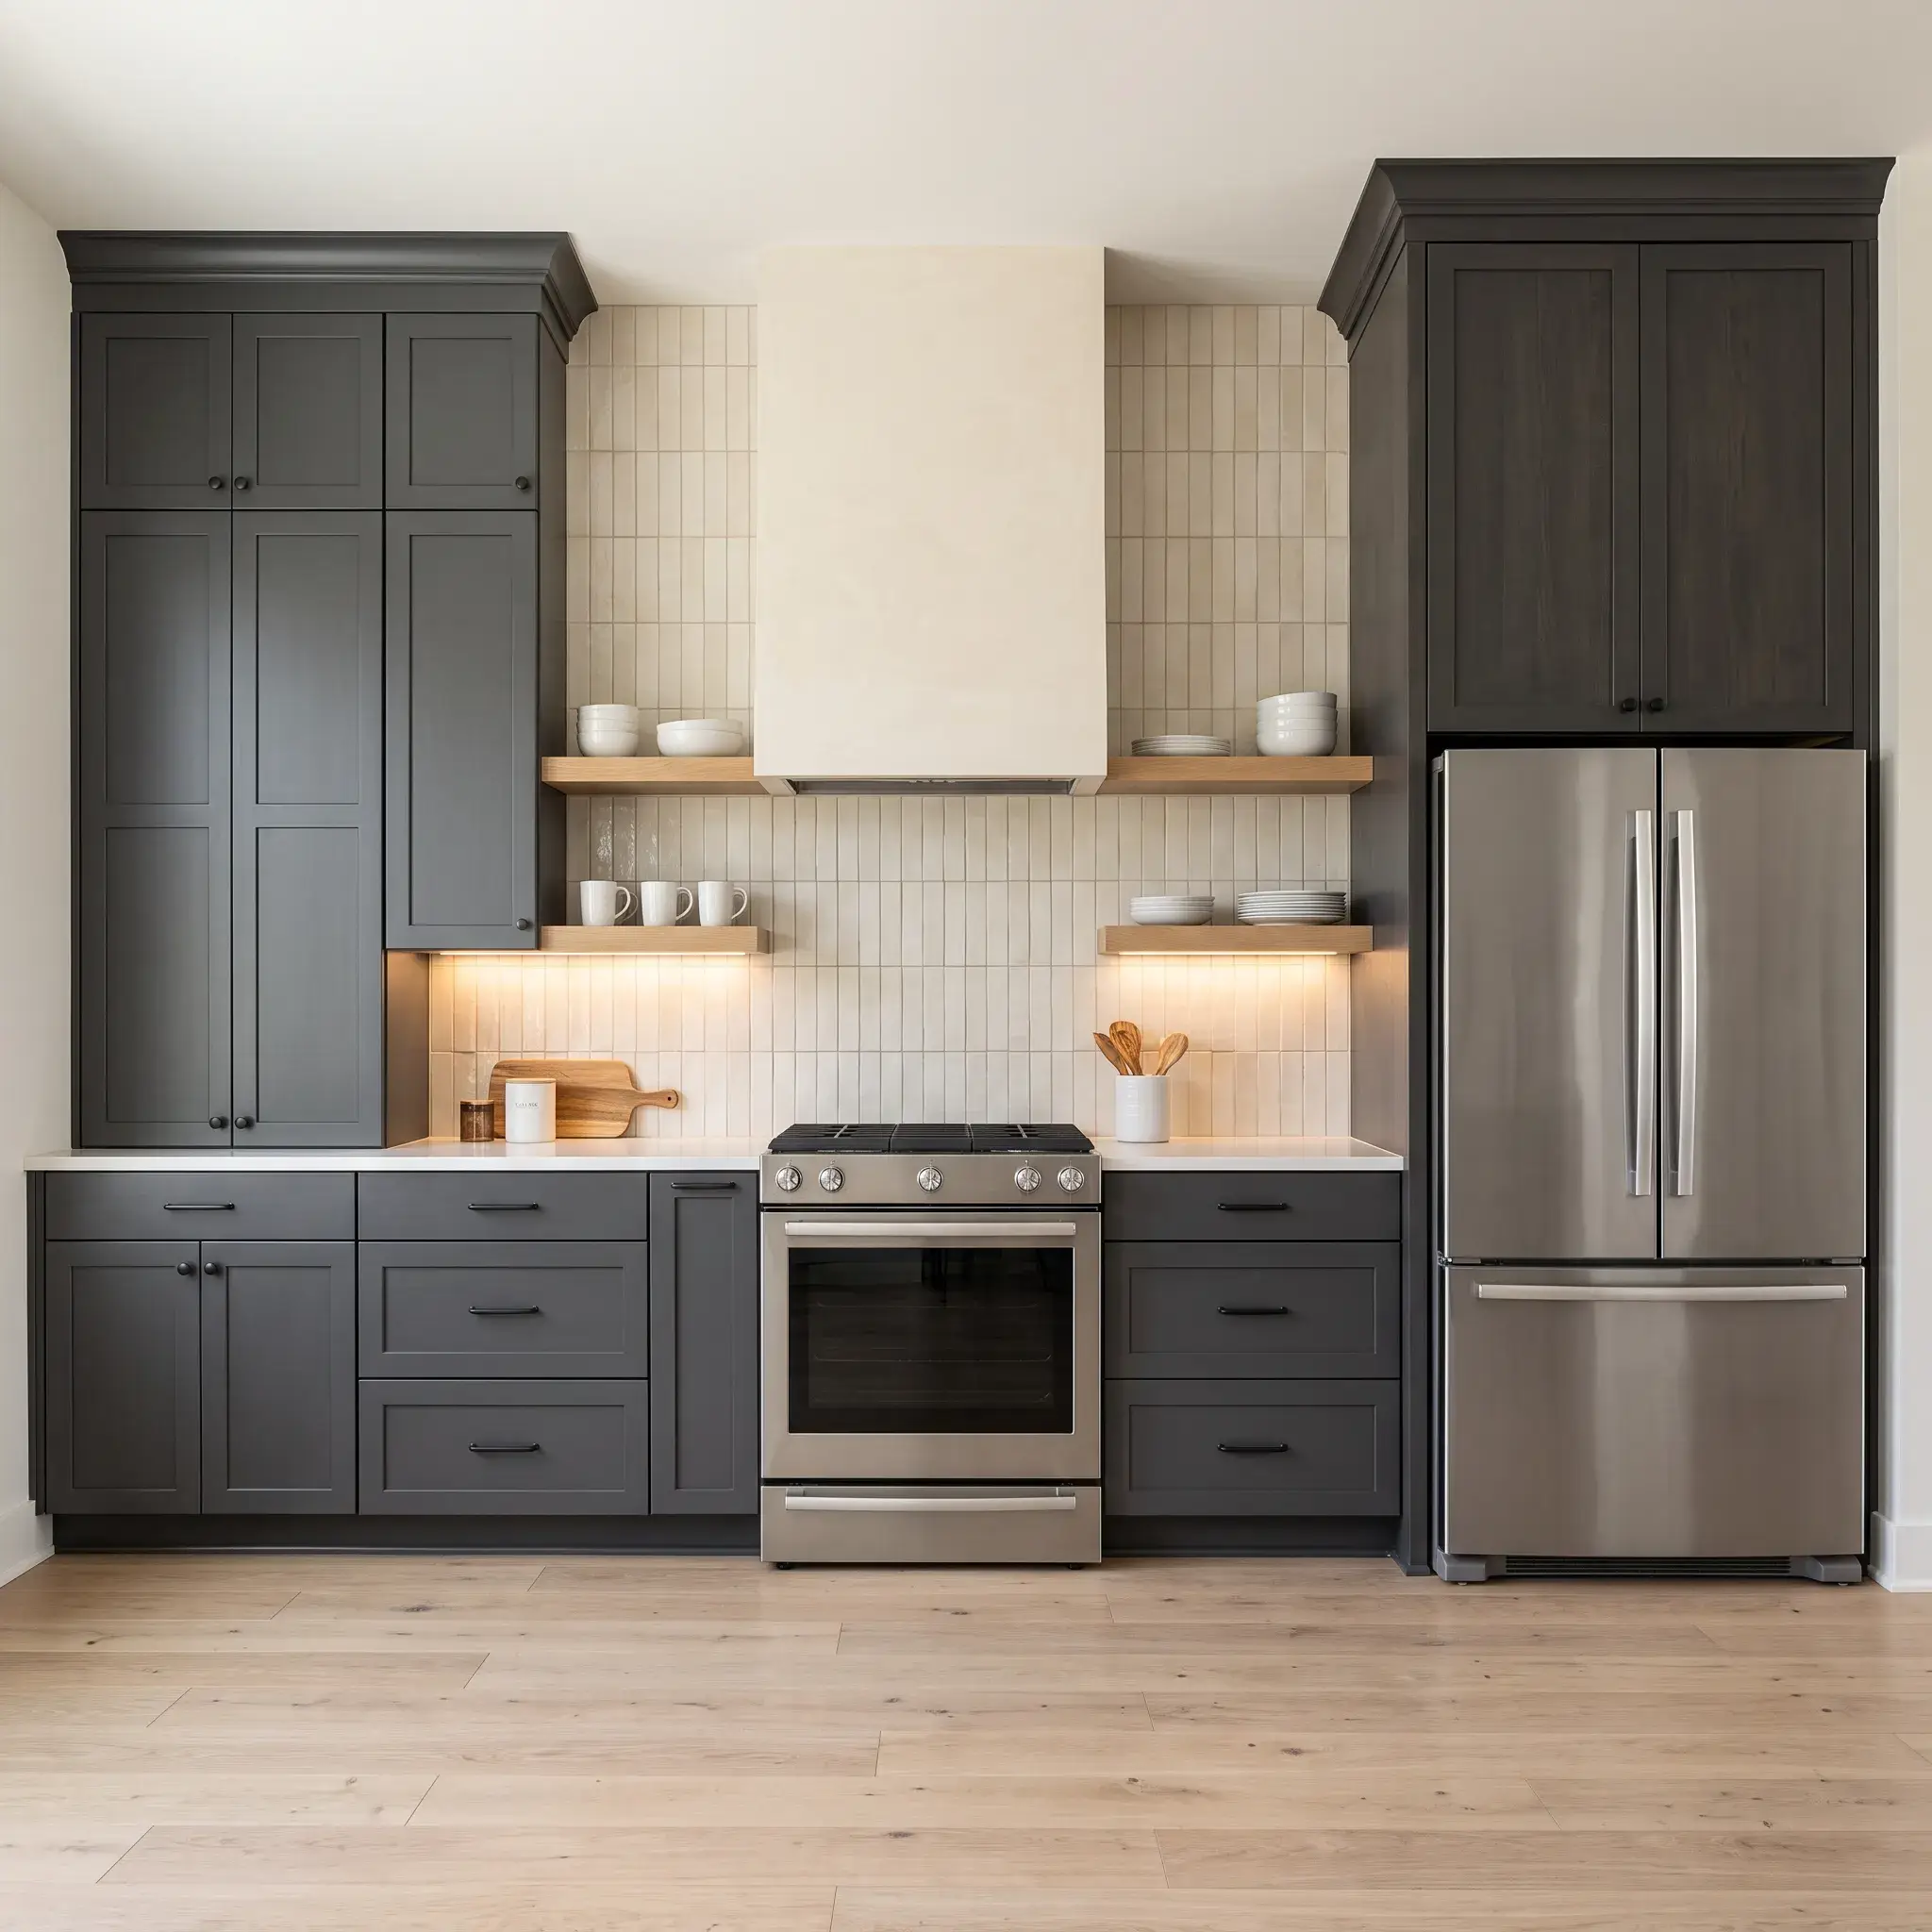
8 Practical One-Wall Kitchen Upgrades to Maximize Space and Storage
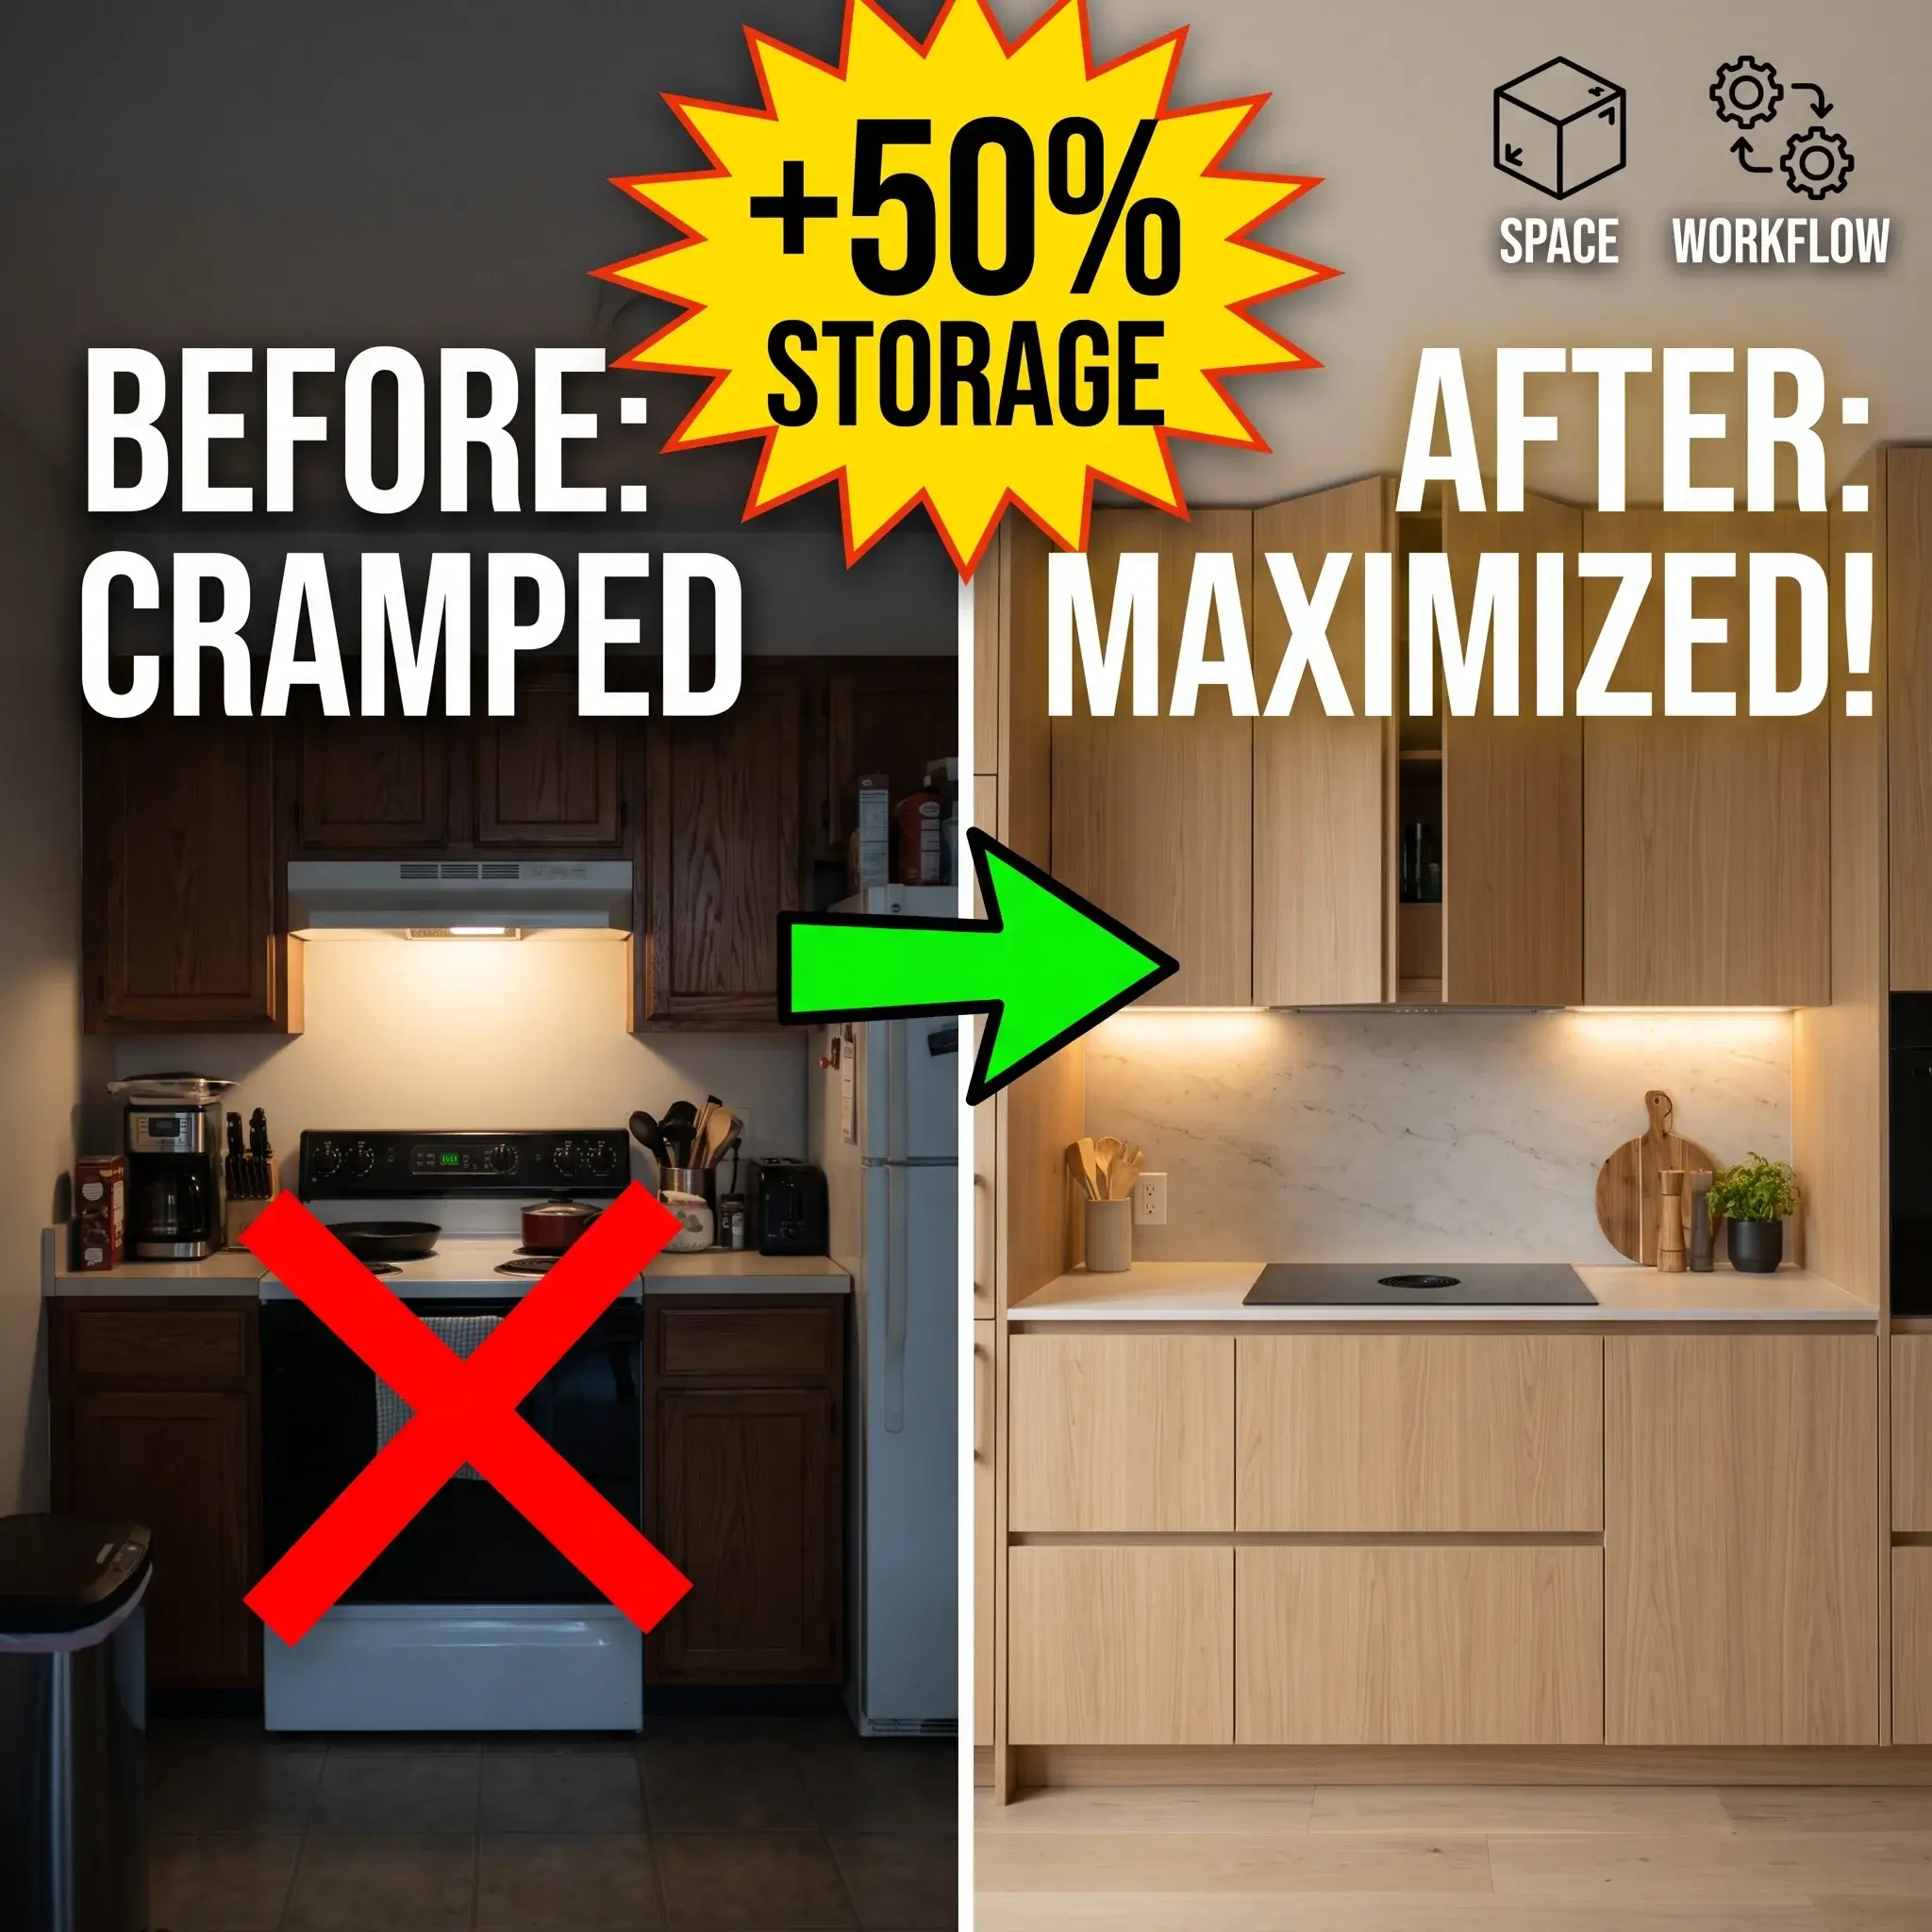
A single-wall kitchen places all cabinets, counters, and appliances along one wall. This setup is common in studio apartments, rental flats, and open-plan homes. While it frees up floor space, it often limits your meal prep surfaces and pantry storage.
You do not need to knock down walls to fix these problems. Applying linear layout principles, vertical cabinet joinery, and compact appliances can double your usable workspace.
Below are eight practical upgrade ideas built around exact kitchen dimensions, durable hardware, and functional layouts.
8 Practical One-Wall Kitchen Upgrade Ideas
1. Double-Tier Ceiling Cabinets with Upward Lift Doors
Standard upper cabinets stop 12 to 18 inches below the ceiling. This gap collects dust and wastes storage space. Extending custom or semi-custom cabinets straight to the ceiling recovers up to 35% more storage volume.
Divide this vertical run into two tiers. Place daily tableware in the lower tier within arm reach. Reserve the top tier for holiday platters and seasonal cookware.
Use upward bi-fold lift hardware such as the Blum AVENTOS HF instead of standard side-swing doors. Side-swing doors stick out into the walking path and can cause head injuries. Bi-fold panels fold upward and stay open safely while you work.
- Recommended Dimensions: 18 inches vertical clearance above counter; lower uppers 30 inches high; upper transom tier 15 to 18 inches high.
- Cabinet Depth: 12 to 14 inches to prevent head bumps during food preparation.
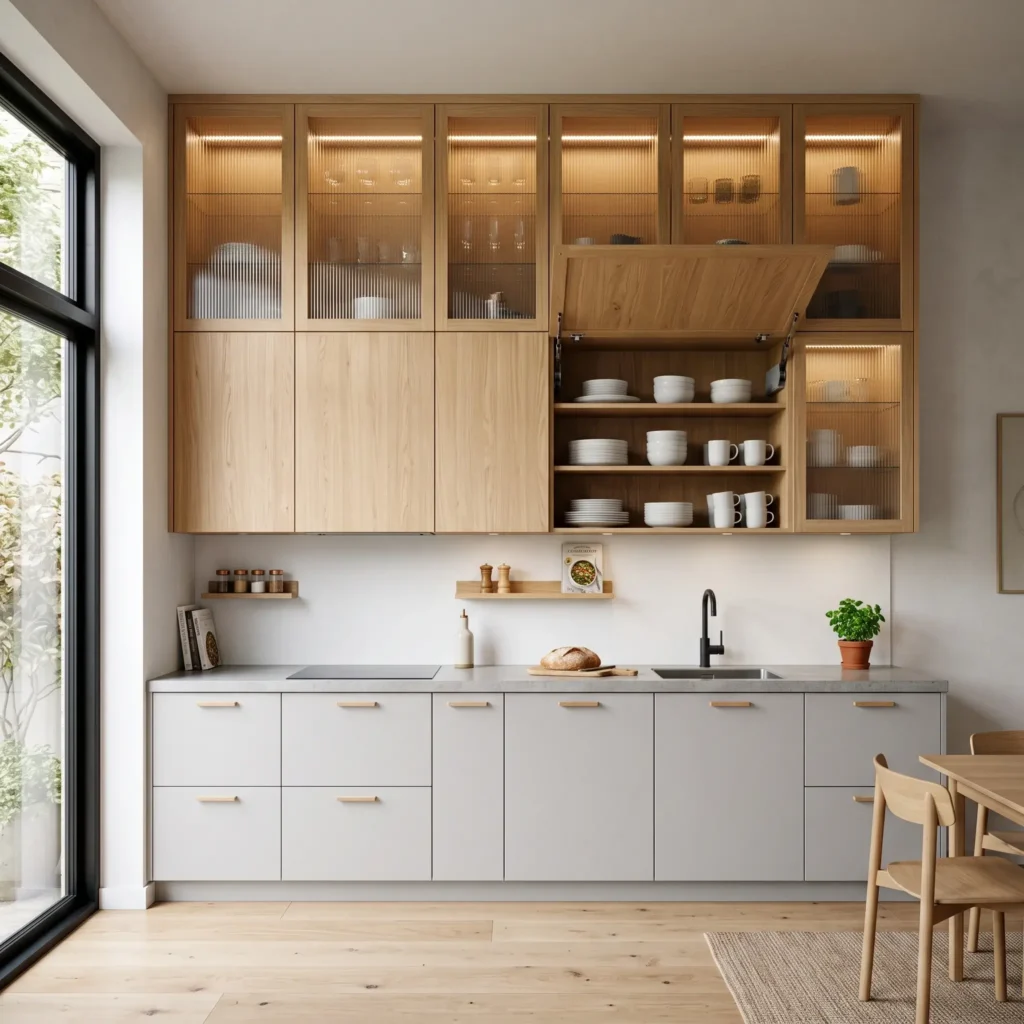
Products Used in This Setup
- Upper Cabinet Lift Mechanism: Blum AVENTOS HF bi-fold system
- Upper Transom Glass: Fluted reeded glass inserts in aluminum frames
- Cabinet Carcass: 3/4-inch marine-grade birch plywood with white oak veneer
- Interior Illumination: Hafele Loox5 recessed LED strip (3000K, 24V)
2. Flush-Mount Induction Cooktop with Continuous Stone Backsplash
Traditional gas cooktops have bulky cast-iron grates that take up permanent counter space. Replacing a gas range with a 24-inch flush-mount ceramic glass induction cooktop reclaims valuable horizontal work surface.
Induction uses magnetic energy to heat only the pan. The glass stays relatively cool and does not emit ambient room heat. When turned off, the smooth glass surface doubles as an extra landing zone for cutting boards or serving platters.
Pair this cooktop with a continuous slab backsplash made of engineered quartz or porcelain. Running the slab from the counter up to the bottom of the upper cabinets removes grout lines. This creates a smooth surface that wipes down quickly with a microfiber cloth.
- Recommended Dimensions: 24-inch wide, 3-zone or 4-zone cooktop centered in the cooking zone.
- Electrical Requirement: Dedicated 220V/240V, 30-amp or 40-amp branch circuit.
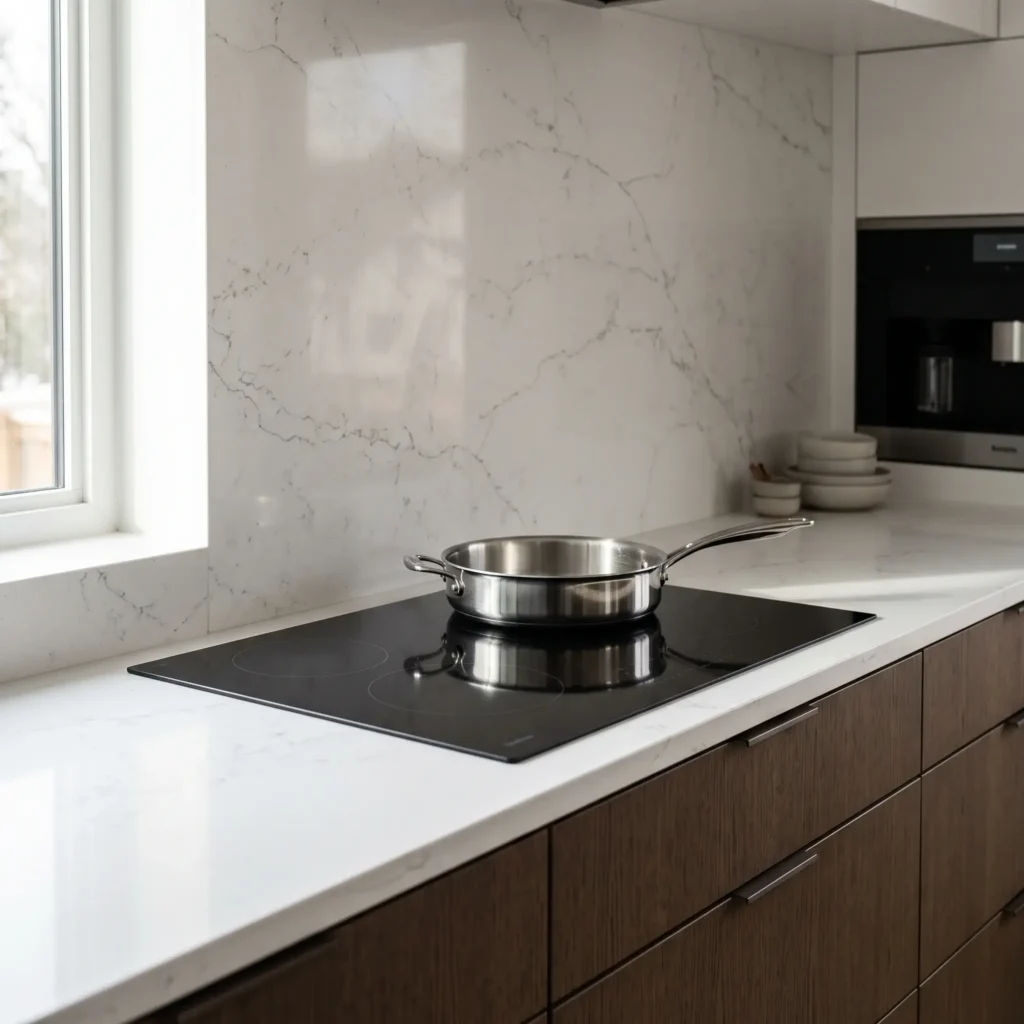
Products Used in This Setup
- Cooktop: Bosch 800 Series 24-inch frameless induction cooktop
- Backsplash & Countertop: 20mm Calacatta gold engineered quartz slab
- Cookware: Tri-ply stainless steel induction-ready saute pan
- Cleaning Access: Undermount silicone edge seal for flush counter drop-in
Check out more Renter-Friendly Ideas
3. Integrated Workstation Sink with Offset Drain
A standard sink cutout consumes 30 to 33 inches of counter run. In an 8-foot or 10-foot linear kitchen, losing that much counter creates a prep bottleneck.
An integrated single-bowl workstation sink solves this issue. Built with dual interior perimeter ledges, it supports accessories that sit flush over the sink basin. A sliding solid walnut cutting board, a stainless colander, and a roll-up drying rack fit directly over the basin. You can wash, chop, and strain directly over the sink without using any counter space.
Select a workstation sink with a rear-corner offset drain. Standard center drains drop the plumbing P-trap right into the middle of the base cabinet. A rear-corner drain routes pipes against the back wall, clearing space underneath for a double pull-out trash and recycling bin.
- Recommended Dimensions: 30 to 32 inches wide, 16-gauge stainless steel or composite granite, 9 inches deep.
- Base Clearance: 33-inch or 36-inch sink base cabinet carcass.
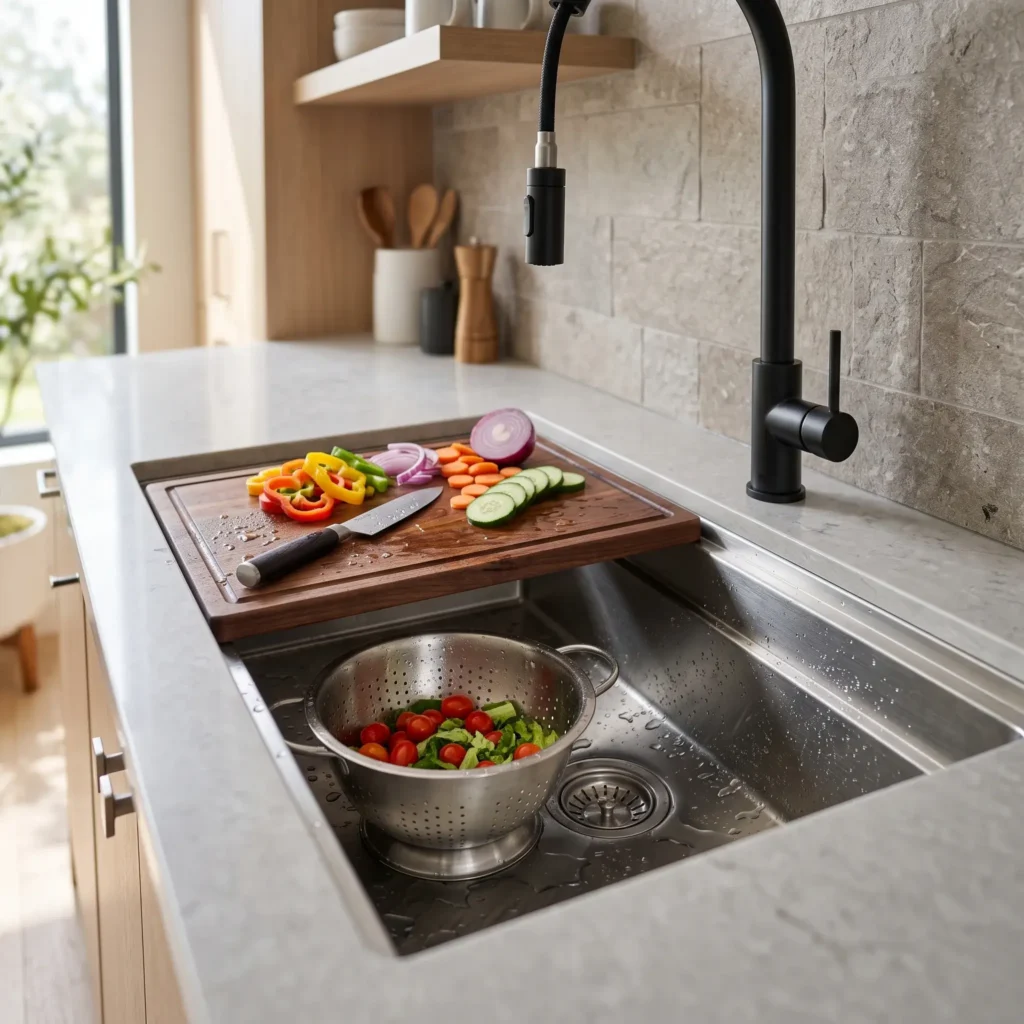
Products Used in This Setup
- Sink: Ruvati 32-inch Workstation Undermount Single Bowl (RVH8300)
- Sliding Accessories: Solid walnut prep board and perforated stainless colander
- Faucet: Kohler Purist pull-down faucet with semi-professional spray head
- Waste Organization: Rev-A-Shelf double 35-quart pull-out waste container
4. Recessed Aluminum Gola Profile Handleless Cabinets
In narrow rooms and open apartments, cabinet knobs and bar pulls create physical obstacles. They catch on loose clothing, bump into hips in tight 36-inch aisles, and create visual clutter.
True handleless joinery uses extruded aluminum Gola profile rails mounted directly into notches cut into the cabinet carcass. An L-shaped Gola rail fits under the countertop edge to provide a finger grip for the top drawers. A C-shaped Gola rail sits between the upper and lower base drawers, giving easy pull access to both panels.
This profile rail setup is stronger than routed J-pull doors, which tend to chip at their top MDF edges. It also prevents the grease smudges and accidental openings common with push-to-open magnetic latches.
- Clearance Gain: Eliminates 1 to 1.5 inches of hardware projection along the entire walkway.
- Profile Finishes: Anodized matte black, brushed aluminum, or powder-coated white.
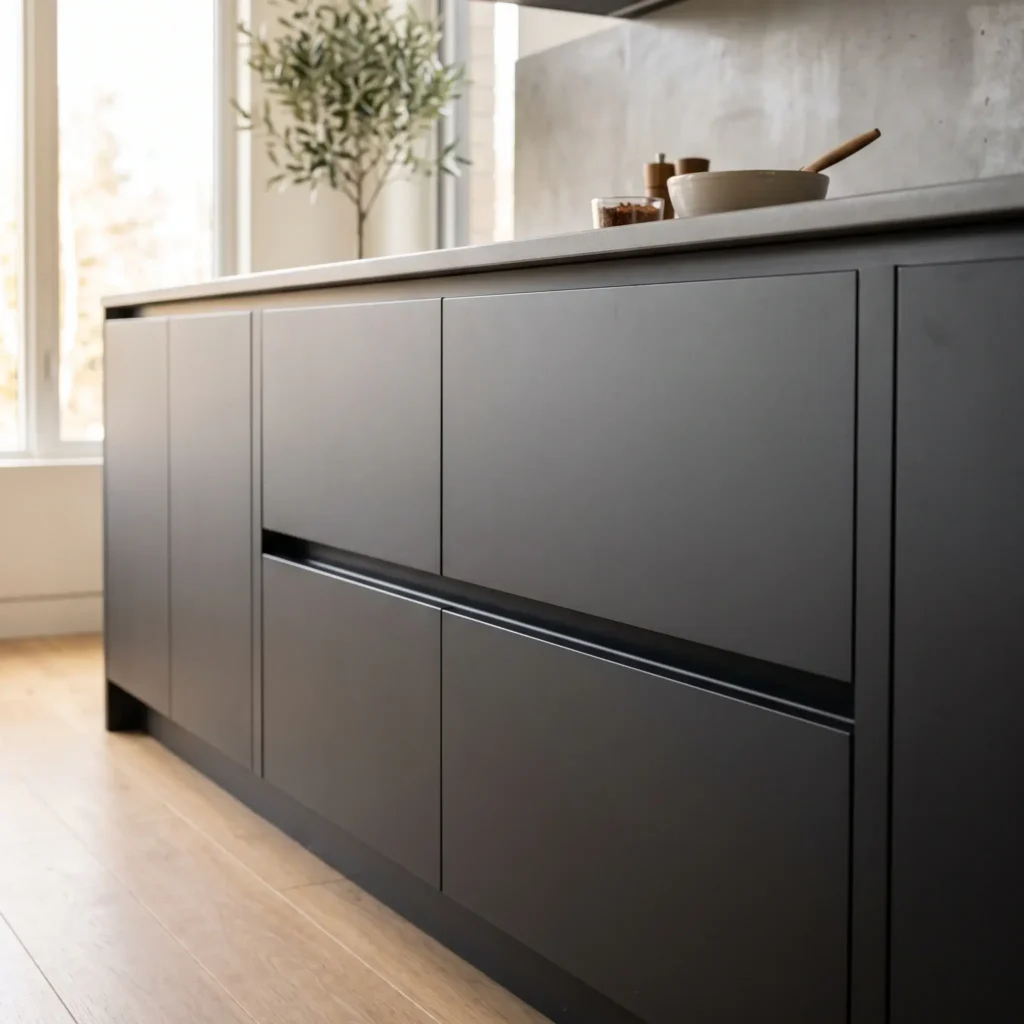
Products Used in This Setup
- Rail Profiles: Hafele Gola horizontal L-profile and C-profile channels
- Drawer Glides: Blum TANDEMBOX antaro full-extension soft-close runners
- Door Panels: PerfectSense matte anti-fingerprint lacquered panels
- Structural Support: Carcass-mounted aluminum rail corner brackets
5. Concealed Telescoping Countertop Extensions
When your wall run is under 9 feet, fitting a full prep surface between the sink and cooktop is difficult. You can add extra countertop space using hidden pull-out hardware integrated behind a drawer front.
Hardware systems like the Hafele Opla Top pull out horizontally from a standard base drawer cavity. When pulled out, the hardware lifts the auxiliary surface so it sits completely flush with your main countertop. When meal prep is complete, the surface folds down and slides back inside the cabinet behind a matching drawer face.
This hardware supports up to 88 pounds, making it strong enough for food processors, mixing bowls, and bread kneading.
- Extension Dimensions: Adds 16 to 35 inches of temporary counter depth.
- Cabinet Envelope: Fits standard 24-inch or 36-inch base cabinet widths without altering external cabinetry lines.
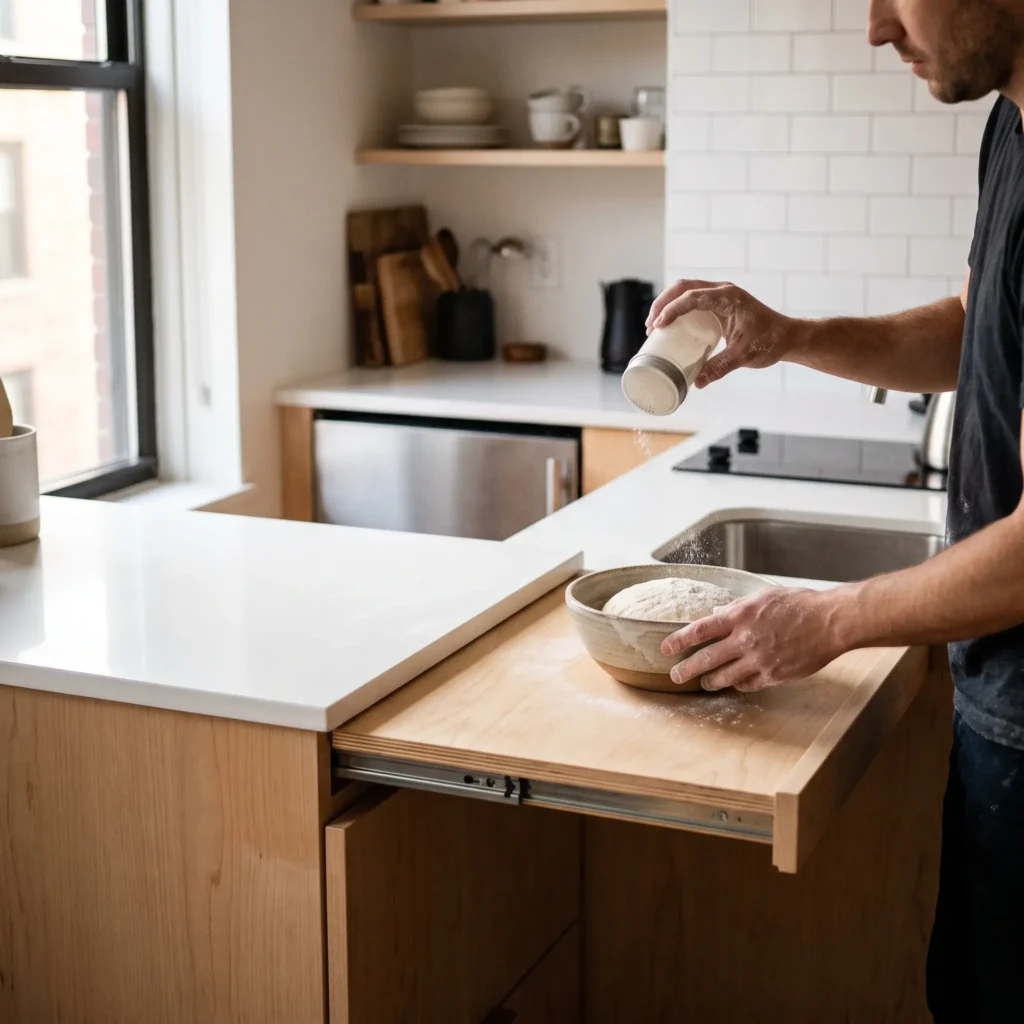
Products Used in This Setup
- Extension System: Hafele Opla Top pull-out worktop mechanism
- Surface Insert: Matching 3/4-inch solid surface or butcher block panel
- Cabinet Face: Hinged drop-down faux drawer front with magnetic stops
- Hardware Construction: Anodized aluminum telescoping runner tracks
6. Plinth Step-Drawers for Safe High-Tier Storage
Taking cabinets straight to a 9-foot ceiling maximizes vertical storage, but reaching upper shelves can be difficult. Storing a bulky aluminum step ladder in a small apartment takes up valuable closet space.
Plinth step systems, such as the Blum SPACE STEP, turn the empty 4-inch base cavity beneath your lower cabinets into a fold-out step platform. The top of the kickboard steps down on concealed spring mechanisms to grip the floor securely, holding up to 330 pounds (150 kilograms).
Underneath the step surface, a low-profile pull-out drawer glides out on soft-close runners. This bottom drawer provides safe storage for flat baking trays, wire cooling racks, and cutting boards.
- Step Height: Provides an 8- to 10-inch boost, allowing someone of average height to reach a 96-inch top shelf easily.
- Plinth Dimensions: Fits standard toe-kick heights between 4 and 6 inches.
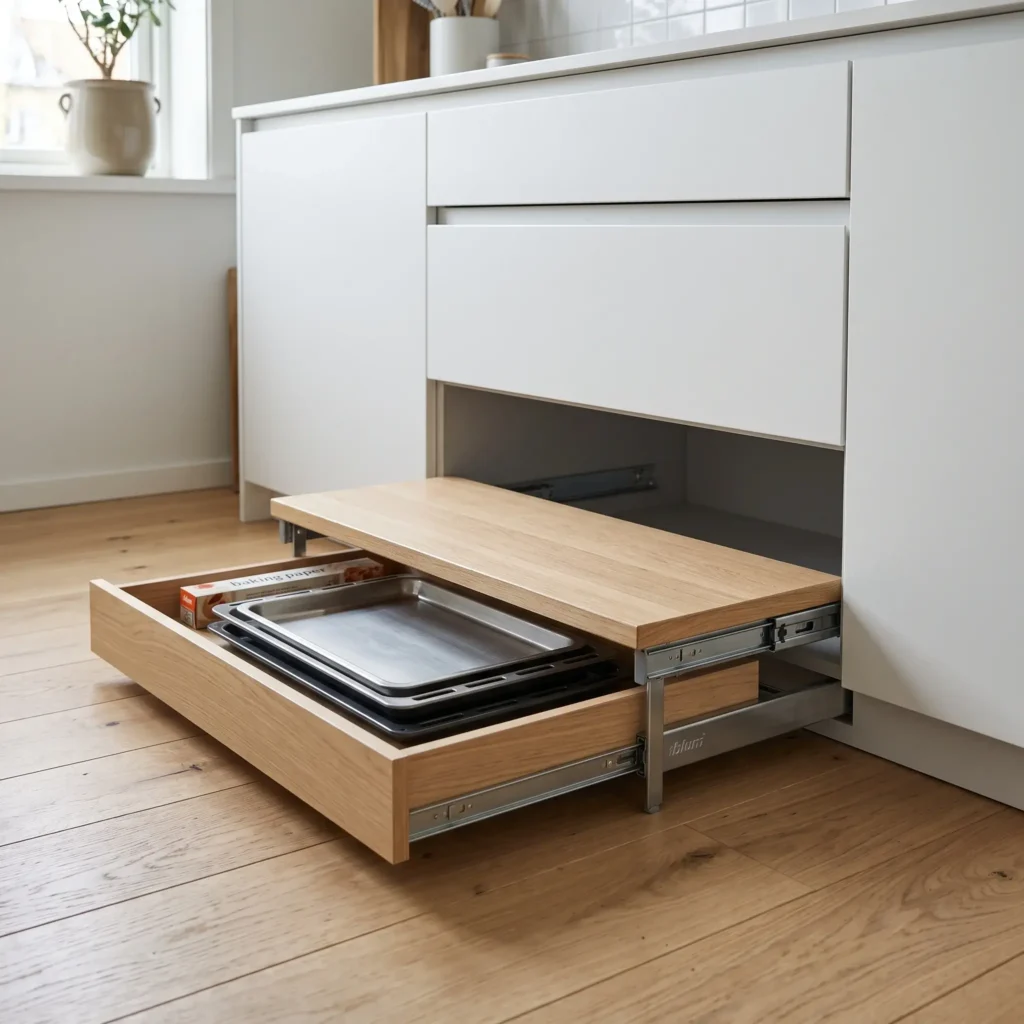
Products Used in This Setup
- Plinth Hardware: Blum SPACE STEP mechanism with motion technology
- Drawer Runners: Blum MOVENTO concealed runners with soft-close BLUMOTION
- Step Platform: 3/4-inch anti-slip hardwood plywood core
- Low-Profile Storage: Custom baking sheet dividers inside the lower plinth cavity
7. Panel-Ready 24-Inch Slimline European Appliances
Standard North American appliances consume 90 linear inches of counter run (36-inch fridge, 30-inch stove, 24-inch dishwasher). In an 8- to 10-foot single-wall layout, standard appliances leave almost no counter space for cooking.
Switching to 24-inch European slimline modular appliances reclaims 18 to 24 inches of continuous counter run. Panel-ready models allow custom cabinet fronts to mount directly to the doors of your refrigerator and dishwasher.
This creates a cohesive look across the entire wall. Instead of seeing large stainless steel doors from your dining table or sofa, your kitchen blends into the surrounding living room joinery.
- Refrigeration: 24-inch wide counter-depth bottom-freezer unit sitting flush with 24-inch base cabinets.
- Dishwashing: 18-inch panel-ready dishwasher holding up to 10 international place settings.
- Cooking: 24-inch combination microwave and convection steam speed-oven mounted in a tall wall column.
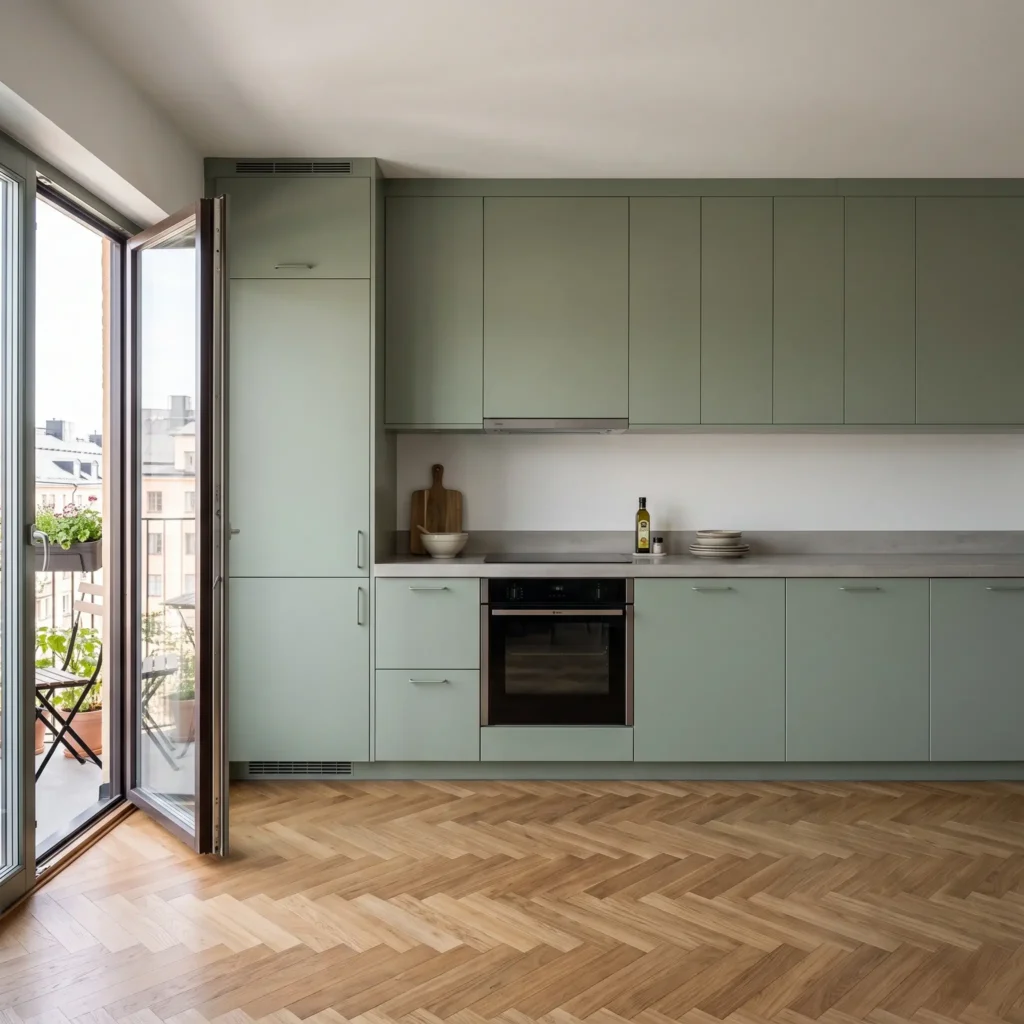
Products Used in This Setup
- Refrigerator: Fisher & Paykel Series 7 24-inch Integrated Refrigerator (RS2484SRK1)
- Dishwasher: Bosch 800 Series 18-inch Custom Panel Dishwasher (SPV68B53UC)
- Speed Oven: Miele 24-inch ContourLine Combination Speed Oven
- Cabinet Hardware: Heavy-duty commercial appliance pull hinges
8. Recessed Appliance Garage with Bi-Fold Pocket Doors
Leaving small appliances on the counter takes away prep space and makes a one-wall kitchen look cluttered from the living room.
An appliance garage set directly on the countertop solves this problem. Use lateral bi-fold pocket doors that slide back into side pockets inside the cabinet carcass. This allows the doors to stay open during morning breakfast prep without blocking counter space or foot traffic.
Equip the inside of the garage with a dedicated 20-amp electrical power strip and 3000K LED task lighting. Your coffee grinder, espresso machine, and toaster stay plugged in, ready to use, and completely hidden from view when closed.
- Interior Depth: 18 to 20 inches deep to fit premium home espresso machines.
- Hardware System: Salice Concertina or Hawa Concepta folding pocket-door gear.
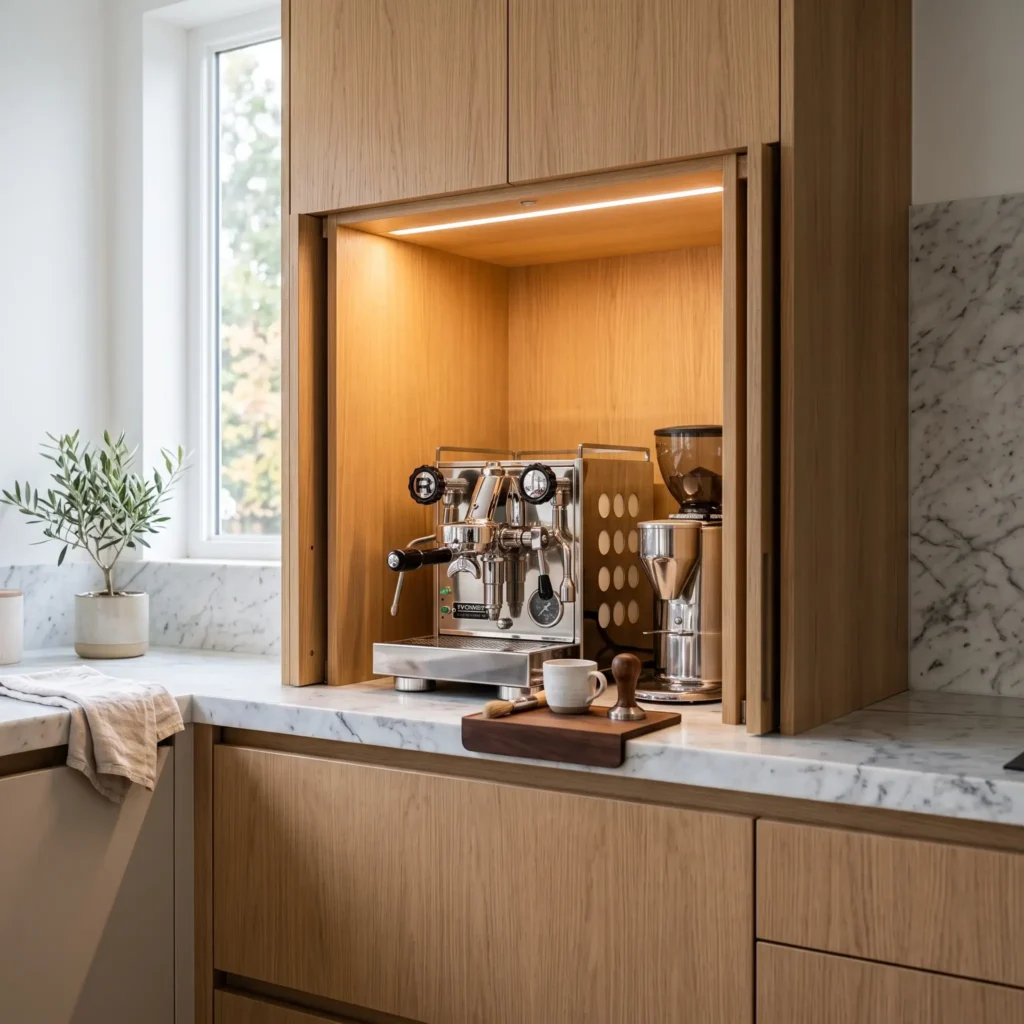
Products Used in This Setup
- Pocket Door Hardware: Hawa Concepta 25/30 lateral sliding pocket door system
- Power Supply: Legrand Adorne 4-gang pop-out tamper-resistant outlet strip
- Shelving Material: Natural rift-cut white oak interior lining
- Pull Tray: Heavy-duty 100-pound lock-out appliance slide shelf
The Linear Workflow: Ditching the Work Triangle
Traditional residential kitchens rely on the NKBA work triangle. This model connects the refrigerator, sink, and cooktop across three points on different walls.
On a single wall, that triangle collapses into a straight line. Forcing triangular movement patterns along a single line creates bottlenecks, causing cooks to backtrack and bump into family members.
A professional single-wall layout uses a unidirectional flow modeled after commercial culinary lines. Follow this exact sequence from left to right, or right to left:
- Cold Storage Zone: Position the refrigerator at the outer end of the wall. This placement lets family members grab drinks or snacks without walking through your cooking zone.
- Wet Cleaning Zone: Place the sink base cabinet next, separated from the refrigerator by a 15- to 18-inch drop counter. This segment holds groceries as they come out of the fridge.
- Primary Prep Zone: Maintain a continuous 36-inch counter between the sink and the cooktop. This is your main workspace for chopping, peeling, and assembling food.
- Thermal Cooking Zone: Place your cooktop or range after the primary prep space.
- Hot Landing Zone: Finish the far end of the counter with a 12- to 15-inch heat-safe surface. This provides an emergency resting spot for hot pans coming off the heat, keeping hot cookware away from the main walkway.
NKBA Dimension and Clearance Standards for Single-Wall Kitchens
Follow these standards from the National Kitchen & Bath Association (NKBA) to keep your linear kitchen functional and code-compliant:
| Kitchen Zone / Element | NKBA Clearance Standard | Practical Purpose |
| Primary Prep Surface | Minimum 36 inches wide by 24 inches deep | Provides uninterrupted counter space between sink and cooktop for safe food prep. |
| Clean-Up / Prep Sink | Minimum 24 inches on one side, 18 inches on the other | Separates dirty dishes waiting to be washed from clean, drying dishware. |
| Cooktop Landing Zone | Minimum 12 inches on one side, 15 inches on the other | Keeps pan handles from sticking out into walkways; provides a heat-safe landing area. |
| Refrigerator Landing | Minimum 15 inches on the latch side | Gives you a place to set down groceries without blocking the room walkway. |
| Work Aisle Width | Minimum 42 inches for single cook; 48 inches for two cooks | Keeps room walkways clear when oven or dishwasher doors are fully open. |
| Upper Cabinet Height | Standard 18 inches vertical space above countertop | Provides enough vertical room for countertop appliances while keeping upper shelves reachable. |
Photometric Lighting Standards: The 3-Tier Layered System
Relying on a single ceiling fixture creates heavy shadows. When you stand at the counter, your body blocks overhead light, casting shadows directly across your cutting board.
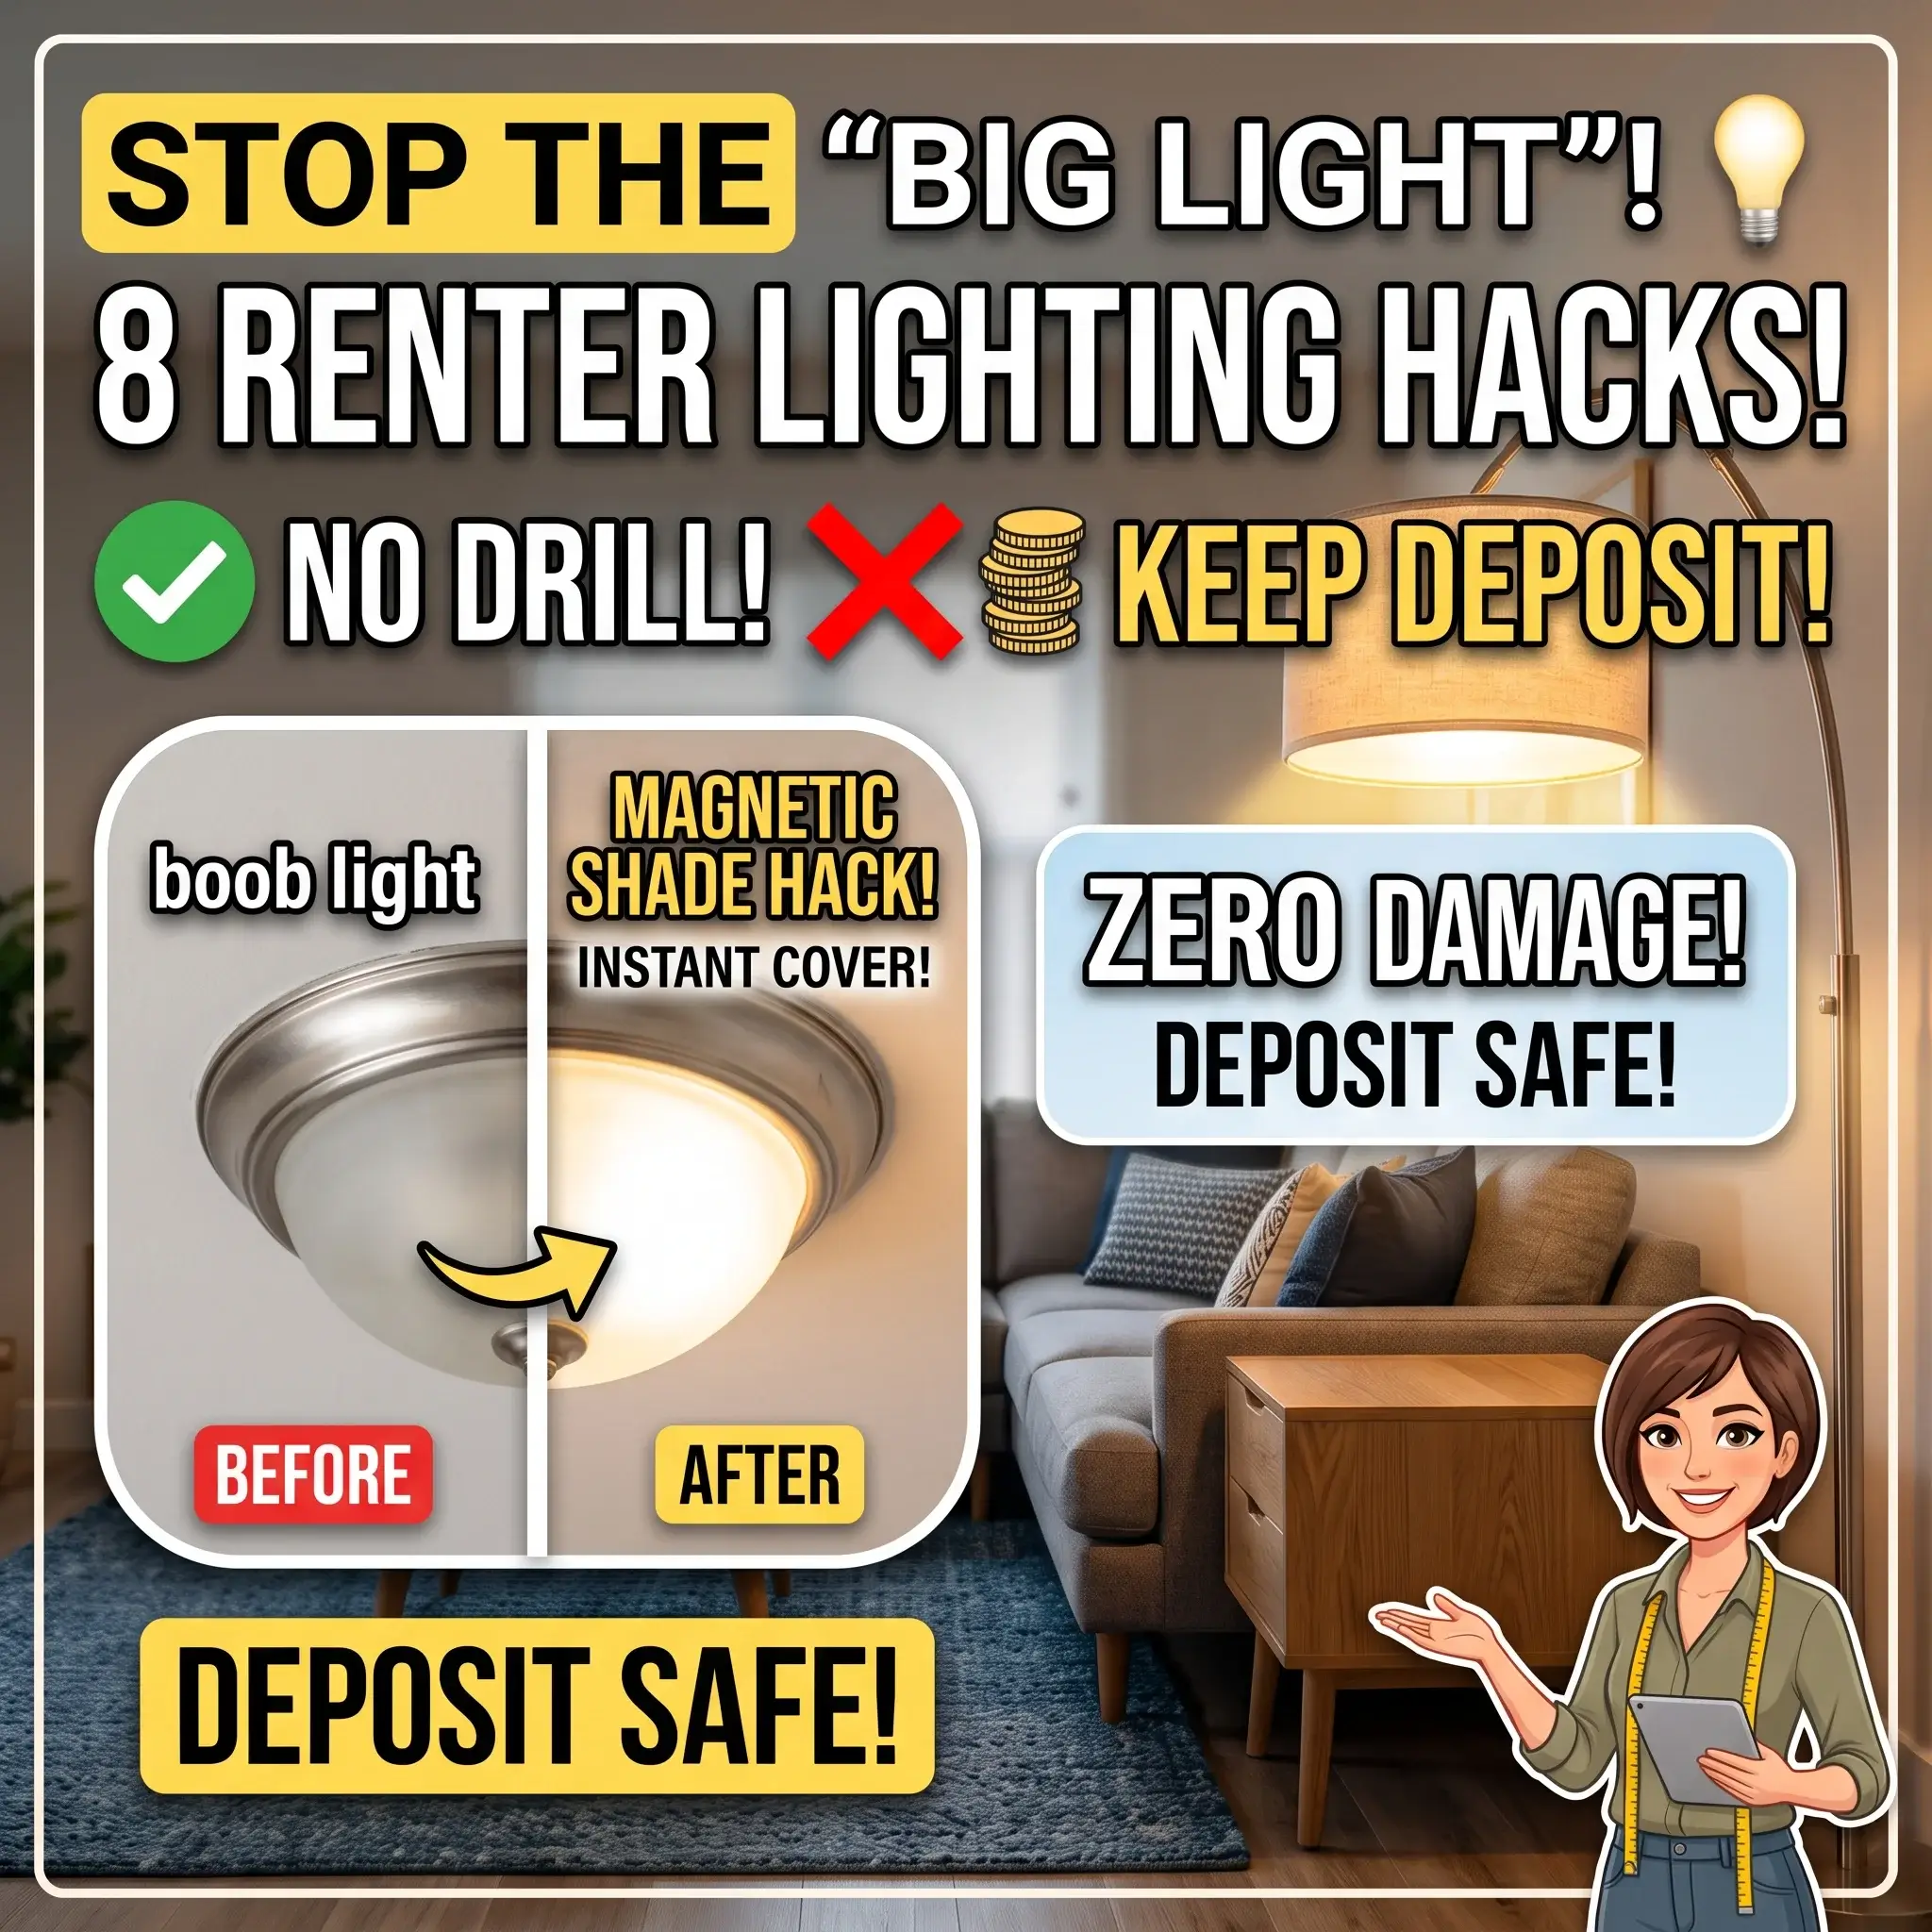
Use this three-tier lighting setup to create a bright, functional workspace:
- Under-Cabinet Task Lighting: Mount continuous commercial-grade LED tape inside an extruded aluminum channel with a 45-degree frosted acrylic diffuser lens. Fasten the channel along the front bottom lip of the upper cabinet, pointing inward toward the backsplash. This positioning prevents glare on glossy counters and stops shadows over your food. Choose 3000K warm-white light with a Color Rendering Index (CRI) of 90 or higher to show food colors accurately. Deliver between 30 and 50 foot-candles of light across the countertop plane.
- Perimeter Ceiling Downlights: Place recessed ceiling downlights 24 to 26 inches away from the wall, aligning them directly with the front edge of your countertop. This projects light straight down onto your prep surfaces instead of behind your back.
- Upper Plinth and Uplighting: Install soft LED accent strips on top of upper ceiling-height cabinets. Bouncing light off the ceiling softens room contrast, eliminates dark corners, and makes compact rooms feel taller.
Single-Wall Kitchen Renovation Investment Tiers
| Upgrade Tier | Estimated Budget | Project Scope | Trades Required | Expected Spatial Gain |
|---|---|---|---|---|
| Tier 1: Surface Refresh | $800 to $3,000 | Paint cabinet fronts, add low-profile edge pulls, install plug-in 3000K under-cabinet task LEDs, and add an over-sink cutting board. | DIY homeowner, finish carpenter | Freshens the look and clears counter clutter without changing plumbing or electrical lines. |
| Tier 2: Functional Retrofit | $5,000 to $18,000 | Install a 32-inch workstation sink, replace counters with quartz slabs, add Blum pull-out drawer organizers, and hardwire recessed lighting. | Plumber, electrician, stone fabricator | Reclaims prep space over the sink basin and adds heavy-duty drawer storage. |
| Tier 3: Architectural Rebuild | $25,000 to $60,000+ | Install custom floor-to-ceiling cabinets with AVENTOS lift doors, Gola profile rails, Blum SPACE STEP plinths, and 24-inch panel-ready European appliances. | General contractor, cabinetmaker, electrician, plumber | Maximizes vertical ceiling storage, hides appliances, and creates a streamlined layout. |
Planning Your Single-Wall Kitchen Upgrade
A single-wall kitchen does not need to feel crowded or hard to work in. Moving away from standard swinging doors, bulky appliances, and disorganized countertops makes a dramatic difference.
Start by auditing your daily workflow. Choose an integrated workstation sink to expand your prep surface, extend upper cabinets to the ceiling with lift-up hardware, and select 24-inch modular appliances. These changes will turn your linear kitchen into a clean, highly functional culinary workspace that fits your home.
Frequently Asked Questions
What is the absolute minimum length for a functional one-wall kitchen?
The absolute minimum practical length is 8 feet (96 inches). An 8-foot run fits a 24-inch refrigerator, a 24-inch sink base, and a 24-inch cooktop, leaving 24 inches for a central prep zone. If your space allows, a 10-foot or 12-foot wall is much better. It provides the full 36 inches of continuous prep counter recommended by the NKBA, plus landing space on both ends.
Can you add an island to a single-wall kitchen?
Yes, if your room maintains proper walkway clearances. You need at least 42 inches of open floor space between your kitchen counter and the island edge. This allows you to stand comfortably in front of an open oven or dishwasher door. If your room width is under 11 feet, choose a 24-by-48-inch mobile prep cart on locking wheels instead of a fixed island. You can roll it against a side wall when entertaining guests to reopen the room.
Where should the refrigerator go in a one-wall kitchen layout?
Always place the refrigerator at one of the outer ends of the wall run. Placing the refrigerator in the center cuts your countertop in two and creates an awkward barrier between the sink and stove. Setting it on the outer edge also lets family members grab food and drinks without stepping into the cook’s prep path.
How do you arrange appliances on a single wall?
Follow the linear ingredient path: Refrigerator on the outer edge, followed by a landing zone, the sink, your main prep counter, the cooktop, and a final hot-pan landing surface. Placing the sink between the refrigerator and cooktop creates an efficient, natural flow from fresh storage to cleaning, chopping, and cooking.
How do I get more counter space without remodeling?
Replace your standard sink with a drop-in workstation sink that features sliding accessories. A sliding cutting board placed over the sink basin adds 2 to 3 feet of functional prep space immediately. You can also cover an unpowered, cool induction or electric cooktop with a silicone prep mat to use it as a flat assembly area.