9 Renter-Friendly Bedroom Decor Pieces That Make the Room Feel Finished
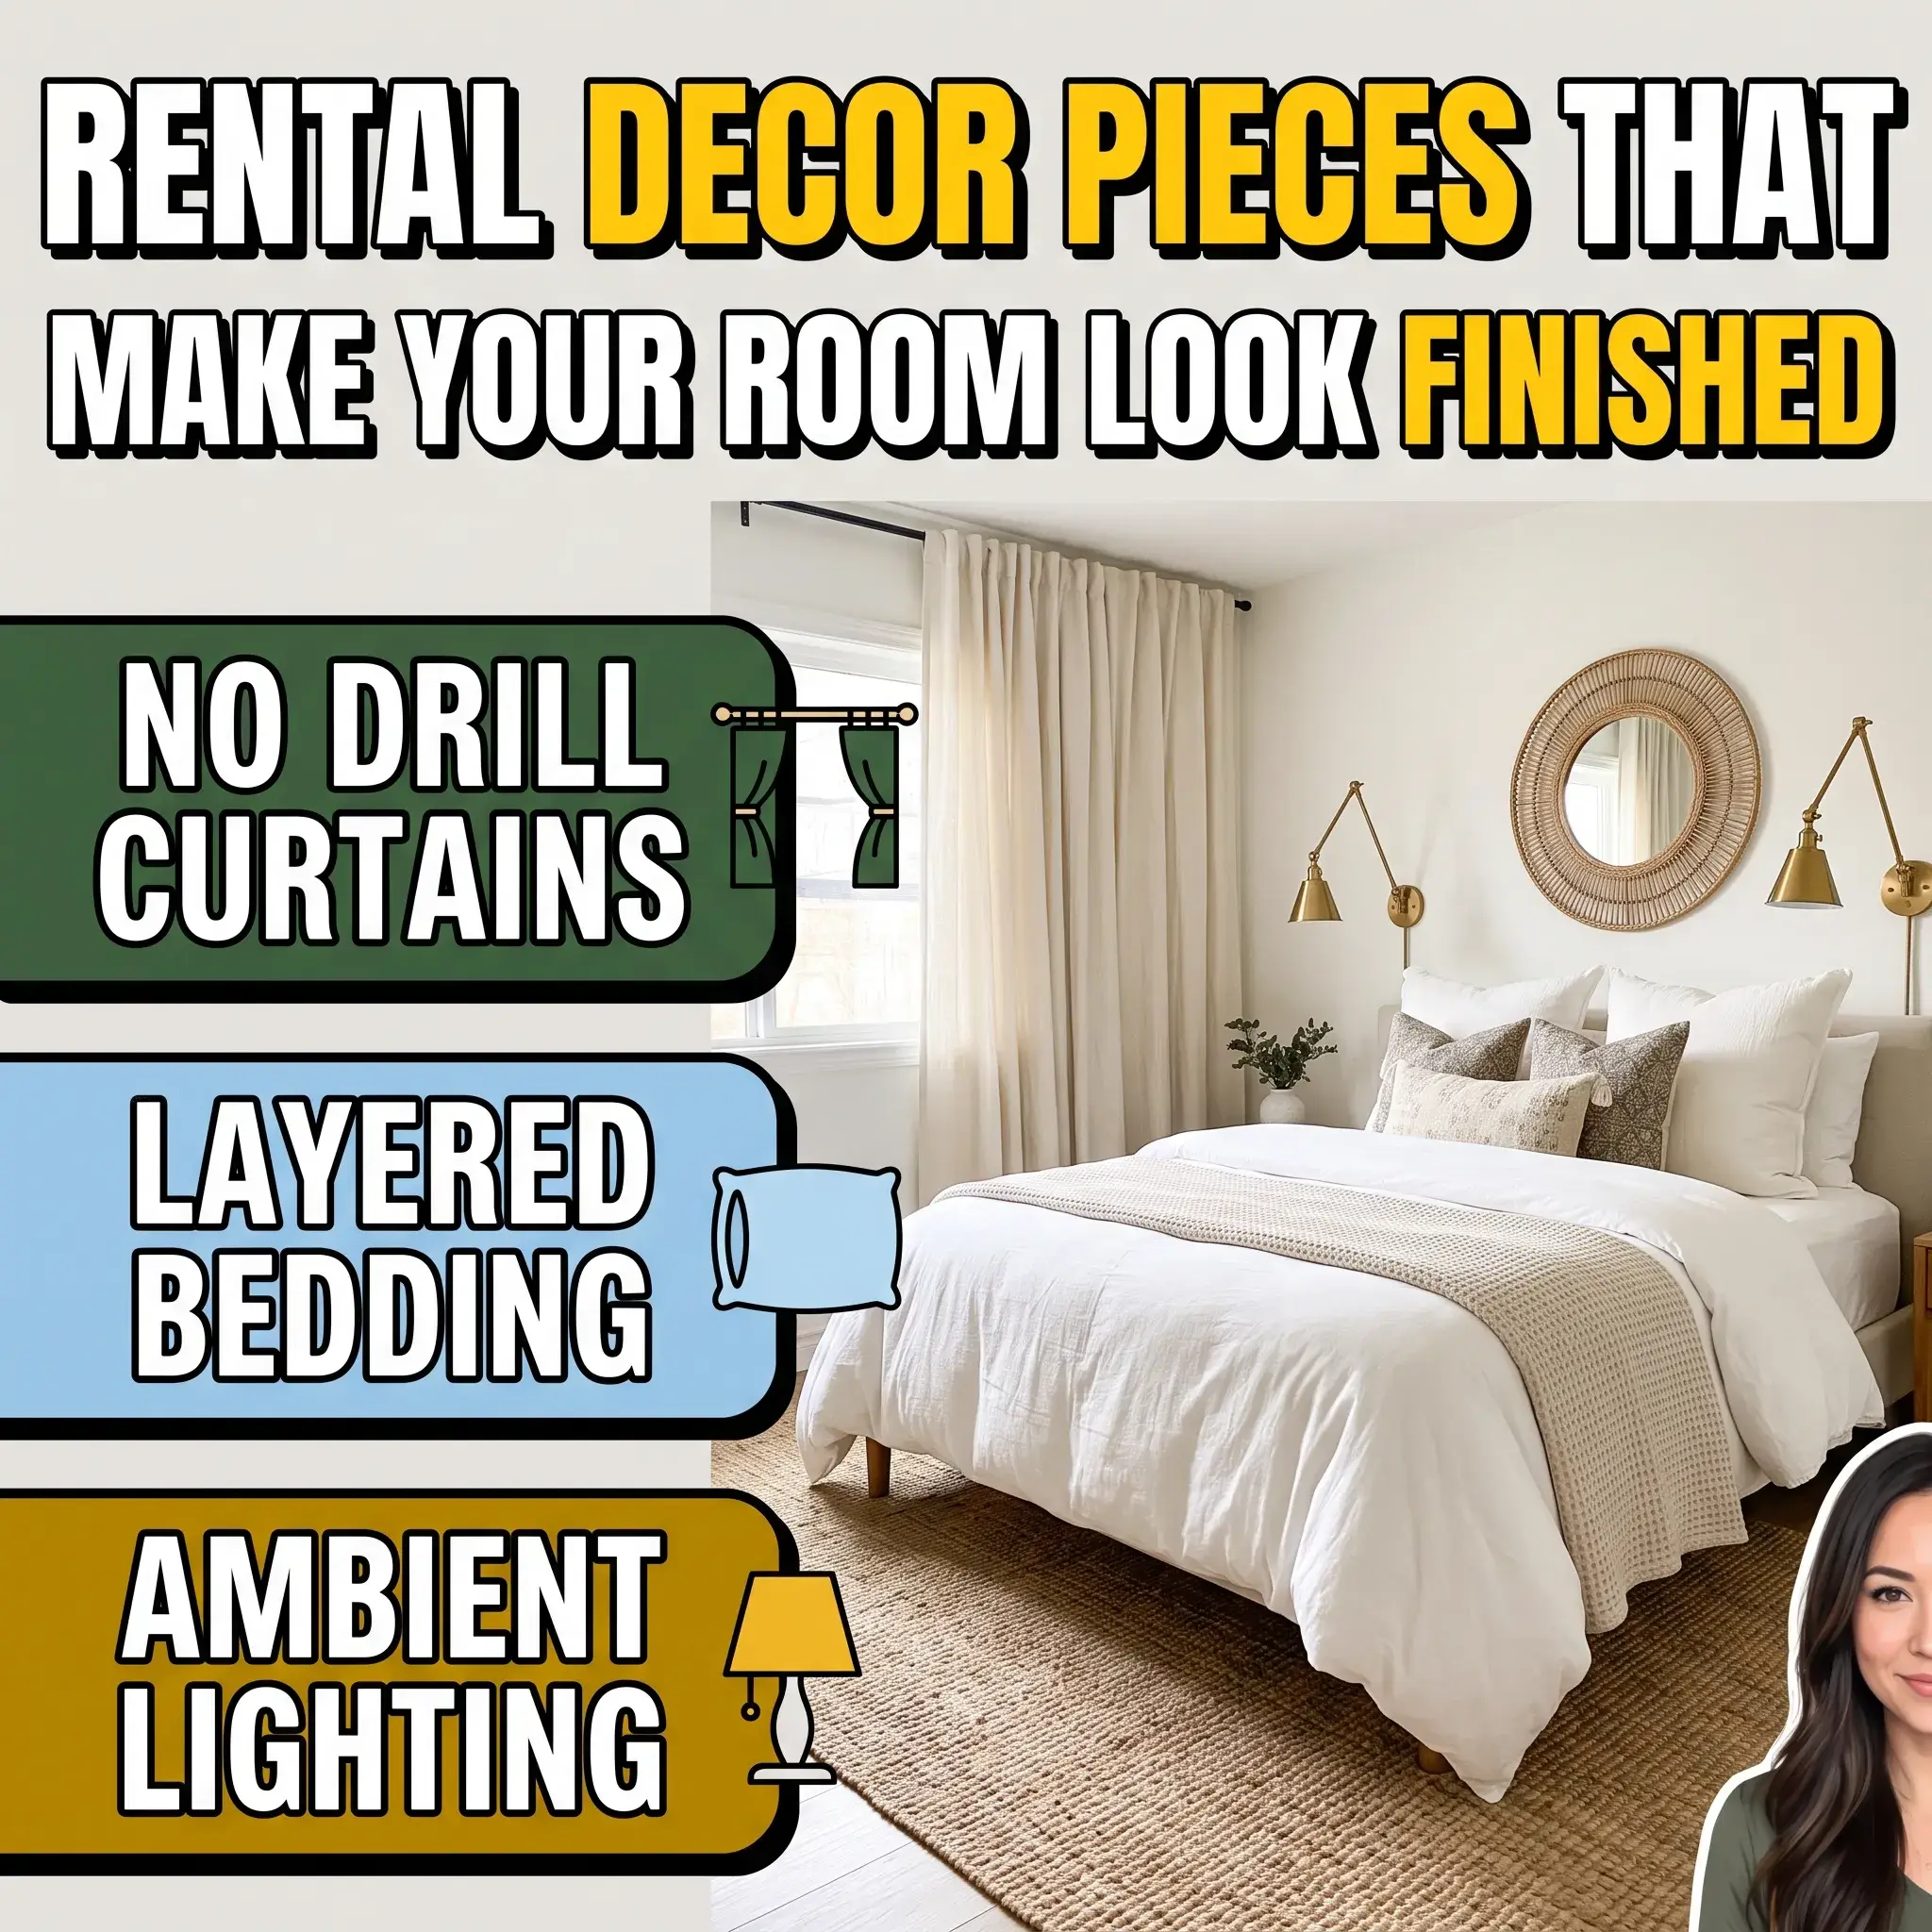
Most rental bedrooms look temporary because of flat walls, harsh overhead lighting, and bare flooring. Landlord restrictions stop you from renovating, but they do not stop you from creating a polished space. A finished bedroom does not require power tools or lost deposits. You can ground floating furniture, soften acoustics, and add architectural depth using completely reversible additions.
The difference between a makeshift room and a complete bedroom comes down to scale and structure. Below are nine practical, damage-free design pieces that pull a rental bedroom together immediately.
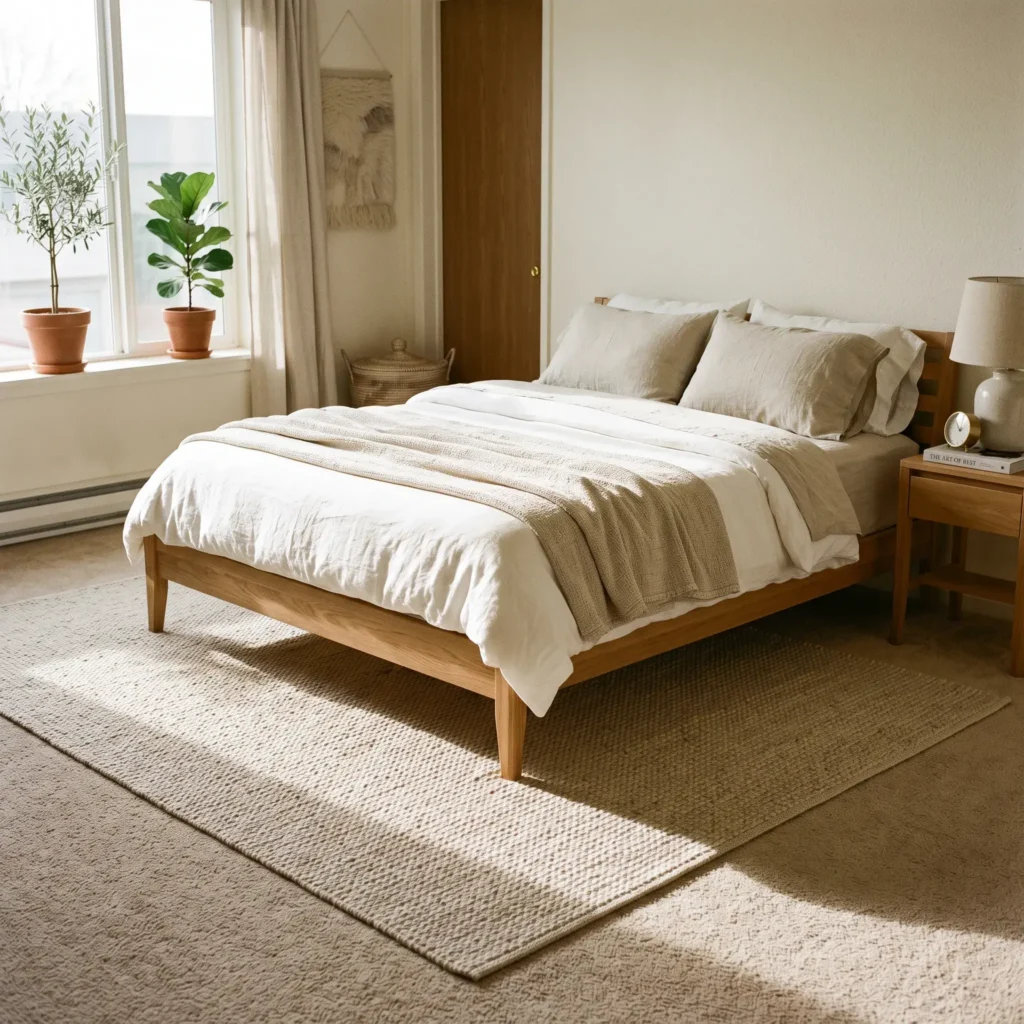
1. Grounding Base: Layered Area Rug Over Carpet
Rental carpets often come in drab beige or gray, leaving beds looking disconnected. Adding a large woven area rug creates a distinct sleeping zone and cuts down on room echo. Smooth rug pads slide on synthetic carpet, causing ripples. Pair your rug with a dual-surface pad featuring needle-punched felt on top and rubber gripper teeth on the bottom to stop pile friction.
- Size guideline: Pick an 8×10 foot rug for a queen bed, or a 9×12 foot rug for a king.
- Spacing rule: Allow at least 24 to 36 inches of exposed rug on both sides and at the foot of your bed.
Key Products in This Setup:
- Chunky flatweave wool area rug (8×10 ft, warm oatmeal tone)
- Carpet-to-carpet dual-surface felt and rubber underlay pad
- Low-profile oak platform bed frame
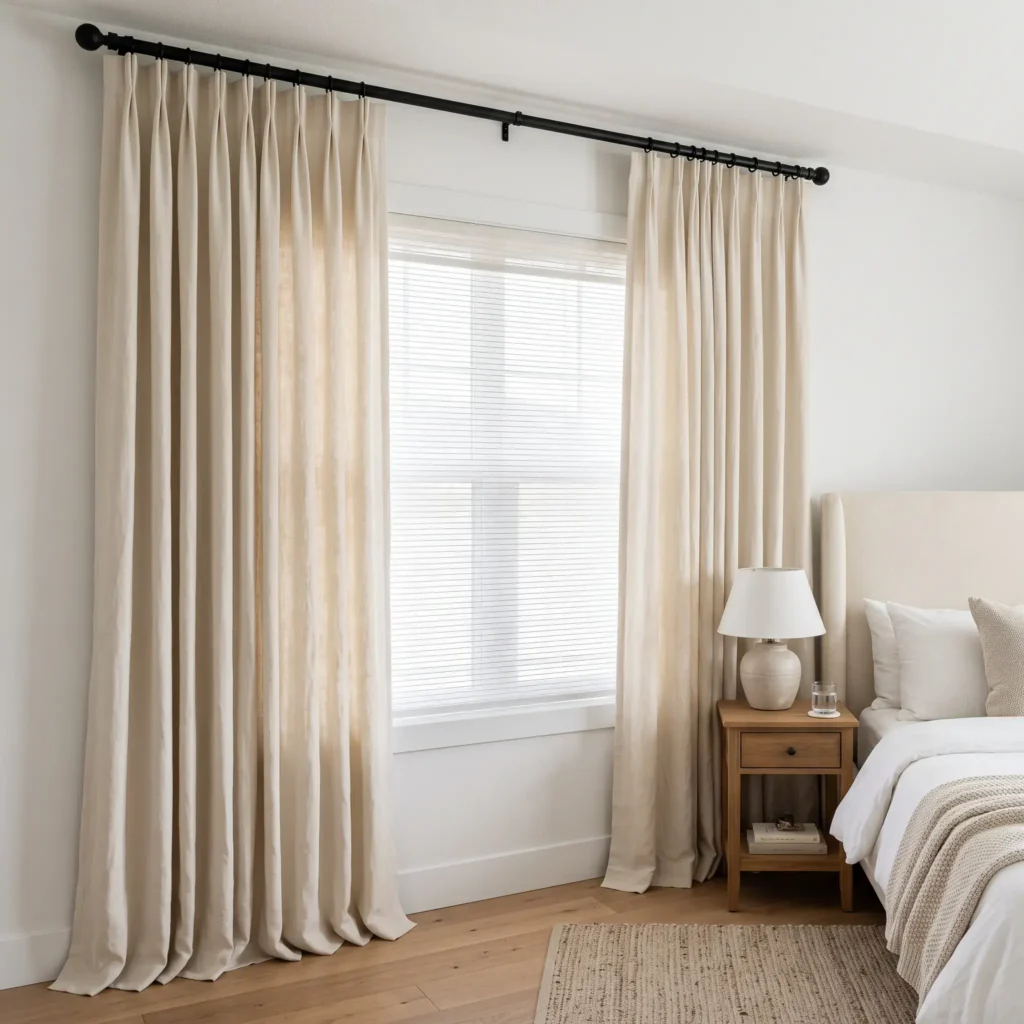
2. Vertical Scale: Pinch-Pleat Curtains on No-Drill Brackets
Builder-grade plastic blinds make windows feel commercial. Hanging high-and-wide pinch-pleat drapes hides the plastic slats and doubles the perceived ceiling height. If your window has wood casing, tap-in brackets like Kwik-Hang fit directly onto the upper trim corners with zero drywall anchors. For caseless windows, headrail clamps like NoNo Brackets attach straight to the existing metal blind rail.
- Placement tip: Hang the rod 8 to 12 inches above the window frame, extending it 8 inches past each side.
- Drapery length: Ensure panels gently brush the floor to give the room an intentional, tailored look.
Key Products in This Setup:
- Linen-blend pinch-pleat curtain panels in off-white
- Matte black 1-inch metal curtain rod
- No-drill tap-in casing brackets or headrail conversion clamps
Check out more Renter-Friendly Ideas
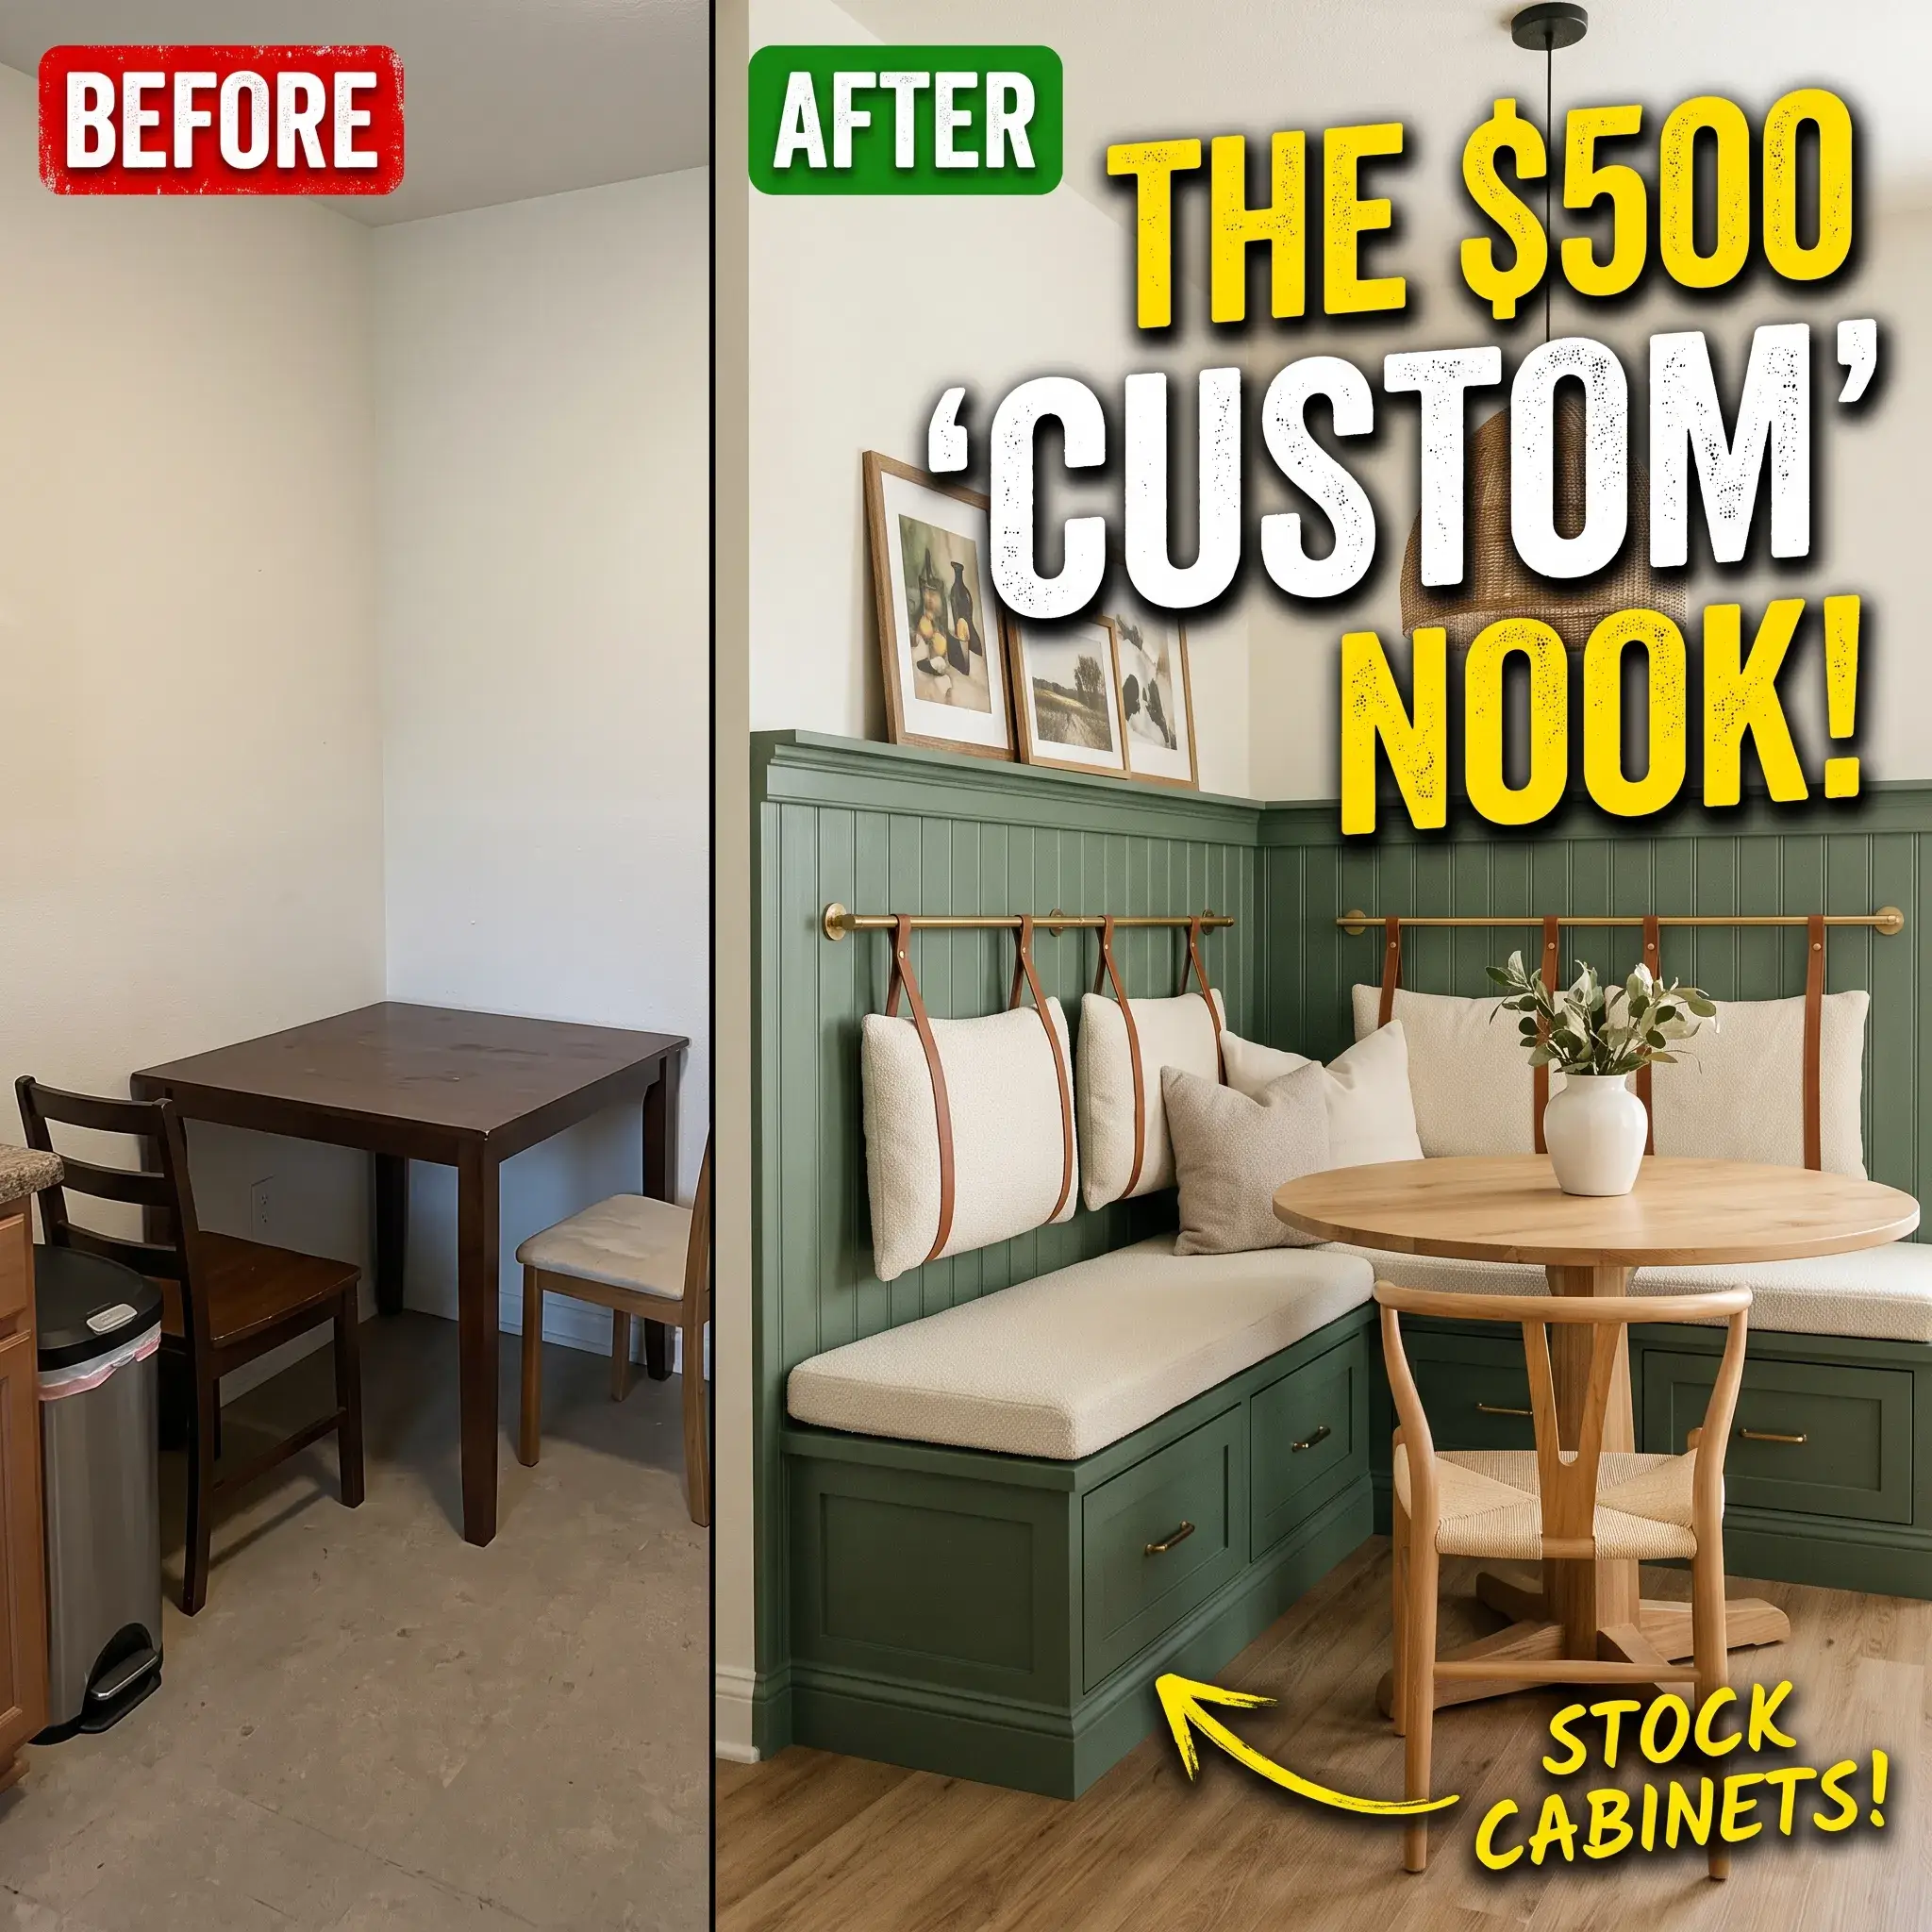
3. Structural Focal Point: Wall-Hung Strap Headboard
Mattresses pushed flat against a bare wall create an unfinished appearance. Heavy wooden headboards are hard to move up narrow apartment stairs and eat up floor clearance. A hanging-strap headboard mounts to the wall on a slim steel rail, suspending upholstered cushions on adjustable faux-leather or fabric straps. It keeps the footprint shallow while establishing an architectural anchor.
- Mounting advice: Use simple drywall anchors that leave tiny pinholes easily filled with basic spackle during move-out.
- Design tip: Choose textured fabrics like bouclé or heavy linen to balance out smooth painted drywall.
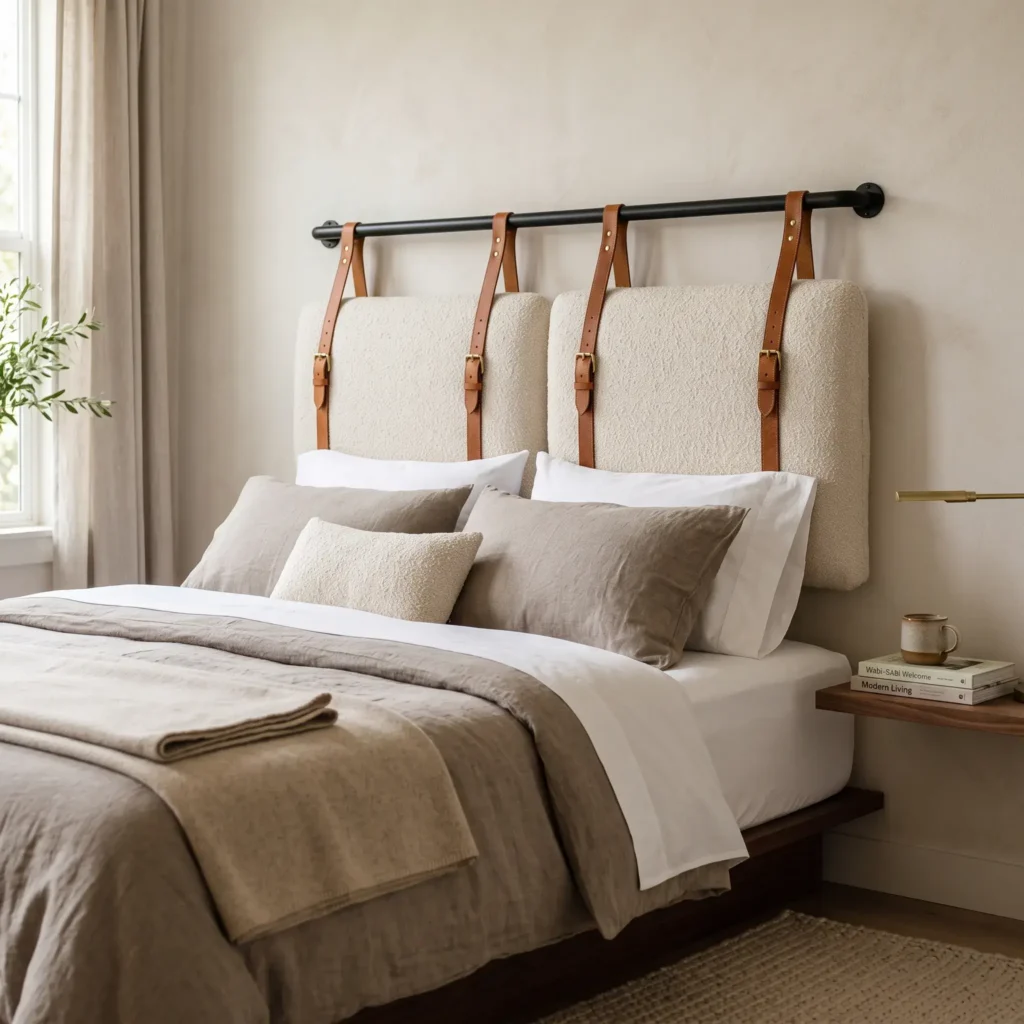
Key Products in This Setup:
- Nathan James Harlow wall-mount hanging headboard (cream bouclé with brown vegan leather straps)
- Washed percale cotton bedding set
- Slim floating wall nightstand
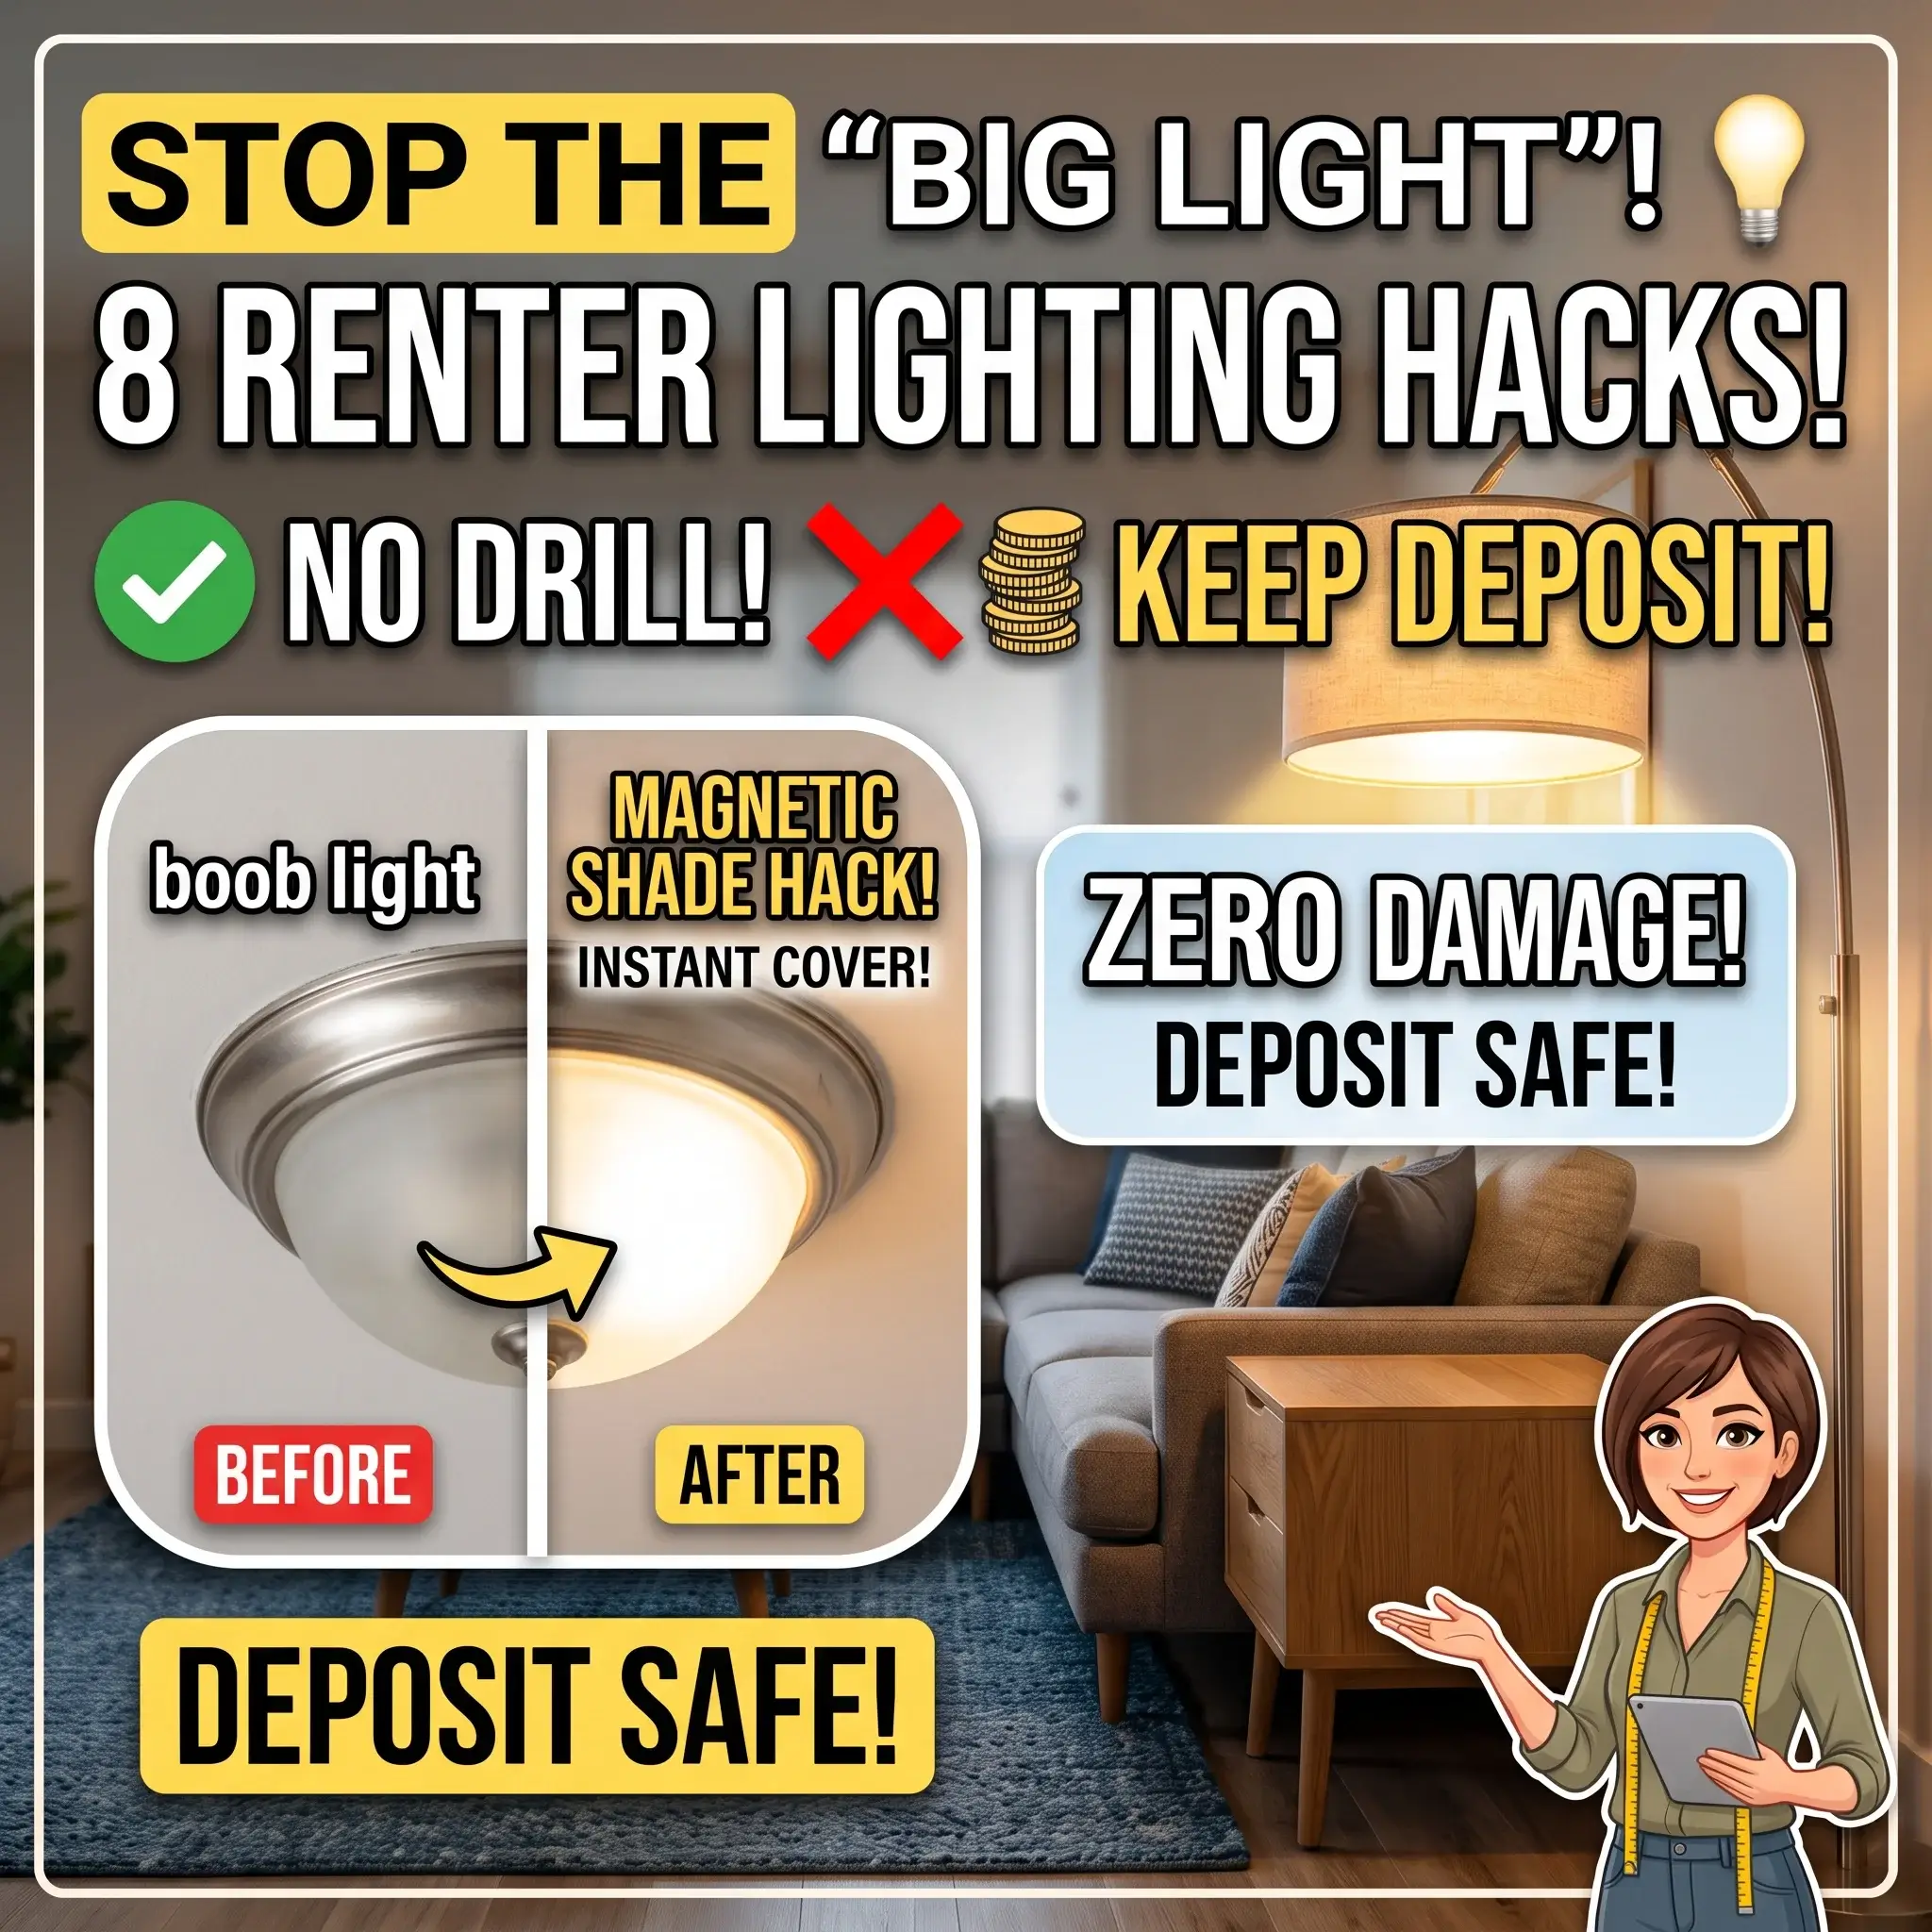
4. Ceiling Light Retrofit: Magnetic Flush-Mount Shade Converter
Central ceiling fixtures, commonly called “boob lights,” produce a cold, direct glare that flattens interior textures. Standard leases ban changing building wiring, but you can encapsulate the fixture entirely. Systems like Tulip Shades use a magnetic mounting ring that grips the ceiling plate without wiring work. You simply snap a woven drum shade or pleated linen pendant into place over the frosted glass.
- Bulb requirement: Always use an enclosed-fixture-rated LED bulb.
- Color metric: Keep brightness at or below 800 lumens and choose a warm 2700K color profile for restful light.
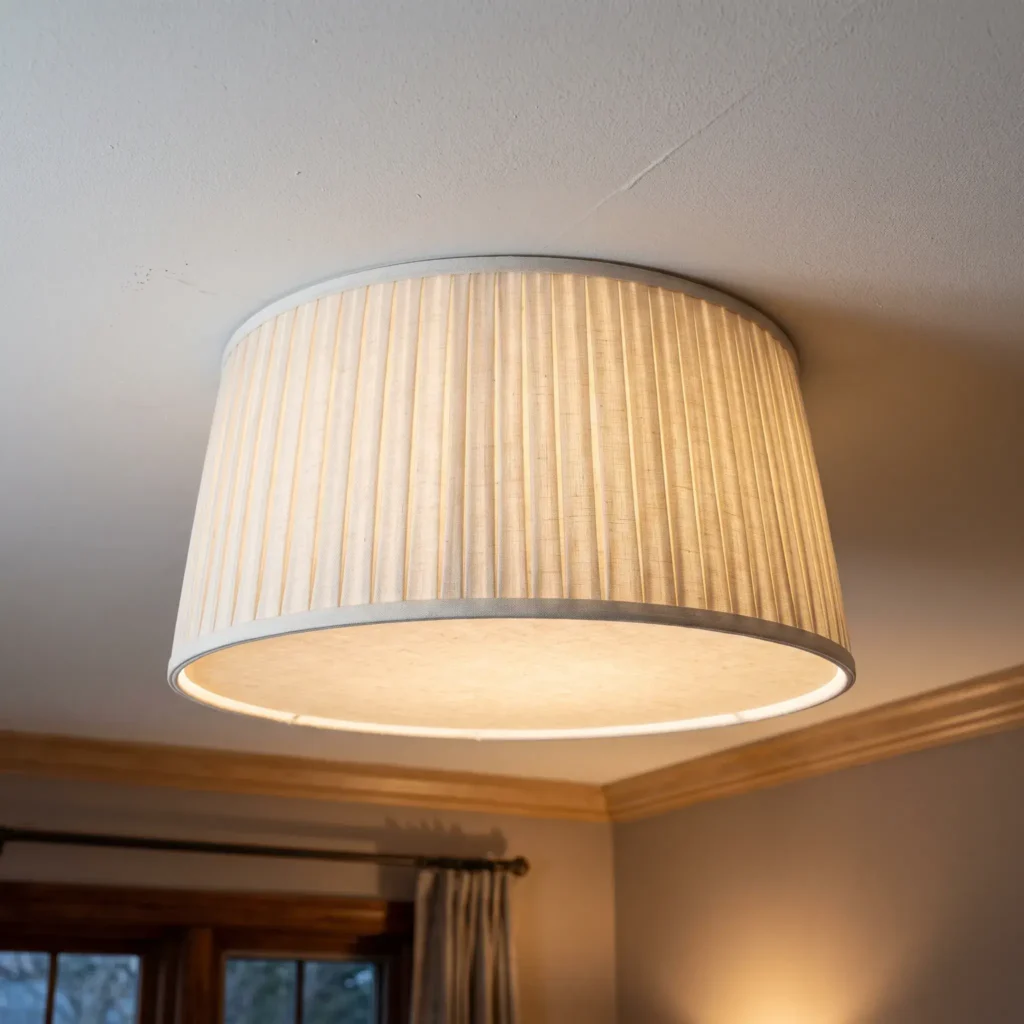
Key Products in This Setup:
- Magnetic ceiling drum shade converter in natural pleated linen
- 800-lumen 2700K warm white LED bulb
- Adhesive ceiling ring adapter
5. Wireless Architectural Symmetry: The Magic Light Trick Sconces
Flanking the bed with wall sconces delivers boutique hotel symmetry while clearing nightstand surfaces. Since running wiring through rental walls is out of the question, use the Magic Light Trick. Take standard hardwired wall sconces, trim or tuck the back wiring, and bond a 3/4-inch male pipe thread PVC plug to the back of a rechargeable puck light. Screw the assembly directly into the sconce socket like a normal bulb.
- Mounting method: Secure the sconce backplate with two small drywall screws or heavy-duty mounting strips.
- Operation: Use battery-powered LED pucks that recharge via USB-C and feature remote dimming and timers.
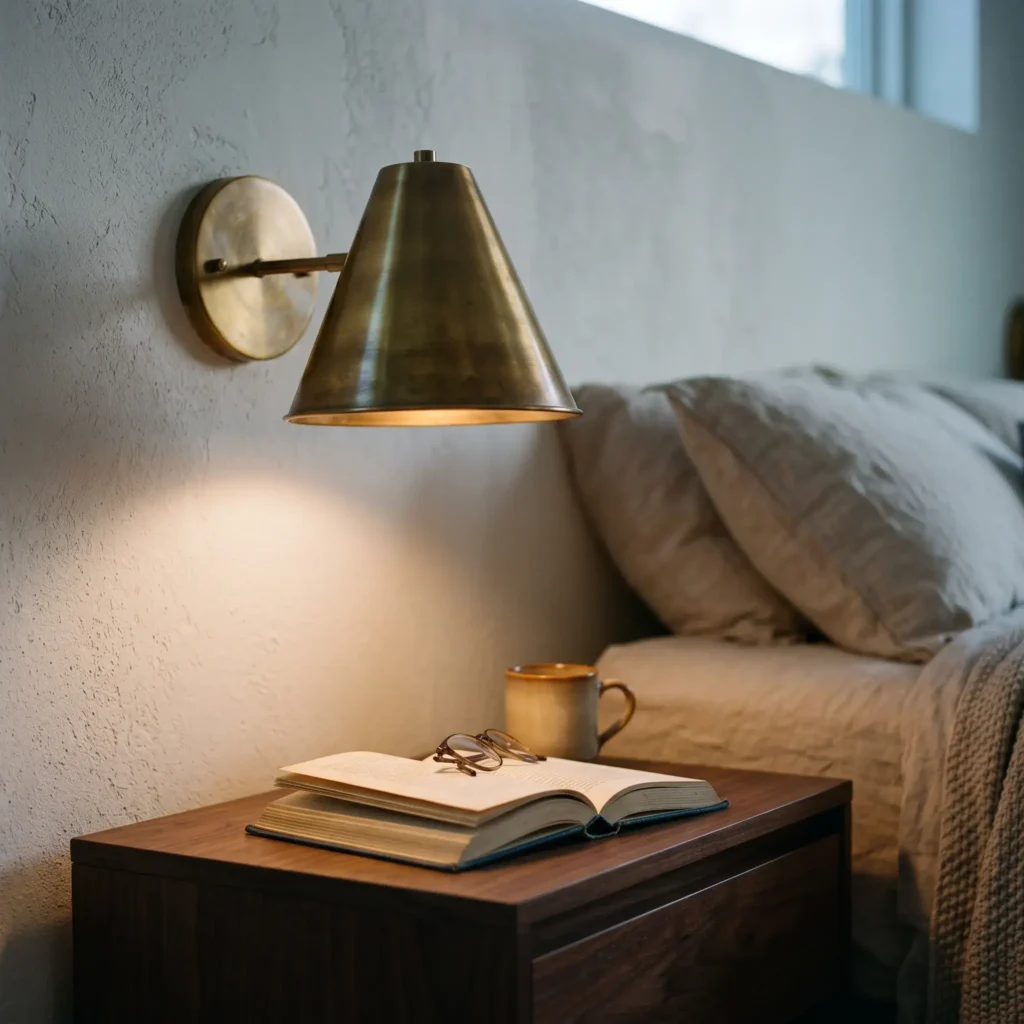
Key Products in This Setup:
- Brass articulated swing-arm wall sconce (hardwire version adapted)
- Rechargeable warm-white LED puck light with remote control
- 3/4-inch MIP threaded PVC fitting
6. Depth and Proportions: Removable Picture Frame Moulding
Large expanses of contractor-grade eggshell drywall make furniture look unmoored. Pre-assembled, peel-and-stick wood moulding kits recreate the shadow lines of historic millwork. These systems come with factory-mitered joints and use elastomeric repositionable adhesive backings. They grip painted drywall securely without the nails or caulk required in traditional wainscoting.
- Removal safety: Apply gentle, steady outward shear pressure when moving out. The elastomeric bond releases without tearing drywall paper.
- Design spacing: Arrange rectangular panels in balanced grids centered behind your bed frame.
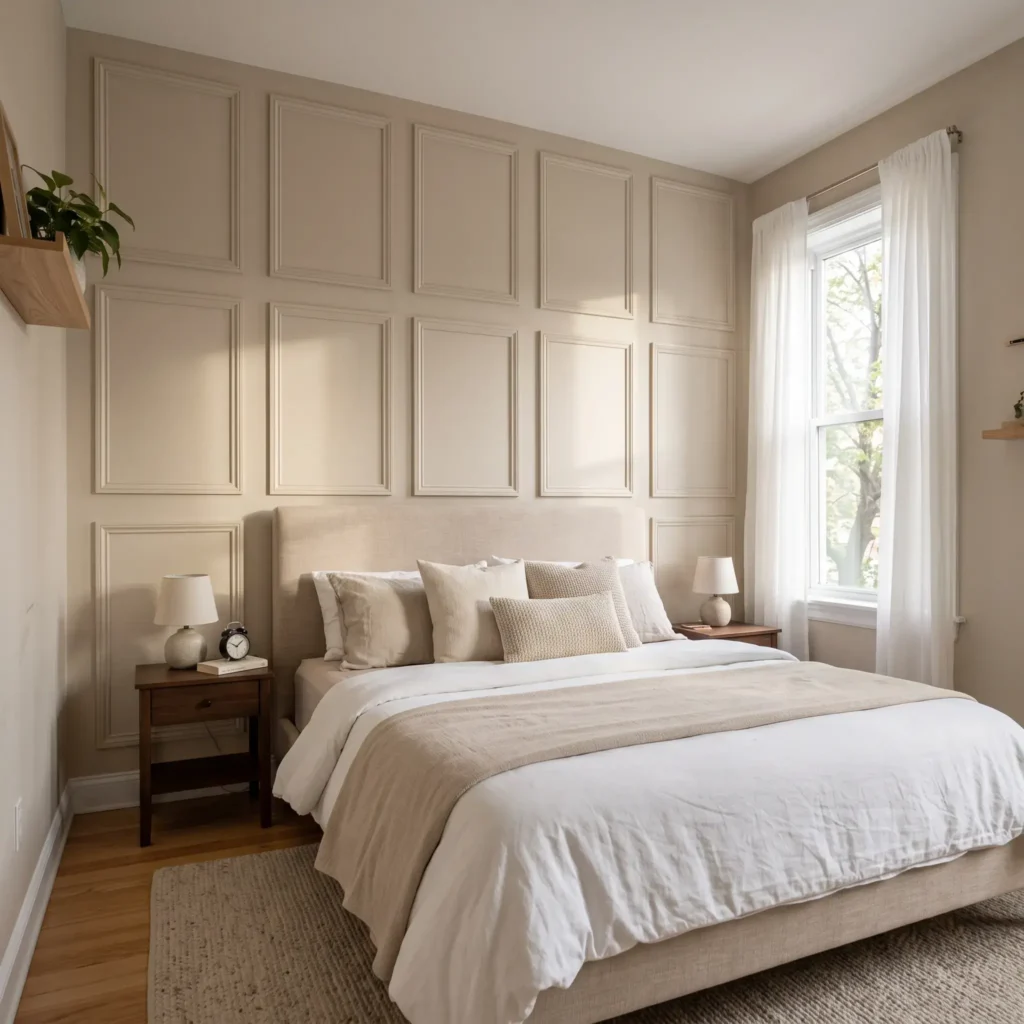
Key Products in This Setup:
- Pre-mitered removable real wood wall moulding kit
- Repositionable high-tack elastomeric wall tape
- Matte interior wall paint in warm alabaster
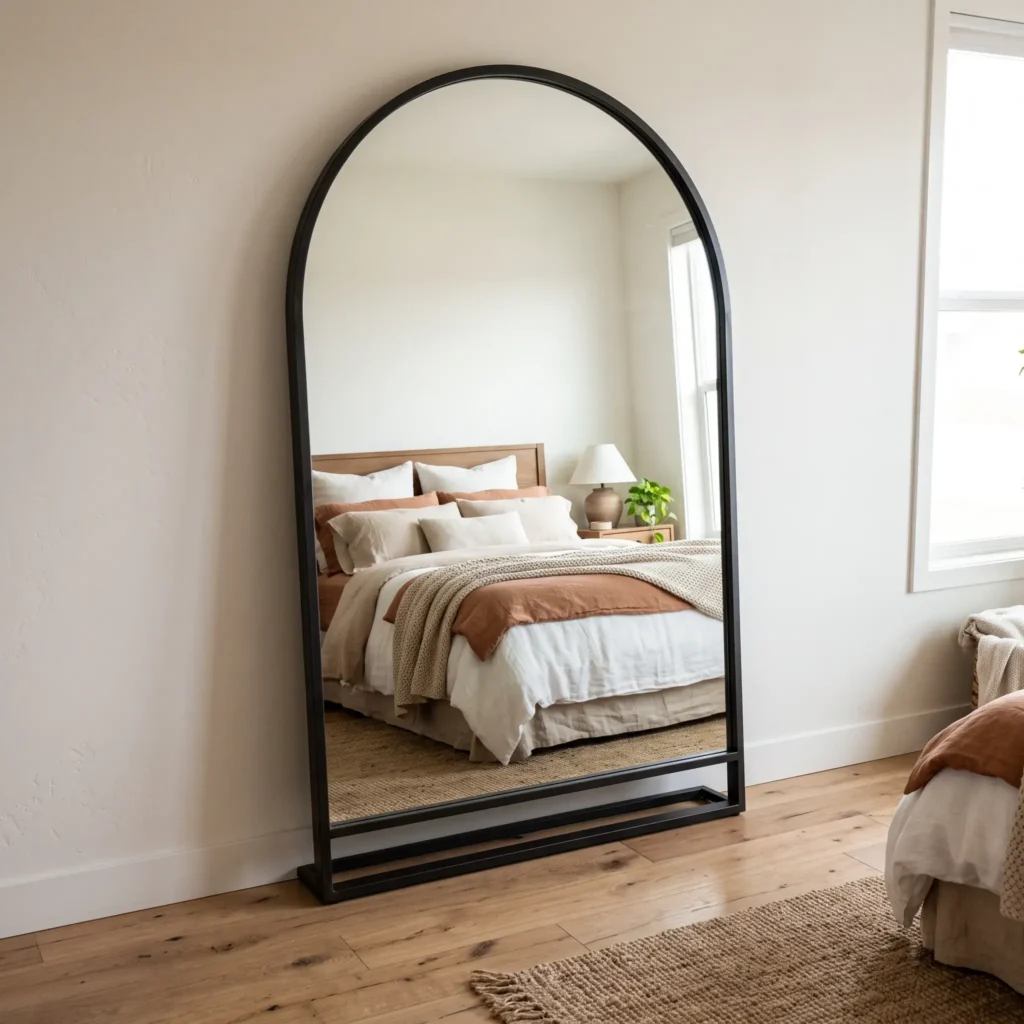
7. Optical Light Bounce: Oversized Leaning Floor Mirror
Narrow plastic mirrors that hang over doors rattle and warp your reflection. An oversized floor mirror standing 65 to 72 inches tall introduces real architectural presence. Leaning a heavy mirror against the wall opposite or adjacent to your window doubles natural light and makes compact rooms feel expansive.
- Wall safety: Place high-friction silicone pads on the floor base, and add clear bumpers to the top back corners to prevent scuff marks.
- Frame selection: Pick thin brushed aluminum or solid natural wood profiles to keep lines clean.
Key Products in This Setup:
- 68-inch arched or thin rectangular full-length mirror with black metal frame
- Non-skid silicone base pads
- Command clear surface bumper pads
8. Tactile Loft: The 3-Tier Bed Dressing Formula
A flat comforter over thin pillows leaves the primary piece of furniture in your room looking sparse. Designers build volume through three specific layers that provide contrasting weight and visual interest.
- Base Layer: High-thread-count cotton percale or pre-washed French flax linen sheets for a relaxed, breathable foundation.
- Mid-Tier Loft: A plush down or down-alternative insert sized up one tier (place a king insert inside a queen duvet cover) to create cloud-like volume over the edges.
- Accent Texture: A heavy waffle-knit blanket or quilted velvet coverlet folded horizontally across the bottom third, topped with two upright 26×26 Euro shams.

Key Products in This Setup:
- King-size down-alternative duvet insert (fitted into a queen duvet cover)
- Washed French flax linen duvet cover set in sage or oatmeal
- Heavyweight cotton waffle blanket in charcoal
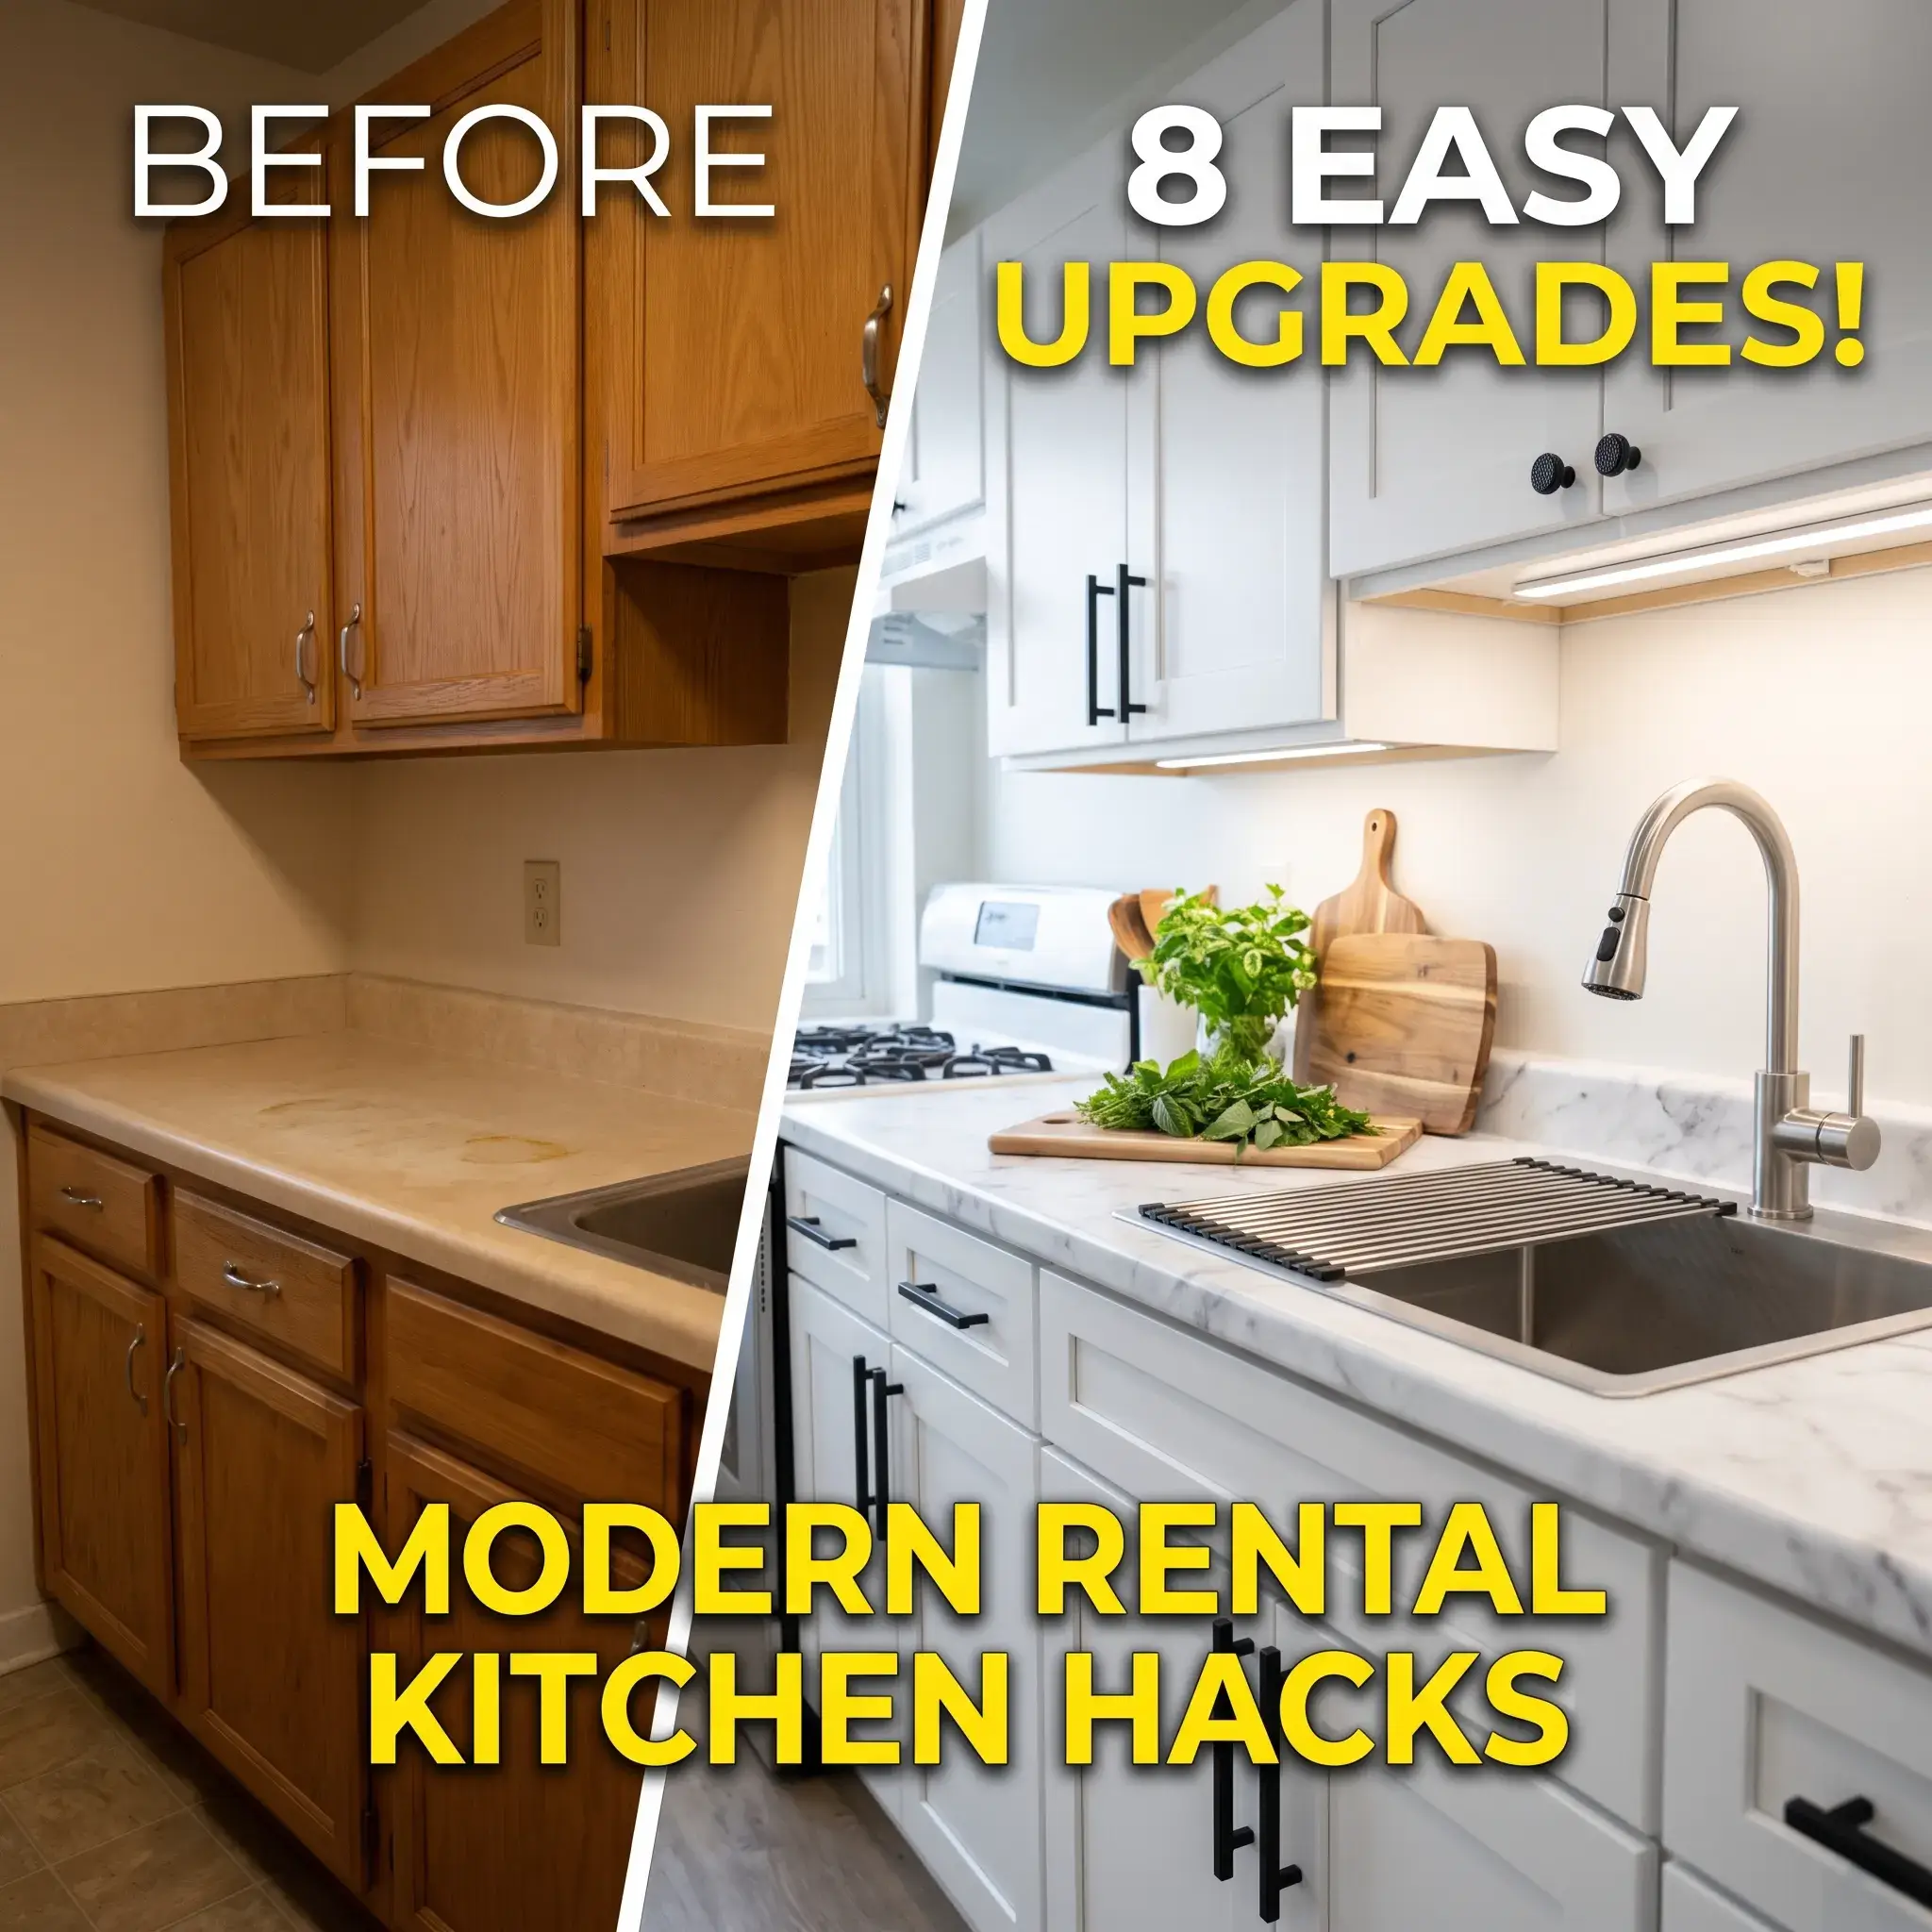
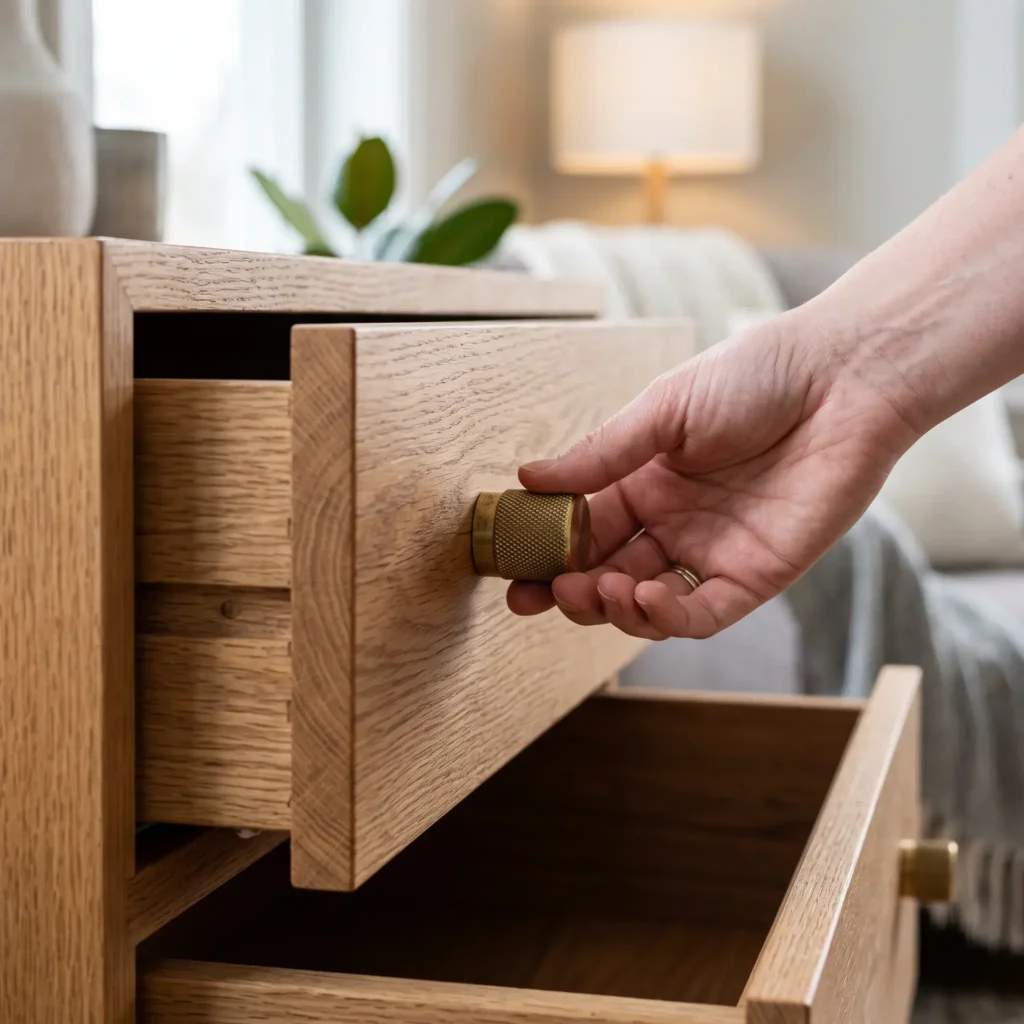
9. Tactile Hardware Upgrade: Solid Metal Cabinet Pulls
Rental dressers and built-in closet doors often come with cheap stamped metal or hollow chrome pulls. Replacing contractor-grade hardware with solid materials is a quick, high-impact swap that changes how the room feels to the touch. Solid knurled brass knobs, matte black cast iron pulls, or saddle-leather tabs bring custom quality to basic furniture.
- Lease preservation: Keep all original screws and handles in a labeled plastic bag so you can reinstall them before moving out.
- Sizing check: Measure hole-to-hole center spacing on existing handles before purchasing replacements to avoid drilling new holes.
Key Products in This Setup:
- Solid knurled brass dresser knobs
- Heavy-duty matte black bar pulls (standard 3-inch or 4-inch center-to-center)
- Storage bag for original hardware
Essential Renter Safety: How to Remove Adhesive Decor Without Drywall Damage
Even renter-safe adhesives can pull off paint if removed carelessly. Standard drywall features a thin paper face that tears when subjected to outward pulling forces.
To take down adhesive strips safely:
- Pull Parallel, Not Outward: Grasp the pull tab and stretch it straight downward, keeping your hand flat against the wall. This relaxes the internal polymer matrix without placing peel stress on the drywall.
- Use Warm Air for Stubborn Tape: If an adhesive strip feels brittle or resists, run a standard hair dryer over it on medium heat for 30 seconds. Warm air softens the elastomer base, allowing it to slide off cleanly.
- Wipe Down with Rubbing Alcohol First: Always clean walls with isopropyl alcohol before applying adhesives. Standard household cleaners leave behind slippery residues that lead to bond failure.
Comparison: Temporary Decor vs. Permanent Renovations
| Decor Solution | Rental-Safe Alternative | Traditional Renovation | Move-Out Time Required |
|---|---|---|---|
| Window Rods | Tap-in trim brackets or blind adapters | Heavy drywall screws and wall anchors | 2 minutes to remove |
| Wall Trim | Pre-mitered peel-and-stick wood kits | Brad nails, permanent liquid nails, caulk | 15 minutes to peel |
| Accent Sconces | Puck light adapters (Magic Light Trick) | In-wall electrical wiring and junction boxes | 5 minutes to unscrew |
| Ceiling Light | Magnetic fabric shade converters | Hardwired fixture replacement | 1 minute to detach |
| Carpet Fixes | Dual-surface needle-punched felt rug pads | Ripping out carpet for wood flooring | 5 minutes to roll up |
Proportions and Furniture Spacing for Rental Bedrooms
A bedroom often feels chaotic when furniture blocks walking paths. Following balanced interior measurements keeps the room feeling open:
- Walkway Clearances: Maintain 24 to 30 inches of open floor space around your bed frame and main walkways.
- The 60/40 Nightstand Rule: Cover roughly 60 percent of your bedside surface with essentials (lamp, small tray, book), and leave 40 percent as open negative space to prevent clutter.
- Wall Art Eye Line: Hang the center point of framed art or canvas prints 57 inches above the finished floor. This eye-level standard matches gallery placement and balances the visual plane.
- Leggy Profiles: In small rooms, choose nightstands and dressers with slender, raised legs. Exposing the baseboards underneath the furniture allows sightlines to continue to the wall, making compact footprints read larger.
Frequently Asked Questions
How can I make my rental bedroom feel like a luxury hotel?
Focus on low-level lighting and bedding volume. Turn off the central ceiling light and use 2700K warm-white bedside sconces or table lamps. Size up your duvet insert by one tier relative to your duvet cover, and frame the bed with two large Euro shams.
How do I stop an area rug from bunching up on rental carpet?
Use a dense carpet-to-carpet pad rather than a rubber or PVC mat. Choose an underlay with a needle-punched felt core and downward-facing rubber gripper teeth. The teeth grip the underlying carpet pile to prevent foot traffic from shifting the top rug.
Can I hang curtains if my apartment only has plastic vertical blinds?
Yes. You do not need to remove the blinds or drill into your walls. Use headrail conversion brackets, such as NoNo Brackets, which clamp directly onto the existing metal blind rail. This allows you to mount a standard curtain rod in front of the blinds.
What is the safest way to hang heavy art on rental drywall?
Clean the wall surface with isopropyl rubbing alcohol to remove grease. Use interlocking polyolefin hook-and-loop strips rated for two to three times the total weight of the frame. Hang lightweight wooden frames with acrylic glazing rather than heavy glass.
Will peel-and-stick wood moulding damage apartment walls when removed?
High-quality kits with elastomeric tape backings will release cleanly from fully cured latex or eggshell paint under steady shear pressure. Do not pull the trim outward at an angle. If the adhesive feels tight, warm it with a hair dryer to soften the bond before peeling.