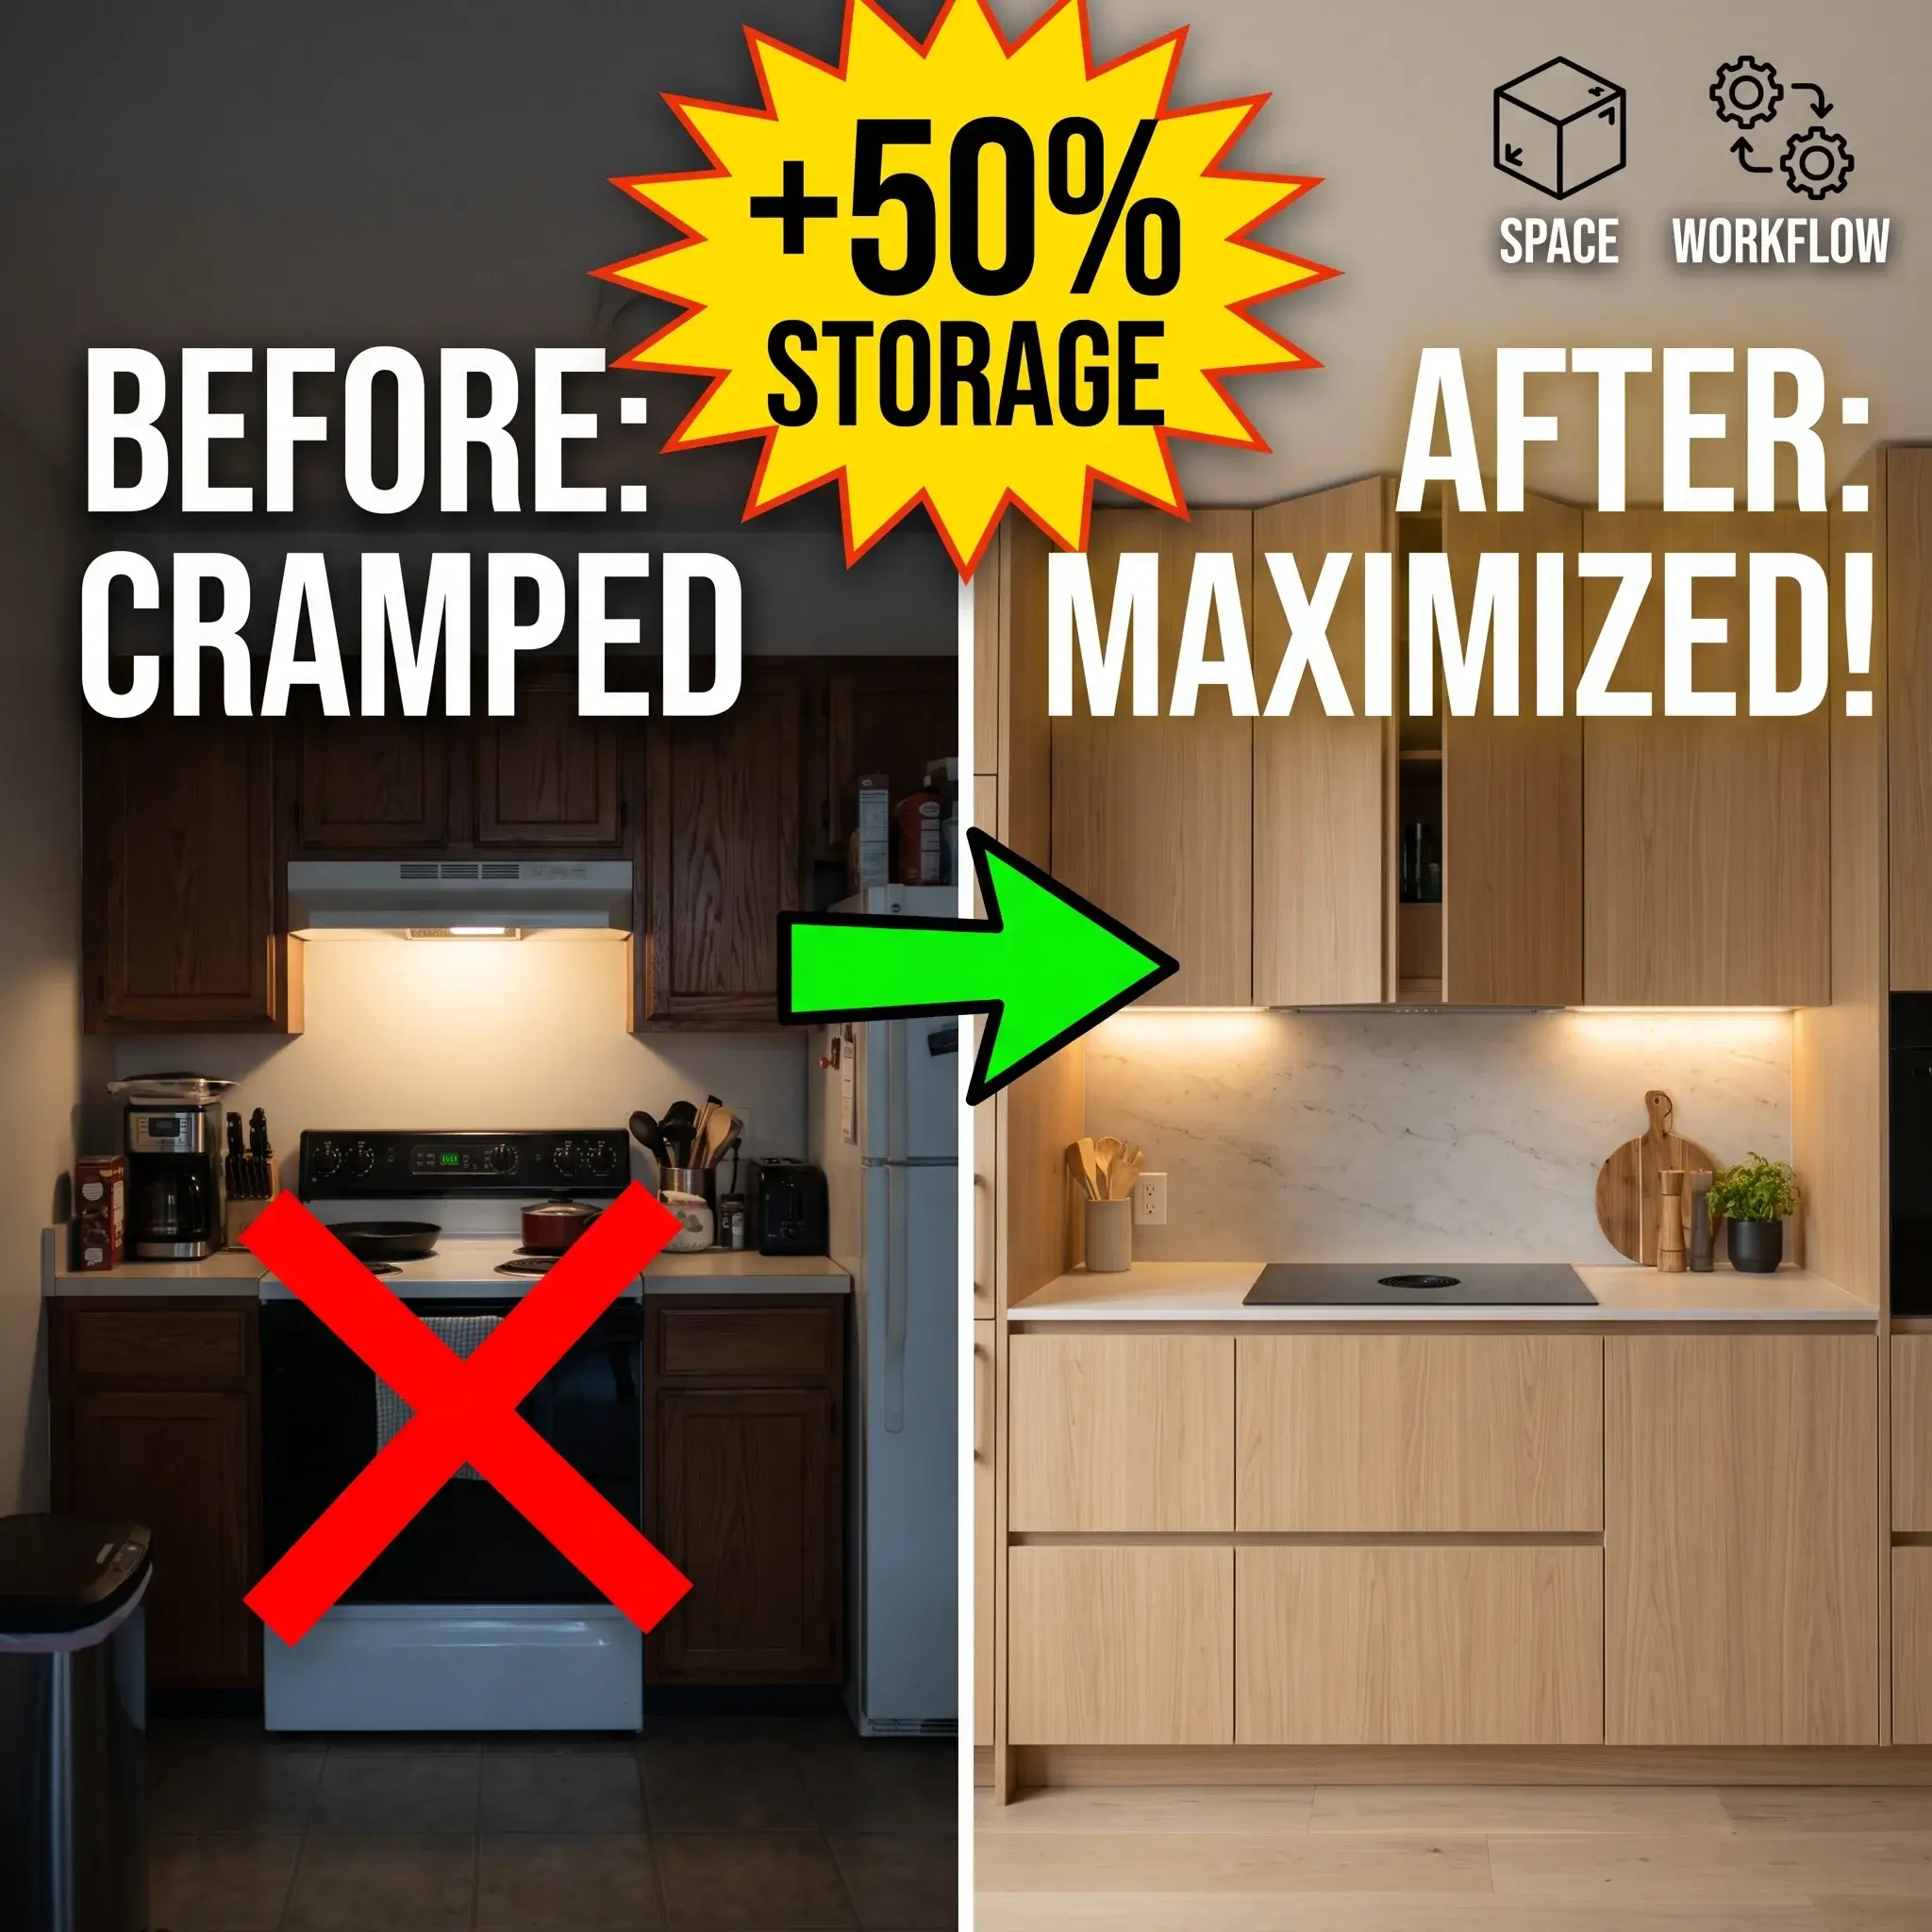
8 One-Wall Kitchen Upgrades That Look Custom Without a Full Renovation
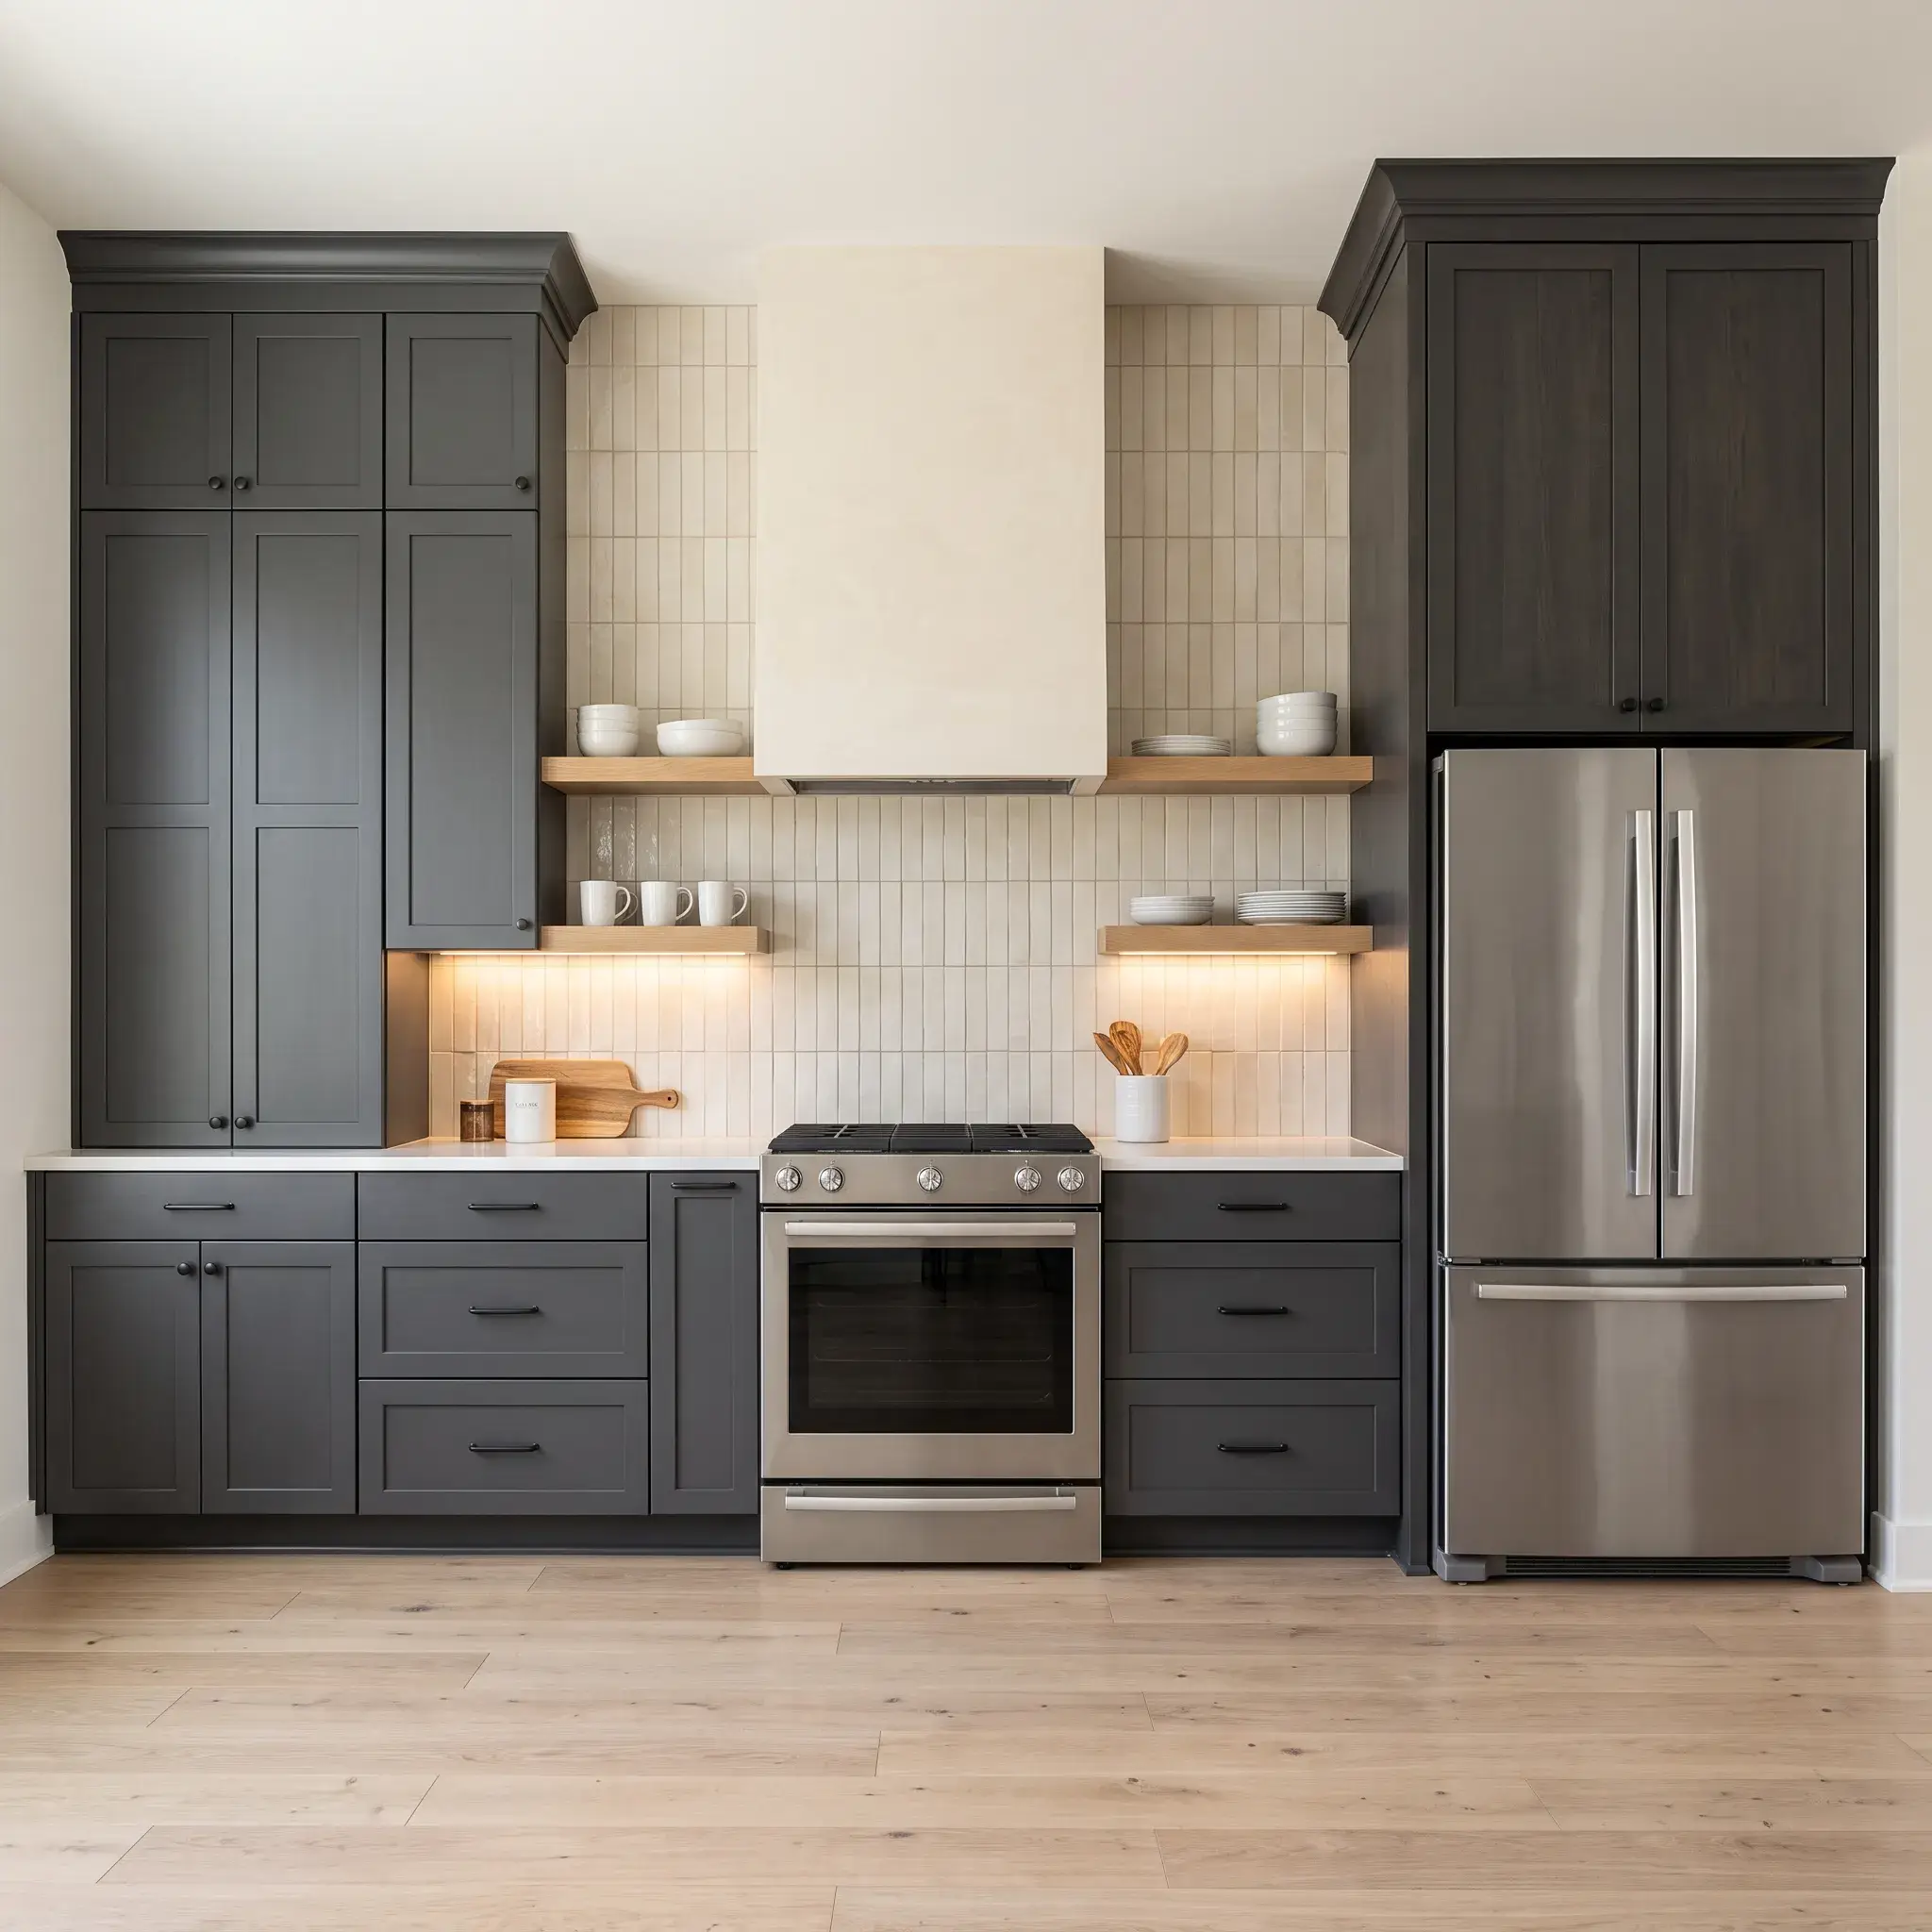
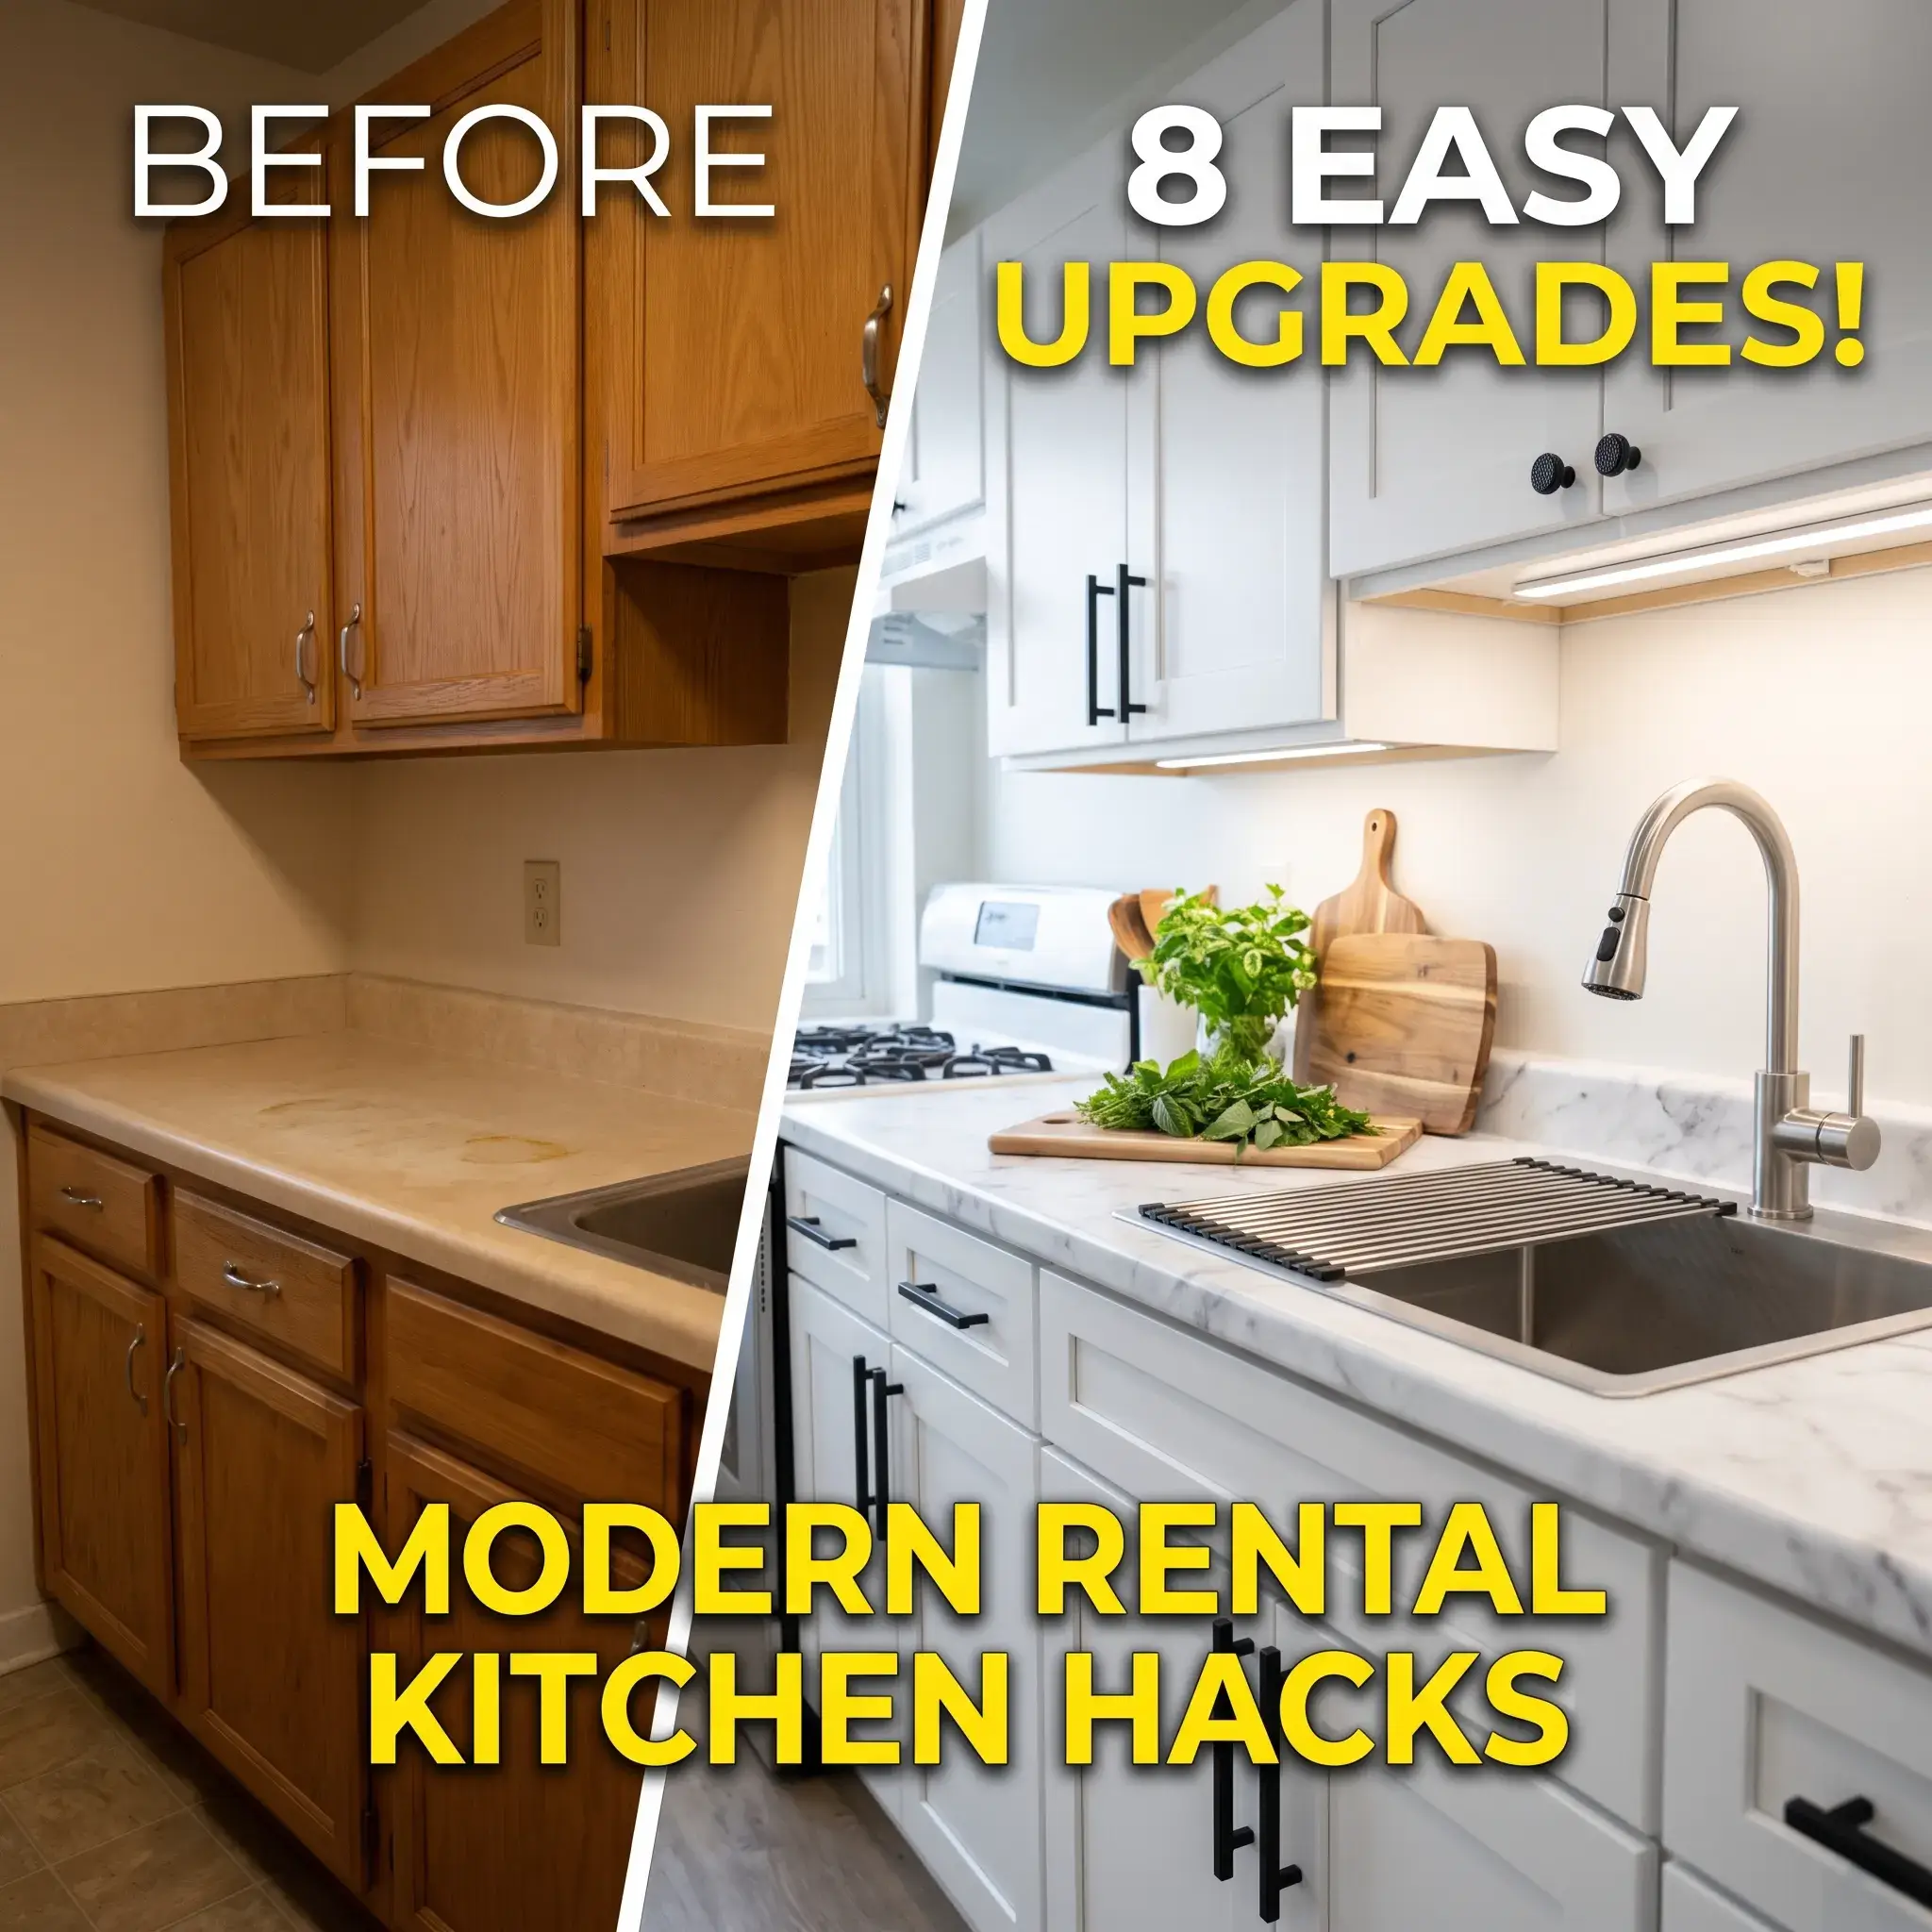
A single-wall kitchen often feels like an afterthought. In open-concept apartments and ranch homes, builder-grade linear layouts leave your cooking space looking like an exposed hallway. You see unfinished appliance sides, awkward gaps above cabinets, and cluttered counters.
You do not need to spend thirty thousand dollars on custom cabinetry or move plumbing lines. You can turn modular boxes into built-in millwork by focusing on vertical height, continuous trim, and smart material choices.
Here are eight practical upgrades that create a custom look while keeping your existing layout intact.
8 Custom-Look Upgrades for Single-Wall Kitchens
1. Close the Upper Gap with a Two-Piece Cabinet Riser and Crown Molding
Builder-grade upper cabinets usually stop twelve to eighteen inches short of the ceiling. This open gap collects dust and makes your room feel shorter. It instantly tells everyone that your kitchen came from flat-pack modular boxes.
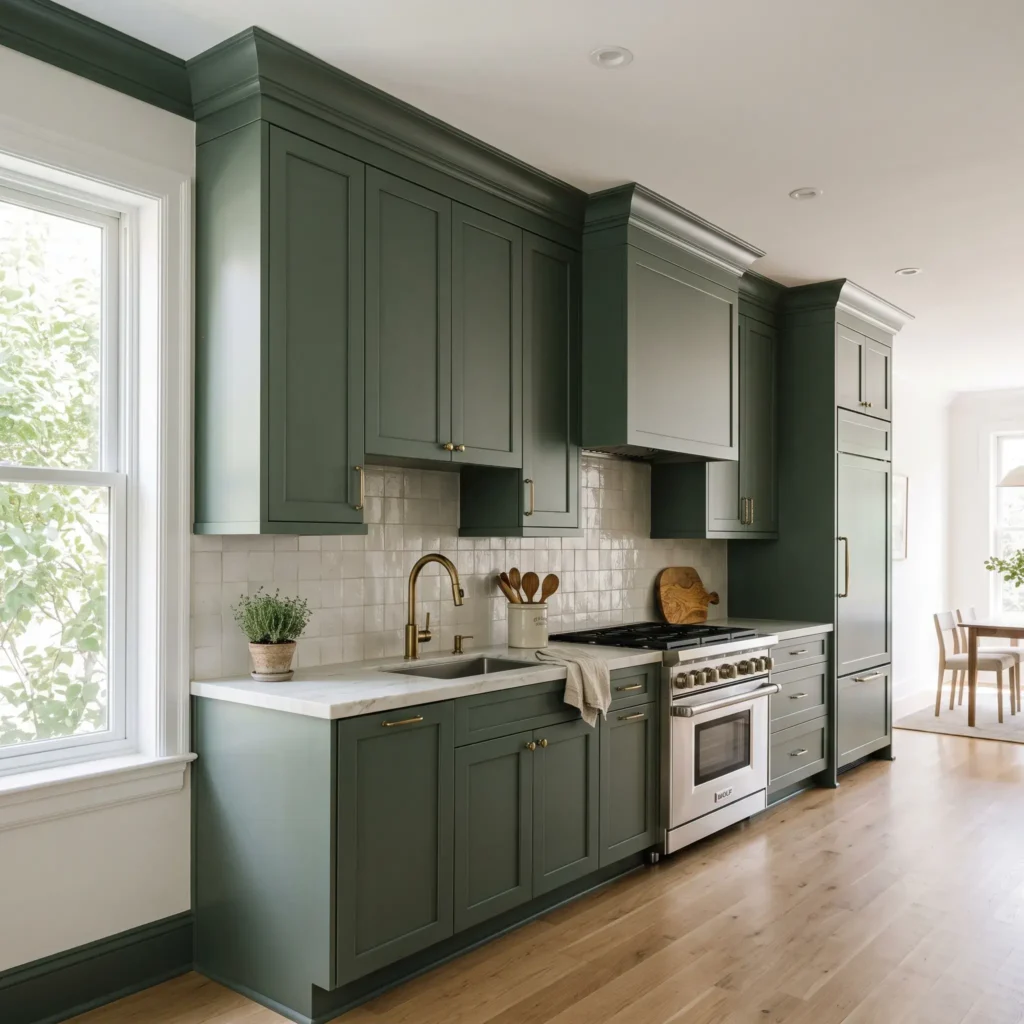
Closing this void creates the look of floor-to-ceiling millwork. Do not nail crown molding directly to cabinet tops, because drywall ceilings are rarely level. Instead, build a two-piece assembly. First, screw a vertical starter riser board flush to the face frame of your cabinets. This board absorbs dips and uneven spots in your ceiling. Next, attach architectural crown molding to bridge the riser to the drywall ceiling. Paint the riser and molding in the exact color and sheen of your cabinet doors. This creates a solid vertical wall of millwork.
- Products and Materials Used:
- 1/2-inch paint-grade birch plywood or MDF (riser panel)
- 3.5-inch solid wood crown molding
- 2×2 spruce lumber for internal ceiling cleats
- Benjamin Moore Advance interior cabinet paint in satin finish
- 18-gauge brad nails and wood glue
2. Box in the Refrigerator with a 3/4-Inch Finished Gable Surround
Freestanding refrigerators destroy the sightlines of a one-wall layout. Standard base cabinets are 24 inches deep, but standard refrigerators are 30 to 36 inches deep. They stick out into the room and expose unfinished black or textured-gray steel side panels.
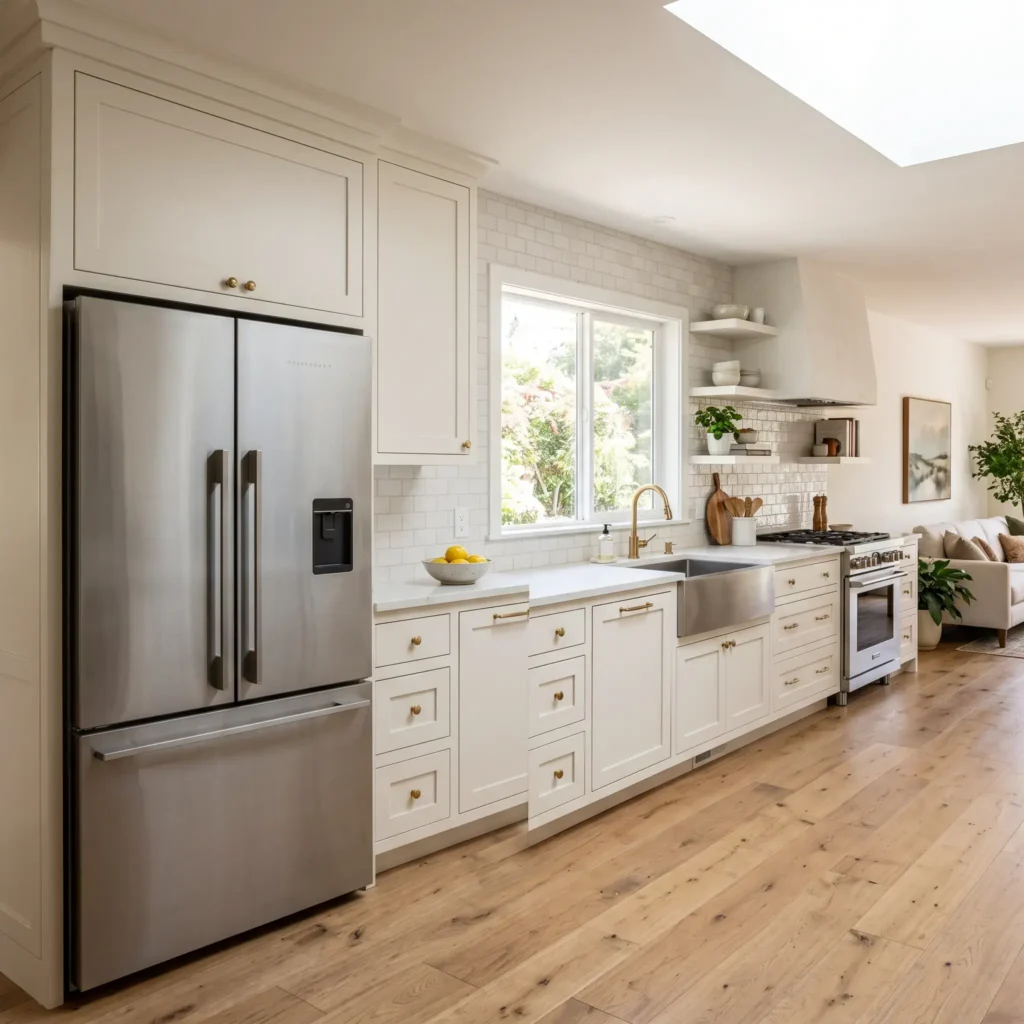
You can fix this by building a dedicated appliance gable. Install a full-height, 3/4-inch furniture-grade plywood panel on the exposed side of the refrigerator. Run this panel from the floor to the top of your upper cabinetry. Face the front edge with a 1×2 solid wood trim piece to create a sturdy 1.5-inch face frame. Pull the shallow cabinet above your fridge forward using wall cleats, or swap it for a 24-inch deep box.
Set the front edge of the panel flush with the refrigerator cabinet body, not the doors. The appliance doors must sit forward of the wood panel so the hinges swing open past 90 degrees. Leave a 1-inch gap around the top and sides for motor ventilation.
- Products and Materials Used:
- 3/4-inch cabinet-grade birch plywood panel (4×8 foot sheet)
- 1×2 solid poplar lumber (face trim)
- Heavy-duty pocket hole screws
- Iron-on edge banding for exposed rear plywood edges
- Counter-depth or standard French door refrigerator
Check out more Renter-Friendly Ideas
3. Break the Monolith: Replace Middle Uppers with Thick Hardwood Floating Shelves
Running identical upper cabinets from end to end creates a heavy, tunnel-like wall. This layout makes a small living area feel crowded.
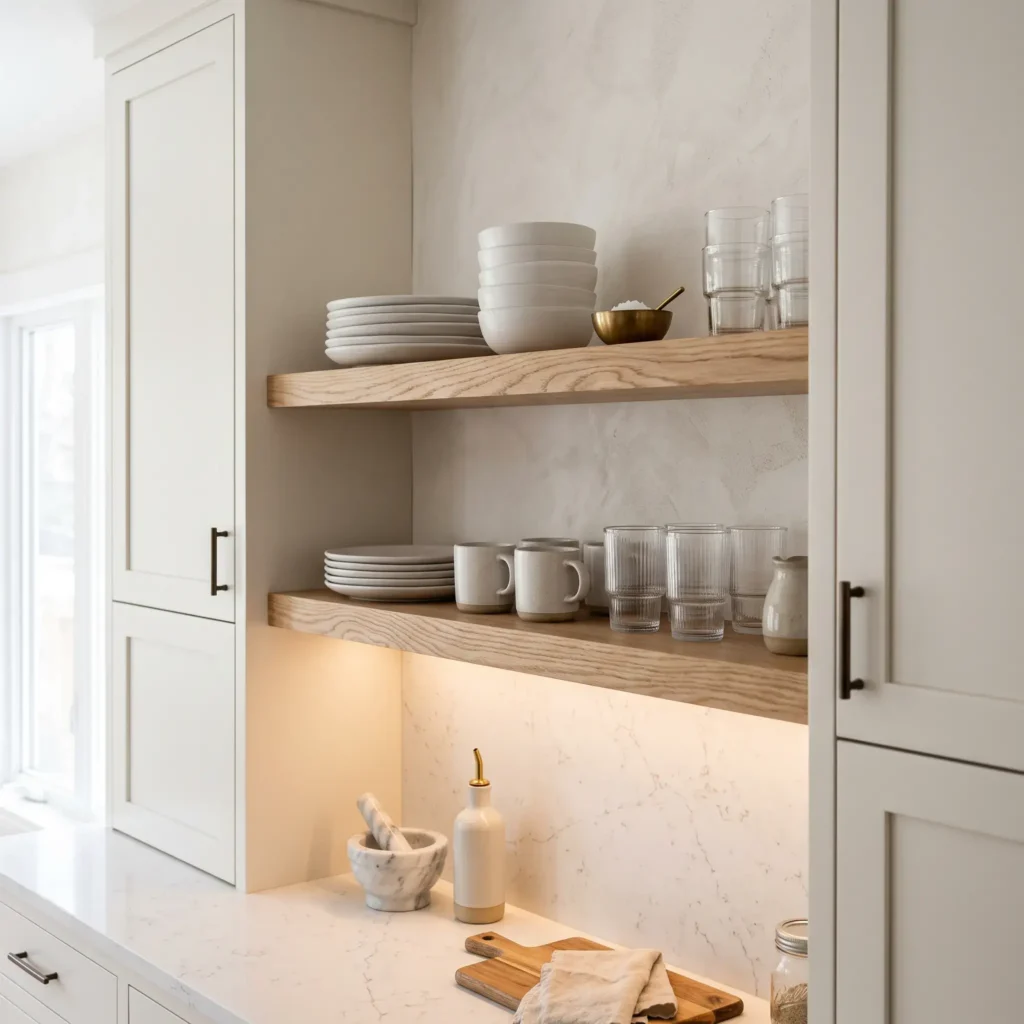
Removing two upper cabinets around your sink or cooktop creates immediate breathing room. Replace those closed boxes with a pair of thick floating hardwood shelves. Use slabs that measure between 1.75 and 2 inches thick, made from white oak or walnut.
Never trust light-duty drywall anchors for kitchen shelving. Mount a concealed steel structural bracket directly into your wall studs using heavy lag bolts. Route a matching channel into the back of your wood shelves so they slide over the steel rods. These shelves hold over 300 pounds of ceramic plates without sagging. Style them with everyday glassware and functional ceramics to keep the wall open and practical.
- Products and Materials Used:
- 1.75-inch thick solid white oak live-edge or square-milled lumber
- Hovr concealed structural bracket system or heavy-duty steel stud rods
- Pure matte polyurethane clear wood finish
- 3-inch structural lag screws for wall stud mounting
4. Run Vertical Backsplash Tile All the Way to the Ceiling
Standard builders cut corners by installing a 4-inch lip of countertop material along the wall, topped with plain drywall. This horizontal stripe cuts your wall in half and makes your kitchen look short.
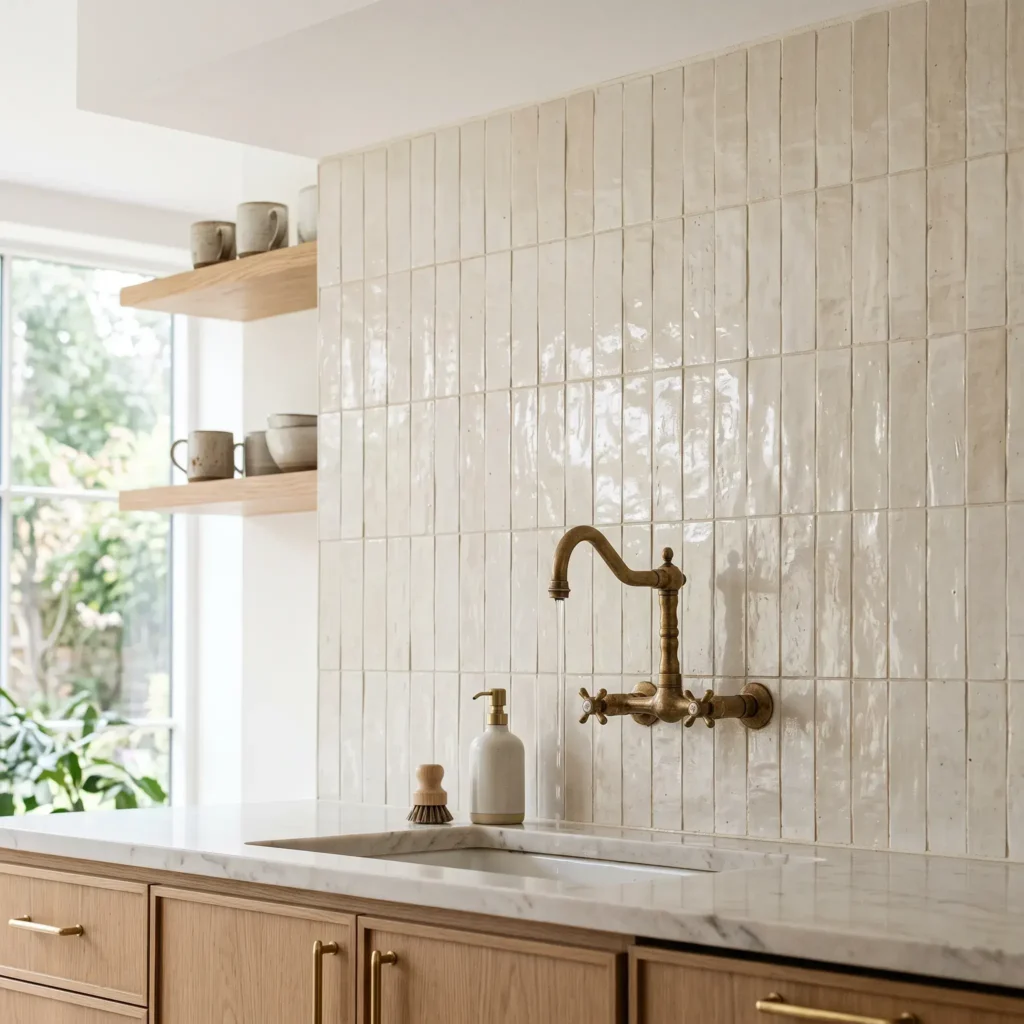
Pry off that 4-inch lip with a putty knife. Install ceramic or porcelain tile starting directly on the countertop surface and run it all the way up to the bottom of your upper cabinets. Where you have open space over the sink or around the range hood, take the tile straight to the ceiling.
Stack slender subway tiles or handmade zellige tiles vertically rather than in a standard brick pattern. Vertical lines lead the eye upward, doubling the perceived ceiling height of your room. Select an off-white or tonal grout rather than a harsh contrasting color. This approach keeps the surface unified and calm.
- Products and Materials Used:
- 2×6 inch or 2×8 inch glazed ceramic zellige-style subway tiles
- Non-sag polymer-modified thin-set mortar
- Mold-resistant unsanded grout in a warm ivory tone
- 100% silicone color-matched kitchen sealant for the countertop seam
5. Retrofit a Short-Apron Cast-Iron Sink into Your Existing Base Cabinet
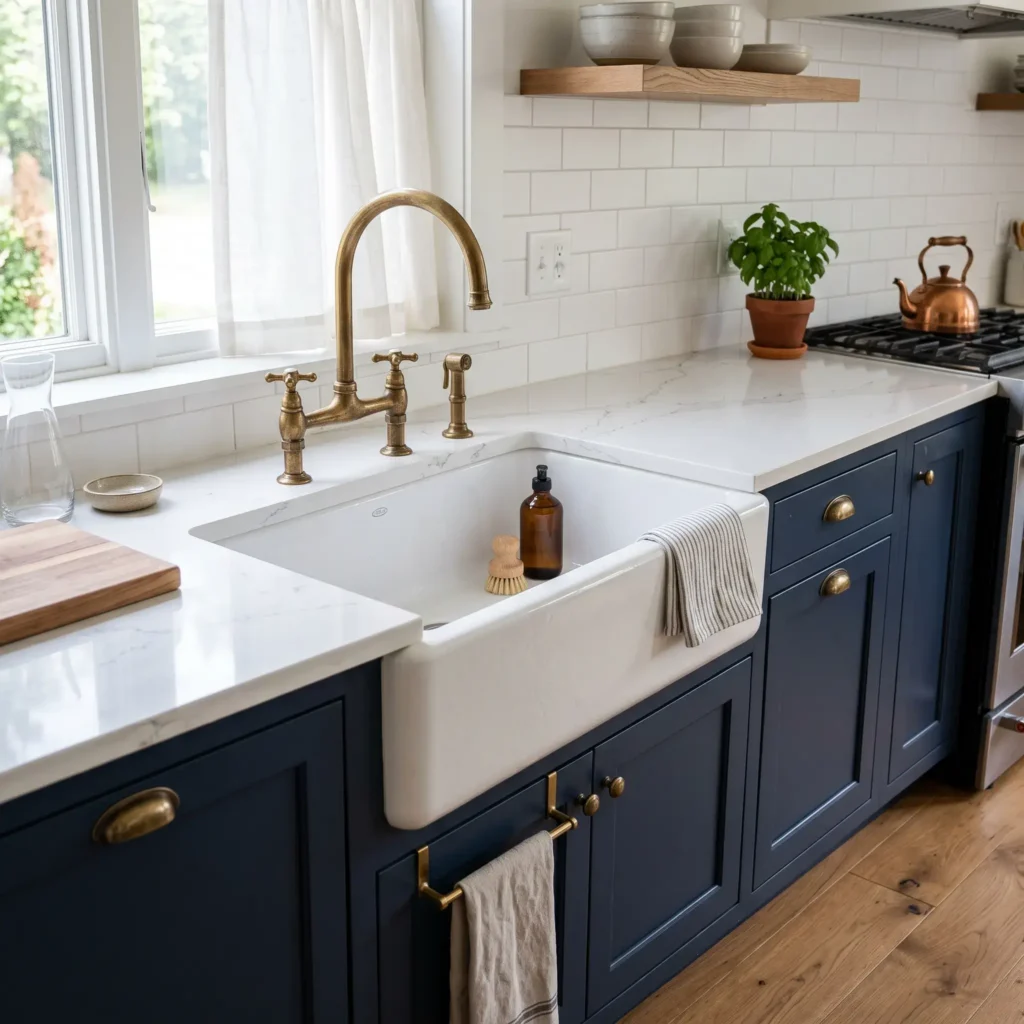
A farmhouse apron-front sink adds instant architectural weight to a kitchen. Standard apron sinks require a custom, shortened base cabinet and smaller doors, which forces you into buying new cabinetry.
You can bypass that problem by using a self-trimming short-apron sink. These models feature an apron between 6-11/16 and 7 inches tall. You remove the top decorative drawer front on your standard 36-inch sink base and cut out the front cabinet divider. The wide cast-iron apron slides directly over your rough cabinet cutout.
Its overlapping rim hides raw cut edges, saving you from making furniture-grade cuts. Best of all, your original lower cabinet doors stay in place. Build a sturdy internal cradle inside the cabinet using 2×4 ledgers screwed into the sidewalls to carry the heavy cast-iron basin and water volume.
- Products and Materials Used:
- Kohler Whitehaven short-apron enameled cast-iron sink
- Unlacquered brass bridge kitchen faucet
- Kiln-dried 2×4 framing lumber for internal support cradle
- 2.5-inch structural wood pocket screws
- Clear mildew-resistant silicone adhesive
6. Install Continuous 2700K COB LED Strip Lighting in Concealed Channels
Central ceiling lights cast your own shadow directly across your cutting board. Individual round puck lights create hot cones of light on the wall, leaving dark pockets between them.
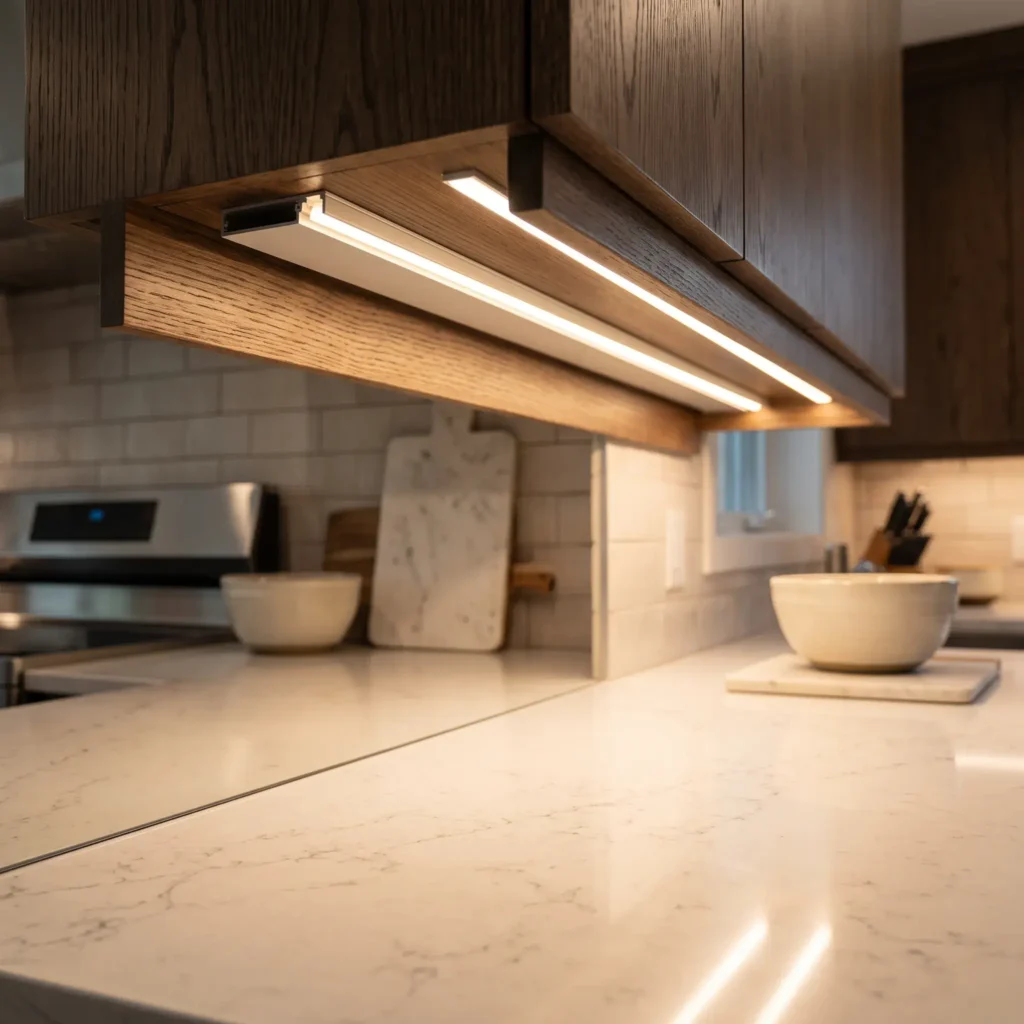
Swap them out for continuous Chip-on-Board (COB) LED strip lighting. COB strips pack hundreds of tiny diodes per foot, creating a seamless line of glowing light without dots. Mount a slim aluminum channel on the underside of your upper cabinets along the front edge, tucked behind a 1.5-inch light rail trim.
Choose a color temperature between 2700K and 3000K with a 90+ Color Rendering Index (CRI). This warm spectrum matches residential living spaces and brings out natural colors in food. Run the wires to an under-cabinet transformer, or use a rechargeable magnetic aluminum light bar if hardwiring is out of reach.
- Products and Materials Used:
- 24-volt continuous COB LED light tape (2700K warm white, 90+ CRI)
- Surface-mount aluminum channel with a frosted milky diffuser lens
- Dimmable 120V to 24V DC driver
- Solid wood 1.5-inch cabinet light rail trim molding
7. Hang a Solid Brass Hanging Rail Across the Backsplash
Counter space disappears quickly in a one-wall kitchen. Knife blocks, spice racks, and utensil crocks steal valuable food prep room.
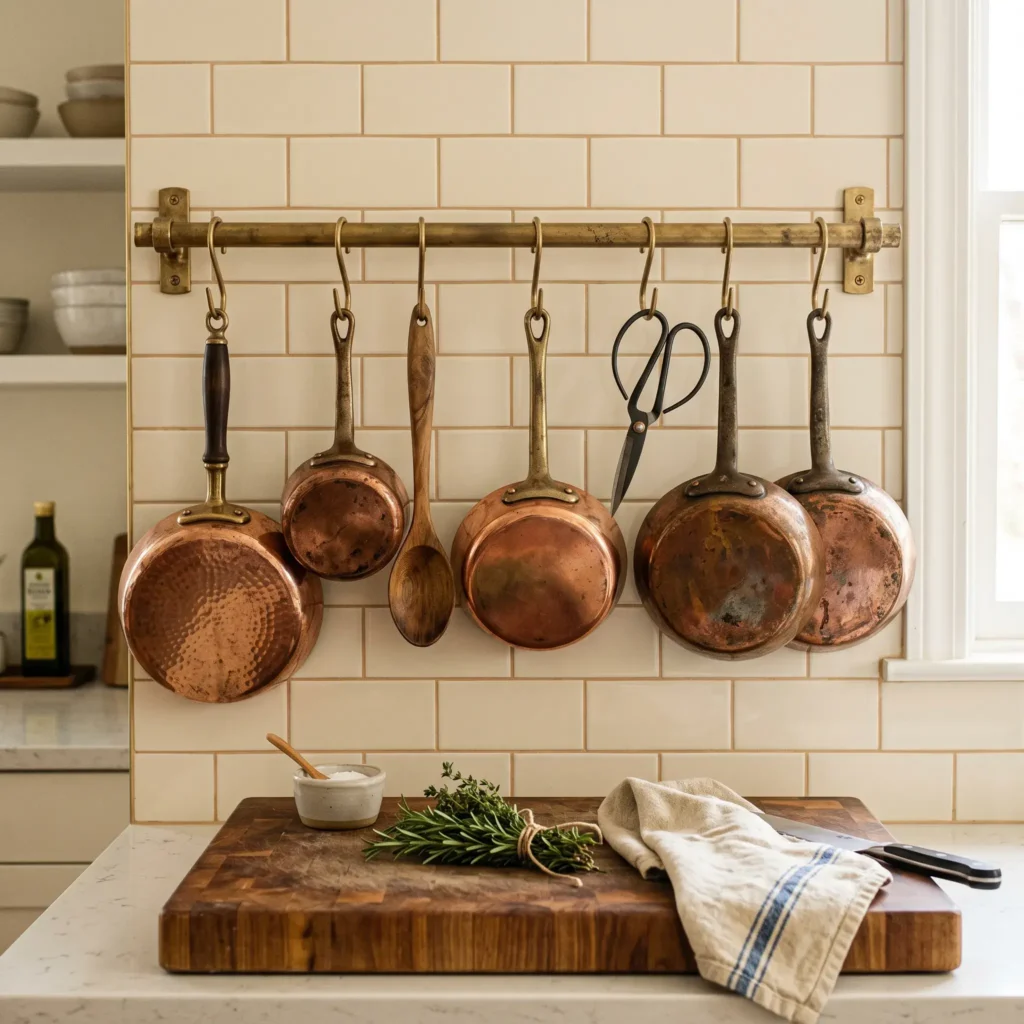
Install a solid unlacquered brass or blackened steel utility rail directly into your backsplash wall. Run it horizontally between your countertop and upper cabinets. Use S-hooks to hang measuring spoons, heavy copper pans, scissors, and small wire baskets for fresh herbs.
This European-inspired detail moves clutter off your counters and adds visual depth to a flat drywall surface. Unlacquered brass develops a rich, natural patina over time as your hands touch it. Use heavy-duty toggle anchors or drill directly into masonry to make sure the brackets never pull loose under the weight of metal pans.
- Products and Materials Used:
- Solid unlacquered brass hanging wall rail (36 to 48 inches)
- Solid brass matching wall mounting brackets and end caps
- Brass utility S-hooks
- Heavy-duty hollow wall metal anchors or tile drill bits
8. Frame the Range with a Plaster Chimney Hood Enclosure
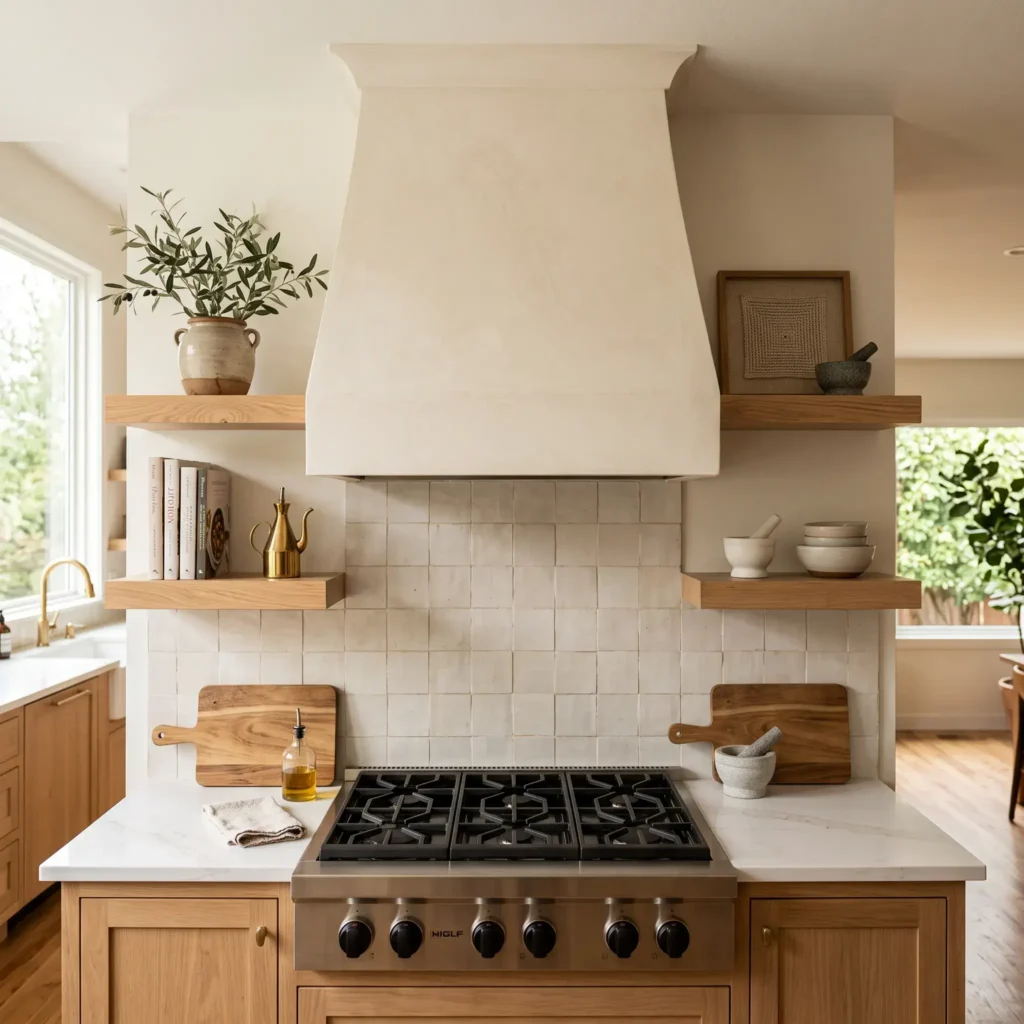
Over-the-range microwave units look clunky and circulate grease right back into your living room. Replacing that microwave with a custom chimney-style hood turns the center of your kitchen wall into an intentional focal point.
You can frame a hood cover over a weekend using 2×4 framing lumber anchored directly into your wall studs. Sheath the frame in 1/2-inch cement backer board. Apply two coats of authentic lime-based Venetian plaster or Roman clay across the surface using a flexible stainless steel trowel.
The soft, matte plaster texture balances the flat painted surfaces of your cabinets. Seal the plaster with an oleophobic mineral wax so grease and steam wipe off easily. Install a 400 CFM ventilation power pack inside the frame to exhaust heat directly outdoors.
- Products and Materials Used:
- 30-inch or 36-inch ventilation power pack insert (minimum 400 CFM)
- 2×4 kiln-dried framing lumber
- 1/2-inch cement backer board
- Authentic lime-base Venetian plaster or Roman clay compound
- Oleophobic protective finishing wax
Linear Workflow and Ergonomic Clearances
A one-wall kitchen lines up the entire work zone along a single axis. You cannot step across a triangle here. Every step moves from left to right or right to left.
To prevent prep bottlenecks, organize your stations in a clean order: cold food storage, washing zone, prep space, and cooking.
[ Refrigerator ] ──> [ Sink & Basin ] ──> [ Main Prep Zone ] ──> [ Cooktop & Range ]
Respecting minimum clearances prevents cooking chaos when two people share the room:
| Kitchen Station | Minimum Required Clearance | Ideal Working Dimension | Why It Matters |
|---|---|---|---|
| Refrigerator Landing | 15 inches on latch side | 18 to 24 inches | Gives you space to stage groceries without blocking the walkway. |
| Sink Basin Landing | 24 inches primary side, 18 inches secondary side | 30 inches flanking basin | Prevents water from splashing directly onto cooked food or small appliances. |
| Main Prep Counter | 36 continuous inches | 42 to 48 continuous inches | Provides continuous space for rolling dough, cutting boards, and plating meals. |
| Cooktop Landing | 15 inches primary side, 12 inches secondary side | 18 inches on both sides | Gives you an immediate resting spot for hot cast iron skillets leaving the stove. |
| Walkway Clearance | 36 inches wide | 42 to 48 inches wide | Allows two adults to pass each other without turning sideways. |
Building Code and Ventilation Safety Rules
Before building enclosures around cooking appliances, check local safety codes. The International Residential Code (IRC) sets clear boundaries for clearances around heating surfaces to protect your home from fire risks:
- Clearance Over Electric and Induction Cooktops: Maintain at least 24 to 30 inches of vertical space between the cooking surface and any combustible cabinet surface. Functional capture works best between 22 and 26 inches.
- Clearance Over Domestic Gas Ranges (Under 50,000 BTU): You need a strict minimum of 30 inches of clearance to combustible wood framing. You can drop this to 24 inches only if you install a non-combustible metal deflector under the cabinetry.
- Range Hood Sizing: Your vent hood should equal the full width of an electric or induction cooktop. For gas ranges, building the hood enclosure 3 inches wider on each side improves grease capture.
- Air Circulation Around Refrigerators: Sealed cabinet surrounds trap compressor heat. Leave a 1/2-inch gap along both sides and a full 1-inch gap between the top of the fridge and your upper cabinet to prevent your compressor from burning out.
Upgrade Feasibility and Budget Breakdown
Planning your budget keeps your kitchen project on track. This table compares costs and difficulty levels for each project:
| Upgrade Project | Target Problem Solved | DIY Material Cost | Professional Labor Cost | Visual Custom Impact | Time Required | Difficulty Level |
|---|---|---|---|---|---|---|
| Cabinet Ceiling Riser and Crown | Eliminates ceiling dead gap | $120 to $250 | $600 to $1,100 | High (9/10) | 1 to 2 Days | Intermediate Woodworking |
| Refrigerator Gable Surround | Hides exposed appliance sides | $140 to $300 | $600 to $1,200 | High (9/10) | 1 Day | Intermediate Woodworking |
| Counter-to-Ceiling Tile | Removes flat, cheap drywall look | $180 to $450 | $700 to $1,600 | High (8.5/10) | 2 Days | Beginner to Intermediate |
| Hardwood Floating Shelves | Breaks up oppressive cabinet blocks | $90 to $220 | $350 to $700 | Medium (8/10) | Half Day | Beginner |
| Concealed COB LED Channels | Eliminates prep shadows | $60 to $140 | $300 to $500 | High (8.5/10) | 3 Hours | Beginner |
| Brass Wall Utility Rail | Frees up cramped counter space | $45 to $110 | $150 to $250 | Medium (7.5/10) | 1 Hour | Beginner |
| Short-Apron Sink Retrofit | Adds architectural weight to base | $350 to $750 | $700 to $1,200 | High (8.5/10) | 1 Day | Intermediate Plumbing |
| Plaster Range Hood Cover | Replaces dated metal microwave | $160 to $350 | $800 to $1,800 | High (9.5/10) | 2 to 3 Days | Intermediate Construction |
Common Mistakes to Avoid in Single-Wall Kitchens
- Blocking Refrigerator Doors: Many DIYers bring the gable panel all the way past the front door face. If the wood panel sits past the refrigerator body, the thick doors will hit the wood frame when opened. The refrigerator carcass must sit flush with the panel, leaving the door hinge clear.
- Using Daylight Bulbs (5000K): High-temperature daylight bulbs cast a blue, sterile hospital glow over food. Choose warm white diodes rated between 2700K and 3000K to complement wood tones and warm paint.
- Using Hollow Wall Anchors for Heavy Shelves: Kitchen plates and cast-iron cookware are exceptionally heavy. Plastic anchors will pull free from drywall over time. Drive lag bolts directly into wall studs, or open the drywall to install solid 2×6 horizontal backing blocks before tiling.
- Skipping the Upper Light Rail: Placing an LED strip on a flat cabinet bottom leaves the bare fixture visible to anyone sitting on a nearby sofa. A 1.5-inch light rail lip hides the aluminum track and directs light straight down onto your work area.
Bringing It Together
You do not need to knock down walls or spend tens of thousands of dollars to fix an uninspired kitchen. Pick one project this weekend, such as framing your refrigerator with a finished side panel or replacing spotty puck lights with warm, continuous LED channels. Small, precise architectural updates add character to your space and turn a plain builder-grade wall into an intentional, functional centerpiece of your home.
Frequently Asked Questions
How do I make my single-wall kitchen feel wider?
Run long, continuous horizontal lines across your wall. Install an uninterrupted backsplash from your countertop up to your upper cabinets. Avoid bold vertical stripes or dark paint colors that divide the space into choppy blocks. Running your floorboards parallel to the kitchen wall also creates the optical illusion of a longer, wider room.
Can I install an apron-front sink without buying new cabinets?
Yes. Choose a self-trimming short-apron sink model, such as the Kohler Whitehaven short-apron series. Its 6-11/16-inch apron fits directly over the top false drawer opening of standard base cabinets. The outer rim covers your rough wood cuts, and your original lower cabinet doors stay untouched.
What is the most functional order for a single-wall kitchen layout?
Follow a unidirectional sequence: refrigerator, sink, main prep counter, and range. This setup mirrors how food moves through a kitchen. You retrieve items from cold storage, wash them in the sink, chop them on the counter, and cook them on the stove without doubling back on your steps.
How much clearance do I need between my kitchen counter and an island or table?
Keep at least 36 inches of clear walking space between your counter edge and any opposing dining table or floating island. For shared spaces where two people cook at the same time, aim for 42 to 48 inches so oven doors and dishwasher racks open without blocking the path.
What paint should I use to make standard cabinets look factory-finished?
Use a water-reducible alkyd or urethane enamel paint, such as Benjamin Moore Advance or Sherwin-Williams Emerald Urethane Trim Enamel. These formulas level out as they dry, erasing brush marks and forming a rock-hard satin shell that resists everyday kitchen grease and scrubbing.