8 Practical Easter Craft Ideas That Actually Work (With Real Materials)
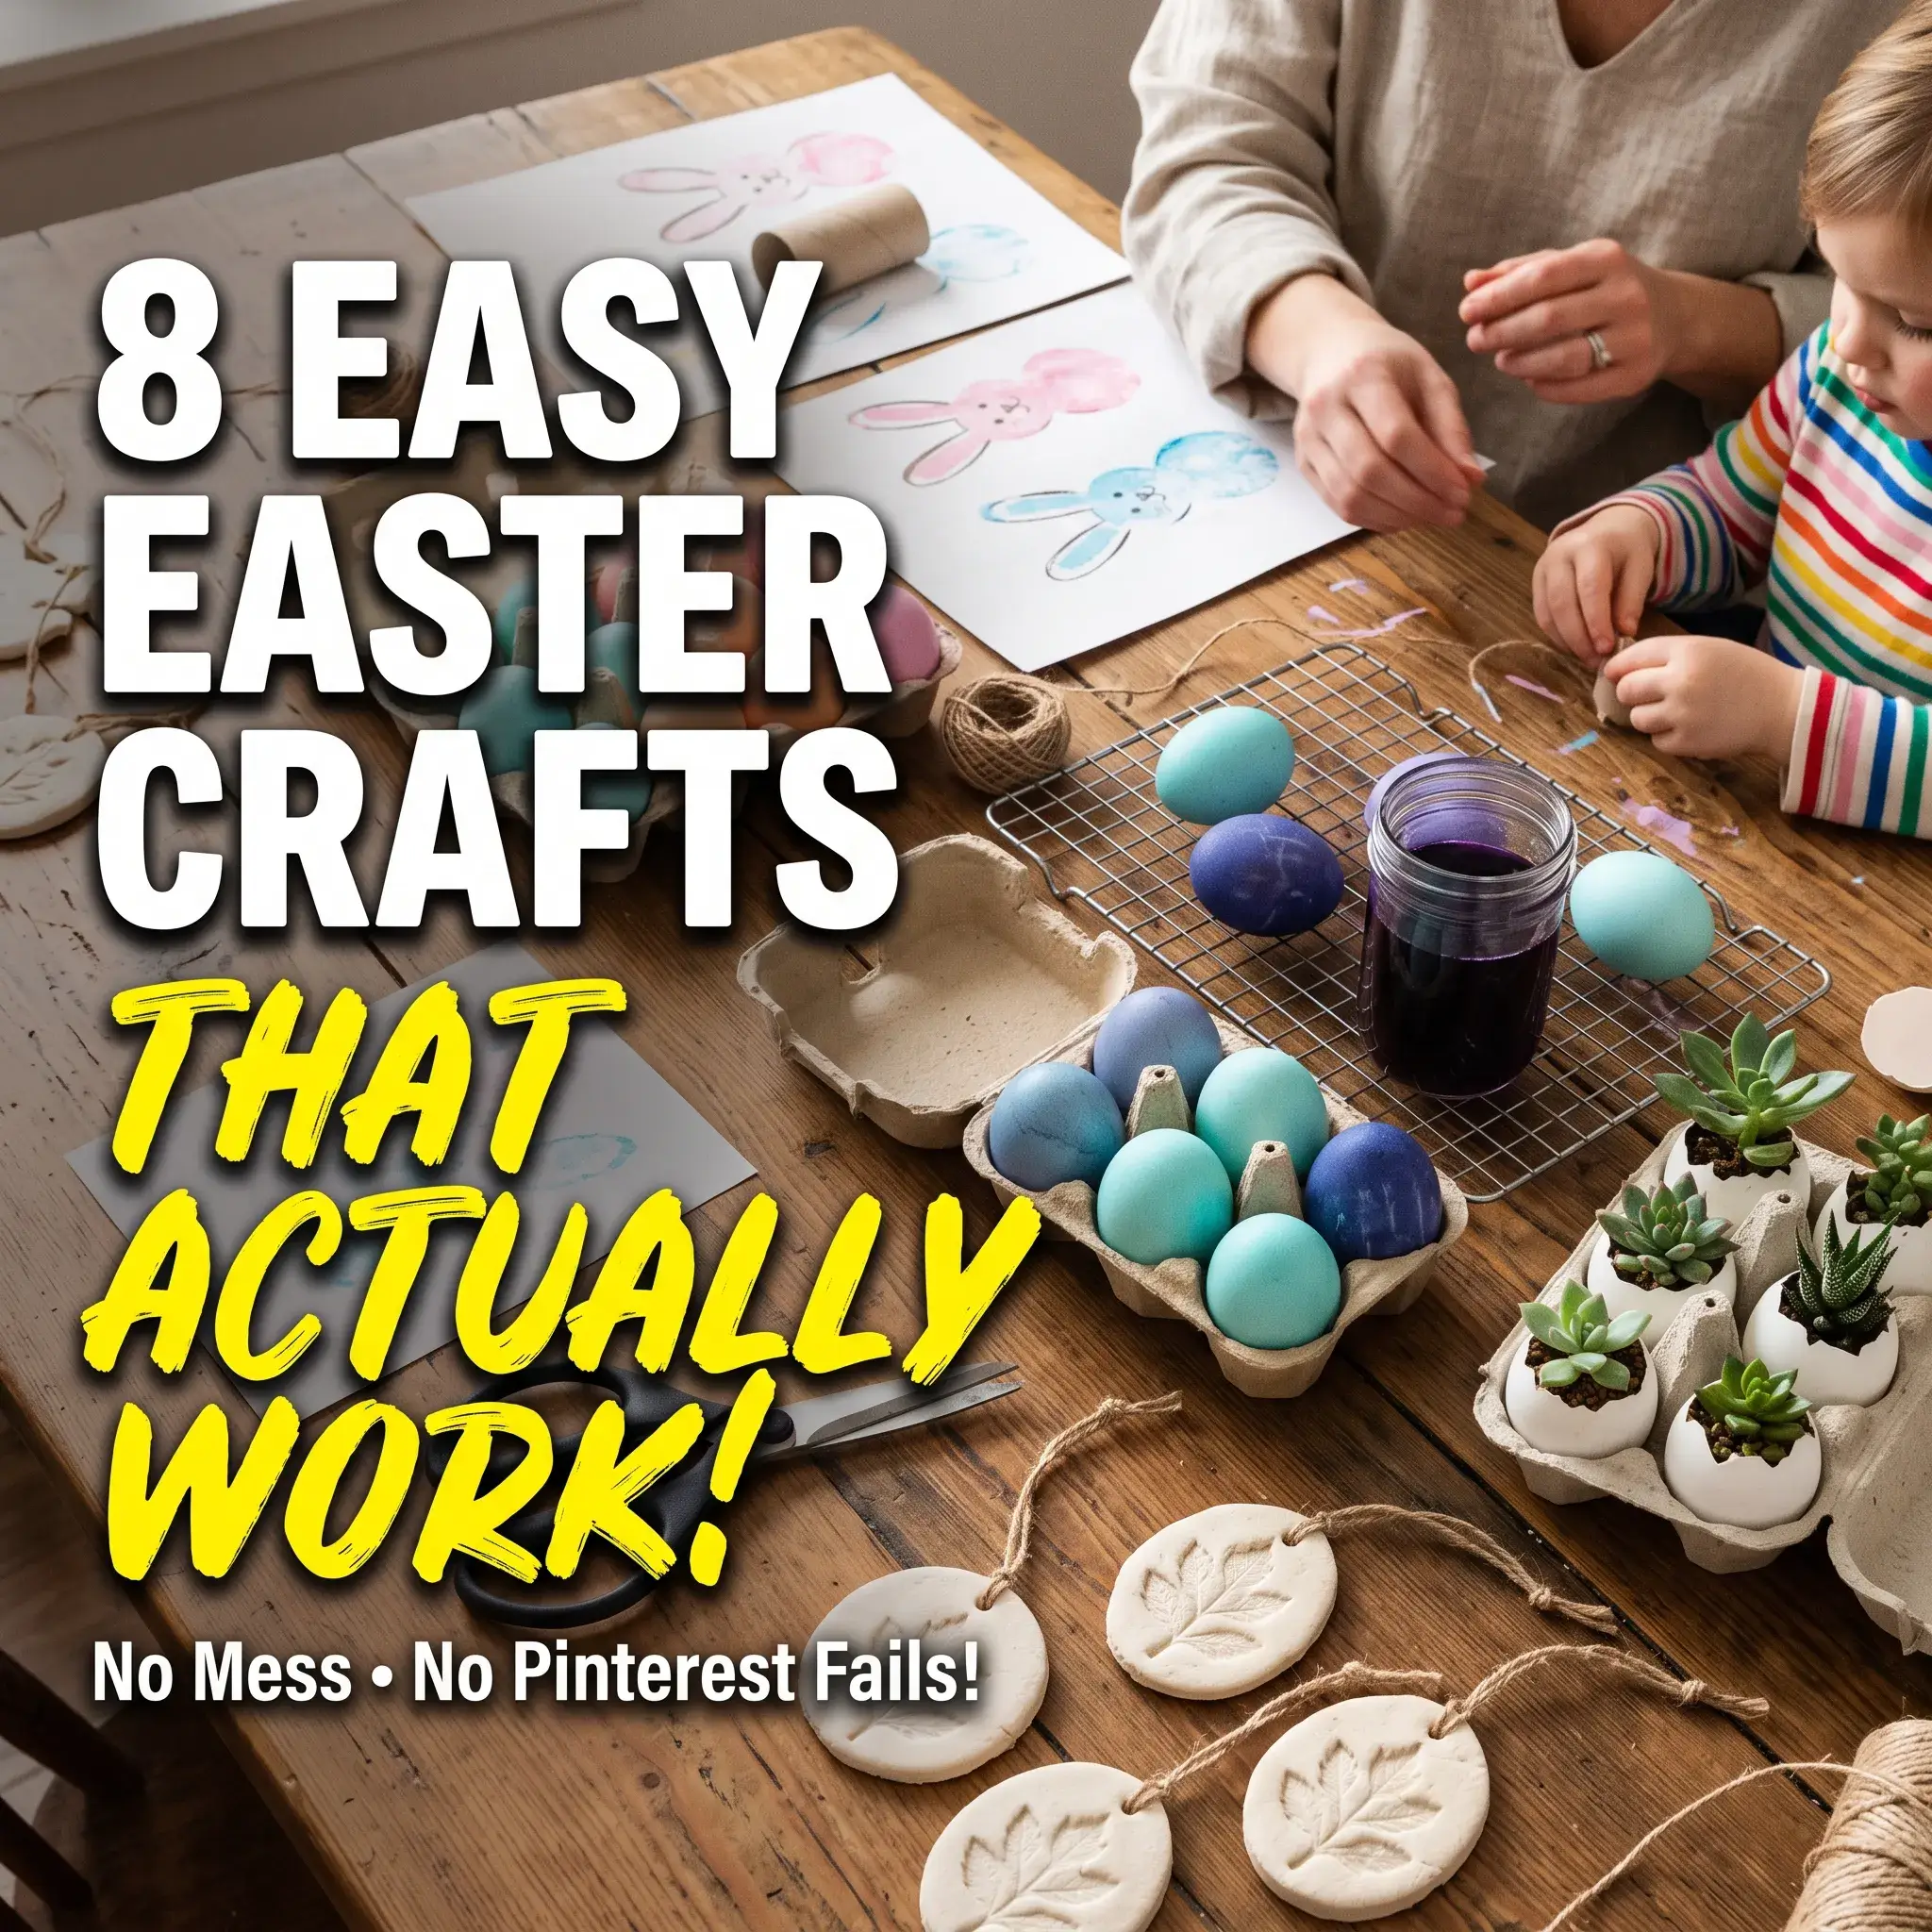
Most holiday craft tutorials look great on Pinterest but turn into expensive messes at the kitchen table. Dyes turn into murky brown water, salt dough puffs up into cracked biscuits, and balloons pop before the yarn glue sets.
Real holiday crafting requires practical methods that fit your schedule, your budget, and your tolerance for mess.
Below are 8 tested Easter craft ideas designed for real homes and classrooms. Each project includes exact material ratios, clean steps, full product lists, and realistic timeframes so your projects turn out right on the first try.
1. Upcycled Cardboard Bunny Stamp Art
This project turns discarded cardboard tubes into stamping tools. It lets toddlers and preschoolers stamp crisp rabbit shapes without needing advanced motor skills.
Cardboard tubes offer a rigid grip for small hands. Pinching two cut rings creates elongated ear shapes. When glued to a round tube base, the entire unit stamps a complete rabbit head in one press. Washable tempera paint sits neatly on the paper surface without tearing through construction sheets.
- Best For: Toddlers and preschoolers (Ages 1 to 4)
- Active Time: 15 minutes
- Mess Level: Very low
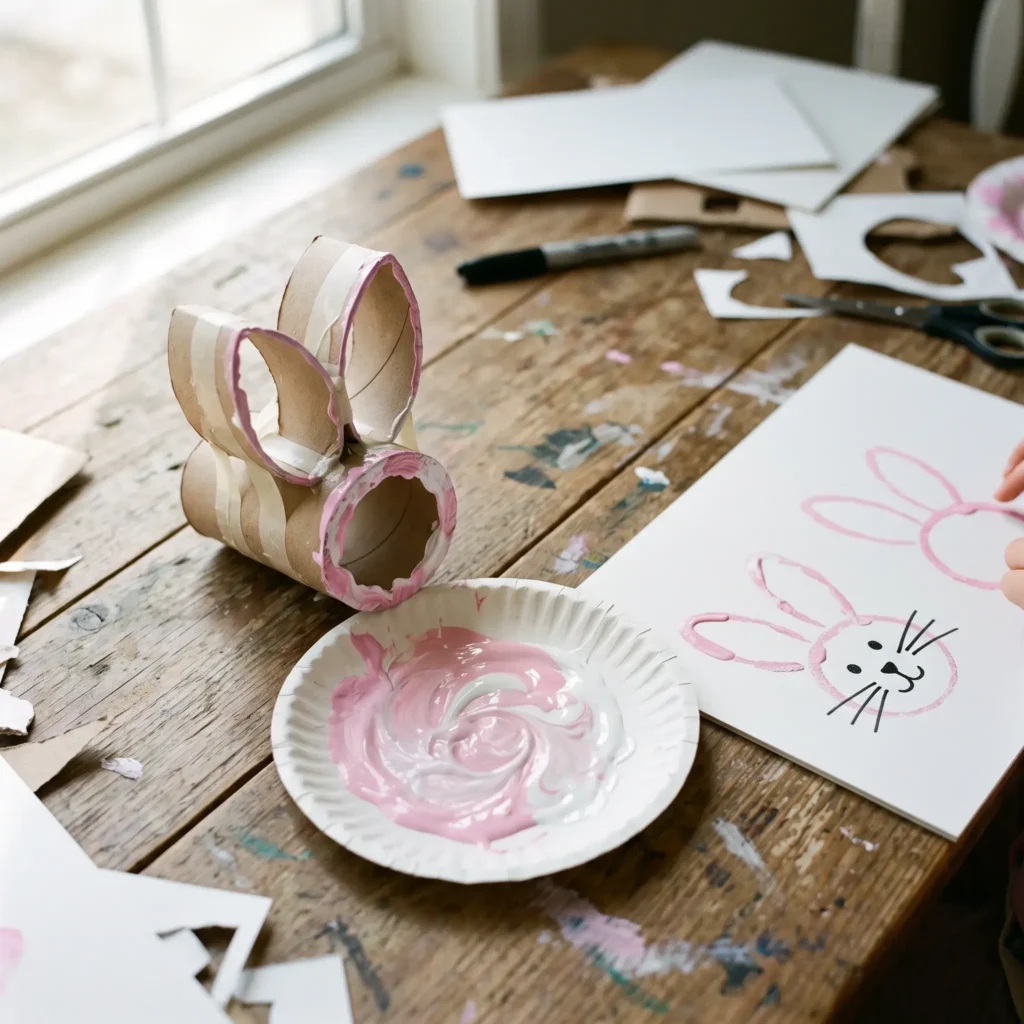
Supplies and Products Needed
- 3 empty cardboard toilet paper rolls or paper towel tubes
- Washable liquid tempera paint (white, pastel pink, and sky blue)
- Heavy pastel construction paper or 90 lb watercolor paper
- Low-temperature hot glue gun (for parent assembly)
- Shallow paper plates or paint trays
- Black fine-tip permanent marker
2. Cold-Dip Botanical Eggs with Red Cabbage
Skip synthetic dye tablets that stain countertops and hands. Simmering red cabbage yields a water-based pigment that turns ordinary white eggs a striking robin’s egg blue.
Red cabbage contains anthocyanins, natural pigments that react to pH changes. When exposed to the alkaline calcium carbonate of an eggshell, the purple broth shifts into a soft blue. Adding white vinegar lightly etches the shell surface, creating microscopic pores that lock in the color.
- Best For: All ages (Adult supervision for boiling)
- Active Time: 30 minutes
- Chilling Time: 2 to 12 hours
- Mess Level: Low
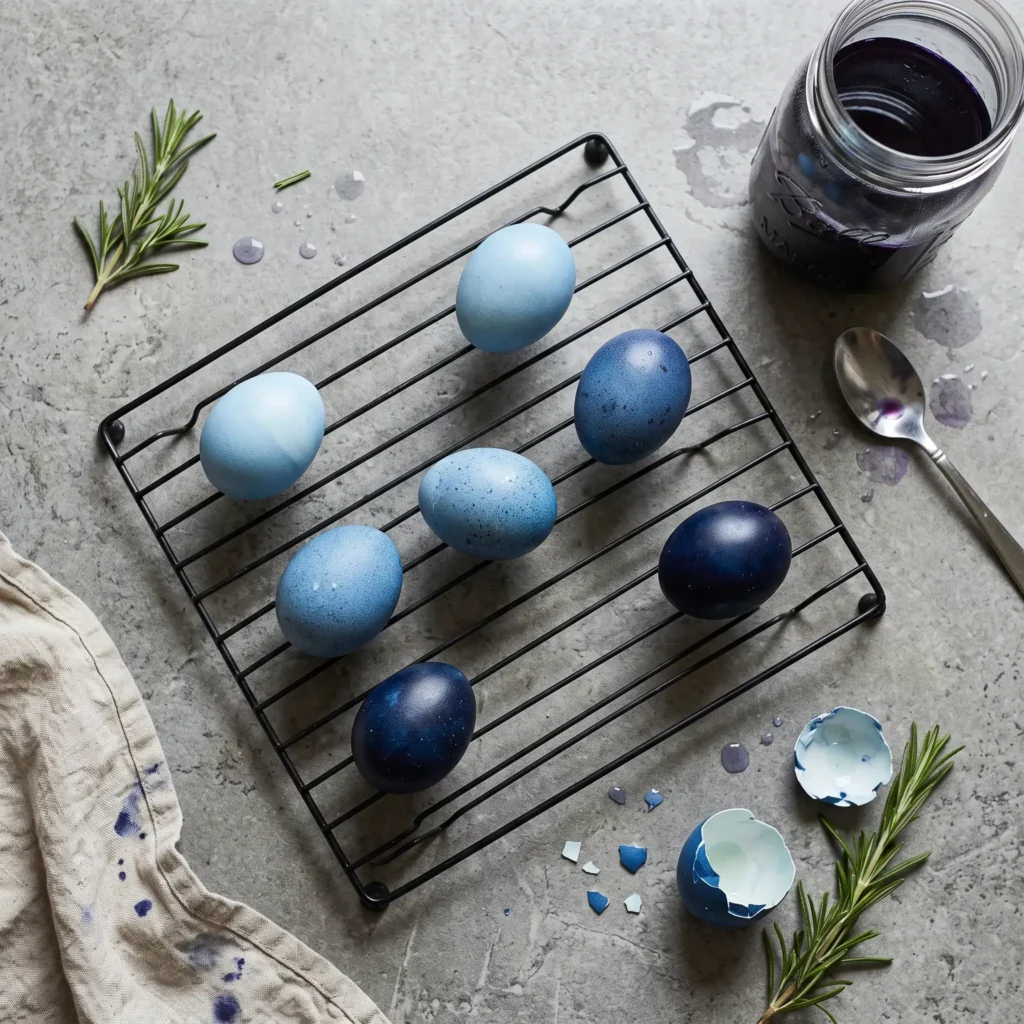
Supplies and Products Needed
- 12 large white Grade A chicken eggs (hard-boiled)
- 1/2 head of fresh red cabbage, roughly chopped
- 4 cups tap water
- 4 tablespoons distilled white vinegar (5% acidity)
- Quart-sized glass mason jars
- Fine-mesh stainless steel strainer
- Slotted spoon
- 1 tablespoon vegetable oil or coconut oil (for buffing)
- Soft microfiber cloth
Check out more Easter Decor Ideas
3. Low-Bake Botanical Salt Dough Keepsakes
Traditional salt dough often puffs up and deforms in the oven. This recipe uses a strict ratio to create smooth, stone-hard pendants that capture the tiny veins of spring leaves.
The high salt concentration blocks gluten strands from expanding, keeping your cut edges clean and flat. Baking at 250 degrees Fahrenheit slowly dehydrates the dough without boiling internal moisture, which prevents air bubbles from ruining your designs.
- Best For: Ages 4 and up
- Active Time: 40 minutes
- Bake Time: 2 to 2.5 hours
- Mess Level: Moderate (flour cleanup)
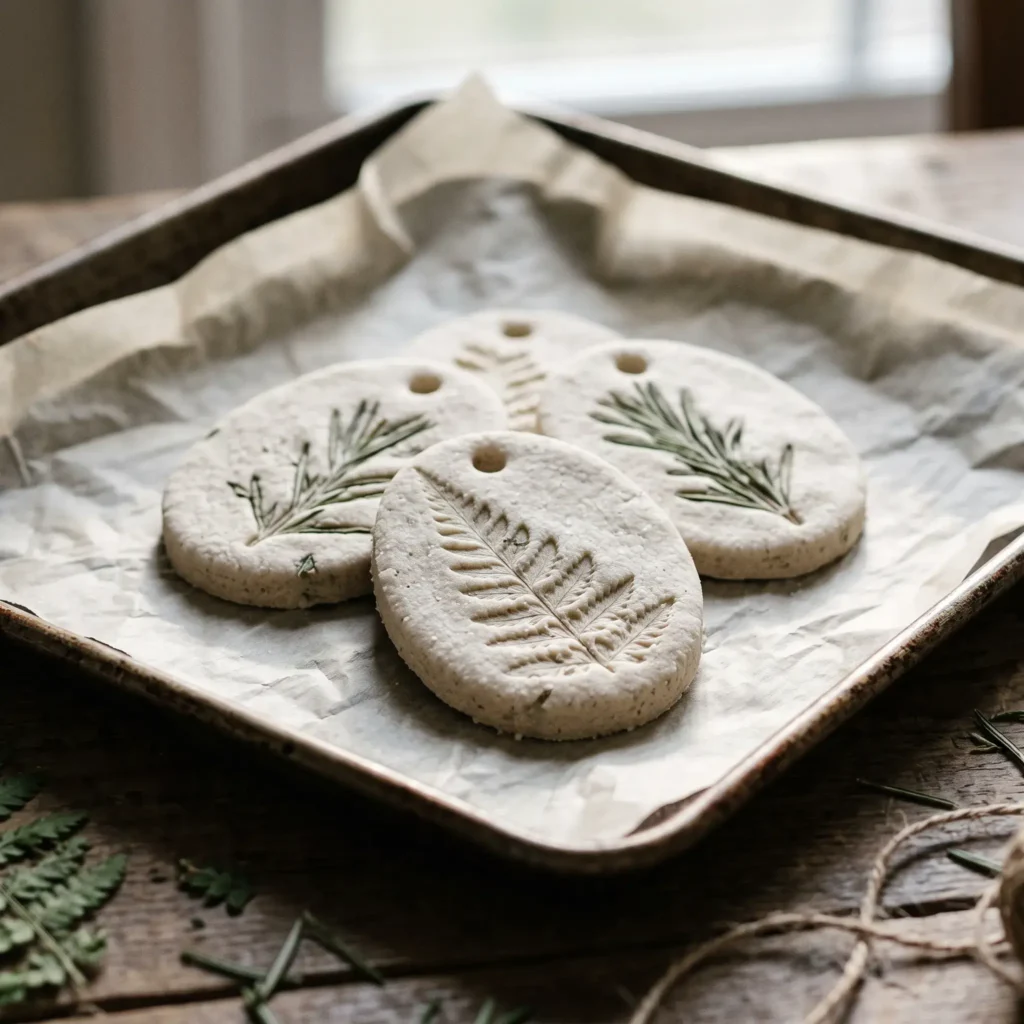
Supplies and Products Needed
- 2 cups all-purpose white flour
- 1 cup fine table salt
- 3/4 cup lukewarm water
- Fresh botanical clippings (fern fronds, flat parsley, or rosemary)
- Standard wooden rolling pin
- Oval or egg-shaped cookie cutter (3-inch size)
- Plastic drinking straw (for ribbon holes)
- Parchment paper and metal baking sheet
- Clear matte acrylic spray sealer
- Gingham cotton ribbon
4. Dimensional Honeycomb Paper Eggs
Honeycomb paper designs look intricate, but they rely on simple radial folding and alternating glue lines. They fold completely flat for storage and expand into sturdy, three-dimensional ornaments.
Using 65 lb cardstock provides the perfect balance. Standard copy paper is too weak to hold its shape, while heavy cardboard resists fanning out. Alternating a center glue line with two outer glue lines creates internal pockets that open smoothly into an accordion design.
- Best For: Ages 8 to adult
- Active Time: 45 minutes
- Mess Level: Very low
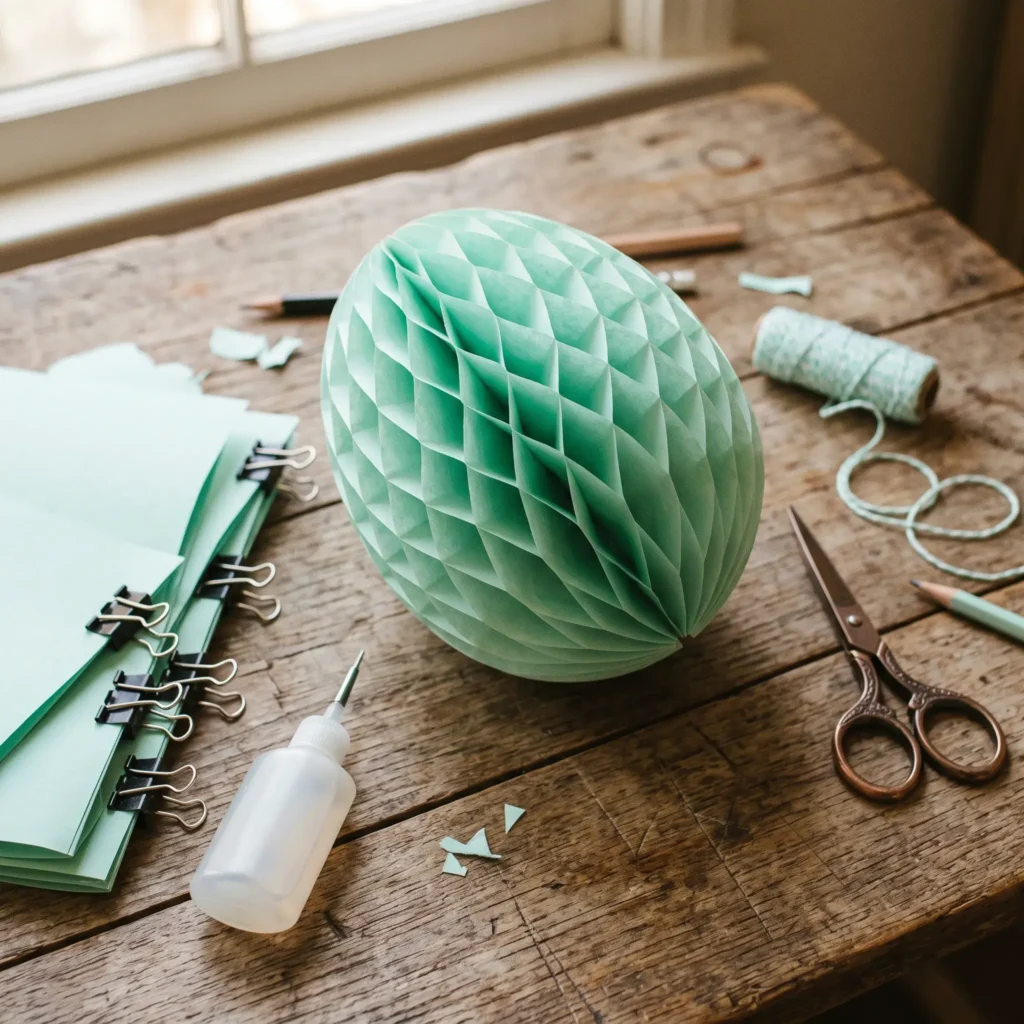
Supplies and Products Needed
- 25 sheets of pastel cardstock (65 lb / 176 gsm) in mint, butter yellow, or blush
- Fine-tip liquid PVA craft glue or precision glue pen
- Sharp paper craft scissors
- Bone folder or plastic ruler
- Heavy cardstock egg template (4 inches tall)
- Two medium metal binder clips
- Thin silk cord or Baker’s twine
5. Recycled Eggshell Succulent Starters
These miniature planters repurpose cracked eggshells into biodegradable pots for tiny succulents and seedlings. They look beautiful on a brunch table and can go straight into the garden soil later.
Avian eggshells consist of calcium carbonate. As the shell breaks down over time, it releases nutrients directly into garden soil. Boiling the shells beforehand sterilizes them completely, while piercing a small drainage hole prevents root rot in delicate succulent cuttings.
- Best For: Ages 6 and up (Parent prep for boiling shells)
- Active Time: 30 minutes
- Mess Level: Low
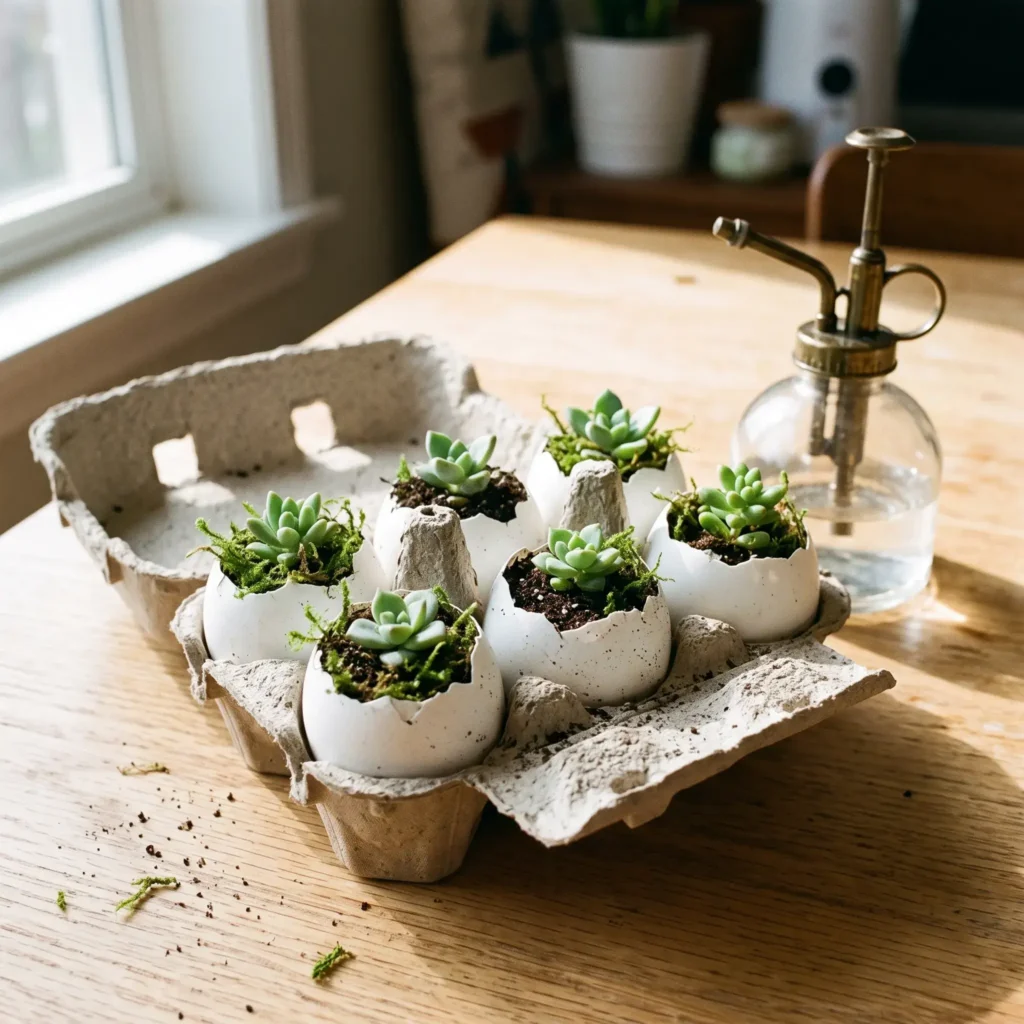
Supplies and Products Needed
- 6 clean, jumbo raw eggshells (cracked carefully near the top third)
- Cardboard egg carton (cut to a 6-egg section)
- Well-draining cactus and succulent potting mix
- 6 miniature succulent cuttings (such as Sedum or small Echeveria)
- Small pushpin or heavy needle (for drainage holes)
- Small spoon or wooden craft stick
- Preserved green reindeer moss
- Small spray mister bottle
6. Balloon-Form Yarn Lace Eggs
Yarn lace eggs create hollow, freestanding spheres that you can fill with lightweight paper grass and treats. They look delicate, but a simple polymer mix makes them surprisingly rigid.
Winding yarn across multiple angles forms an interconnected lattice. As the water evaporates from the PVA glue mix, the adhesive forms a hardened outer shell. When you prick the inner balloon, it peels cleanly away from the fibers without crushing the structure.
- Best For: Ages 5 and up
- Active Time: 30 minutes
- Cure Time: 24 to 48 hours
- Mess Level: High (Sticky fingers)
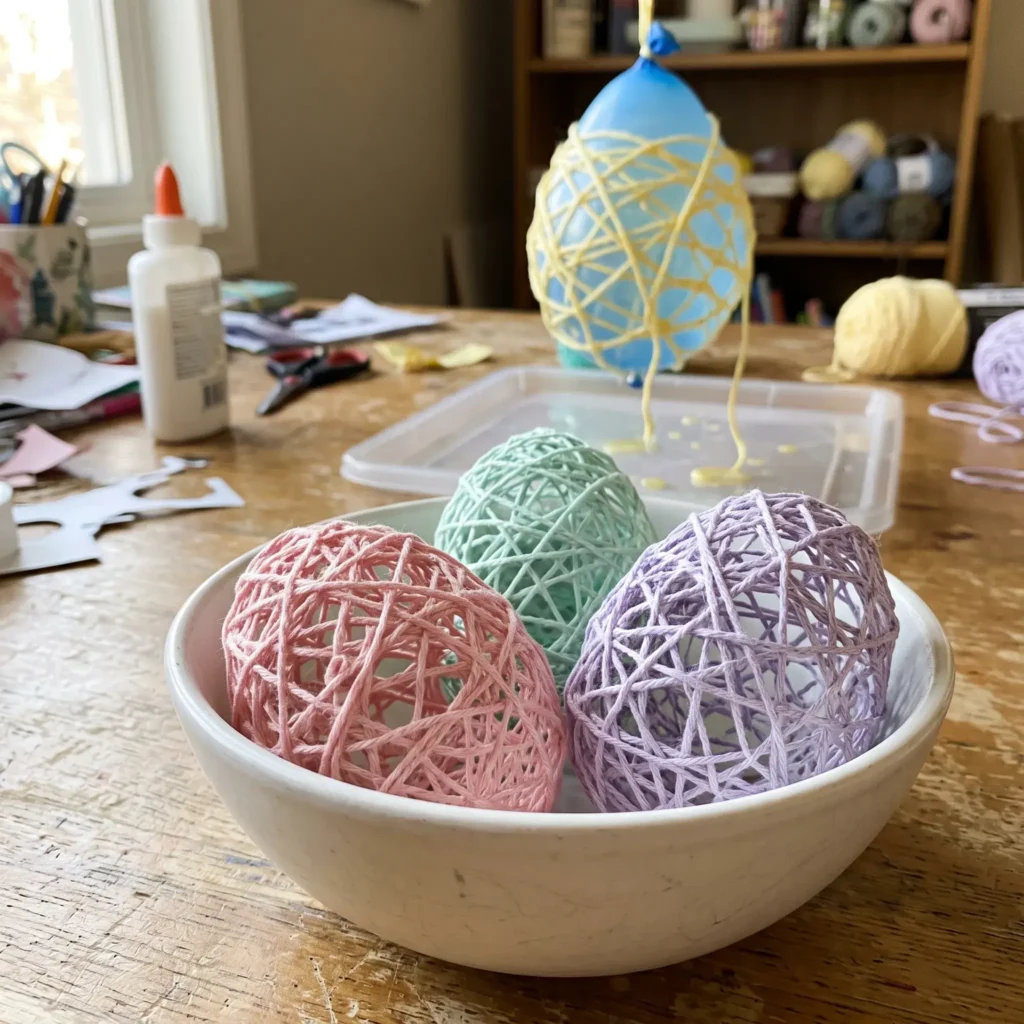
Supplies and Products Needed
- 100% cotton crochet thread or standard pastel acrylic yarn
- Small latex water balloons
- Standard white PVA school glue
- Warm tap water
- Disposable plastic mixing bowl
- Blunt plastic sewing needle
- Wax paper or baking parchment
- Tweezers
7. Traditional Wax-Resist Pysanky for Beginners
Pysanky is an ancient folk craft that uses heated beeswax and layered dyes to build geometric patterns on real eggshells.
The process uses a small tool called a kistka. Its brass funnel holds molten beeswax, which flows through a fine tip to seal the shell. Areas covered in wax resist subsequent dye baths. Working from your lightest dye to your darkest shade builds rich, multi-colored designs layer by layer.
- Best For: Teens and adults
- Active Time: 2 hours per egg
- Mess Level: Moderate (Candle soot and permanent dye)
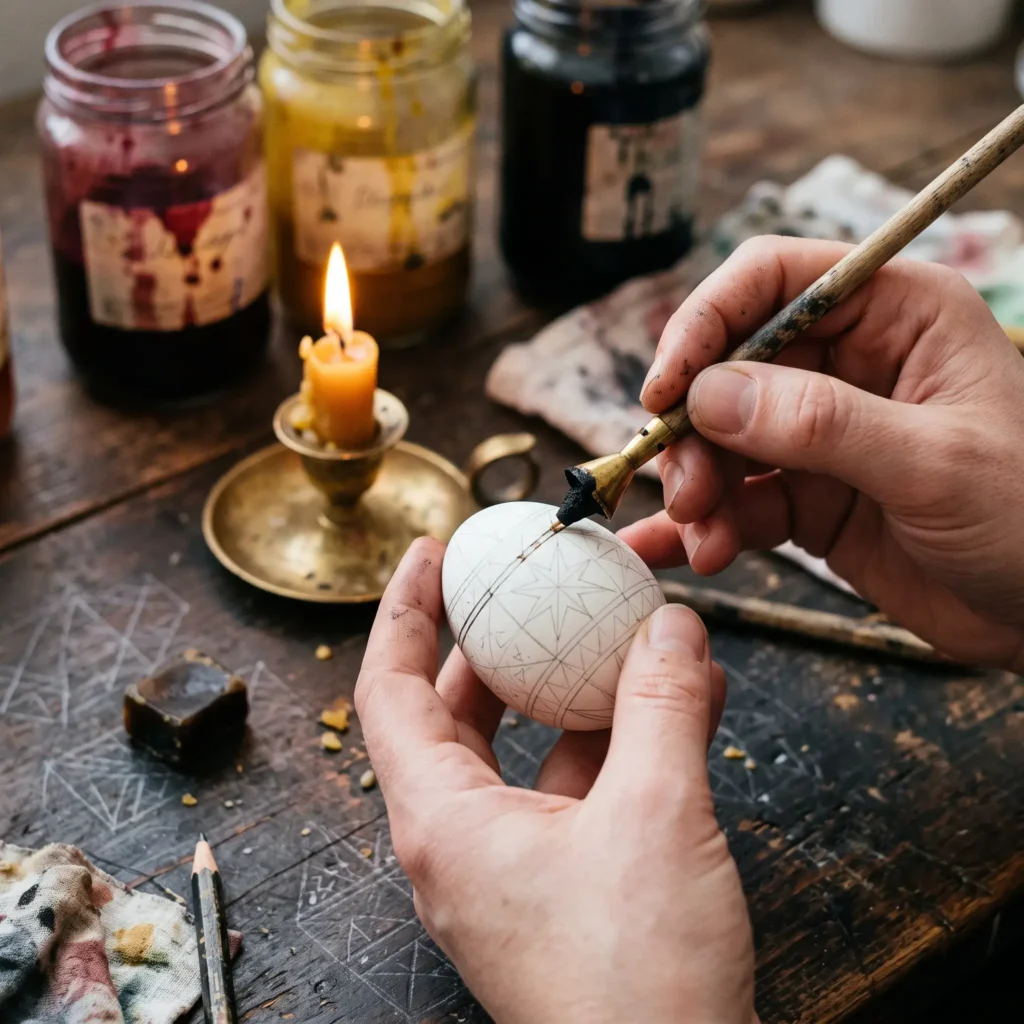
Supplies and Products Needed
- 3 raw, room-temperature white eggs (smooth, unblemished shells)
- Traditional medium brass-funnel kistka
- Block of pure beeswax
- White beeswax taper candle and sturdy holder
- Aniline or specialized cold-water egg dyes (Yellow, Orange, Red, Black)
- Soft 2B graphite pencil
- Paper towels
- Matches
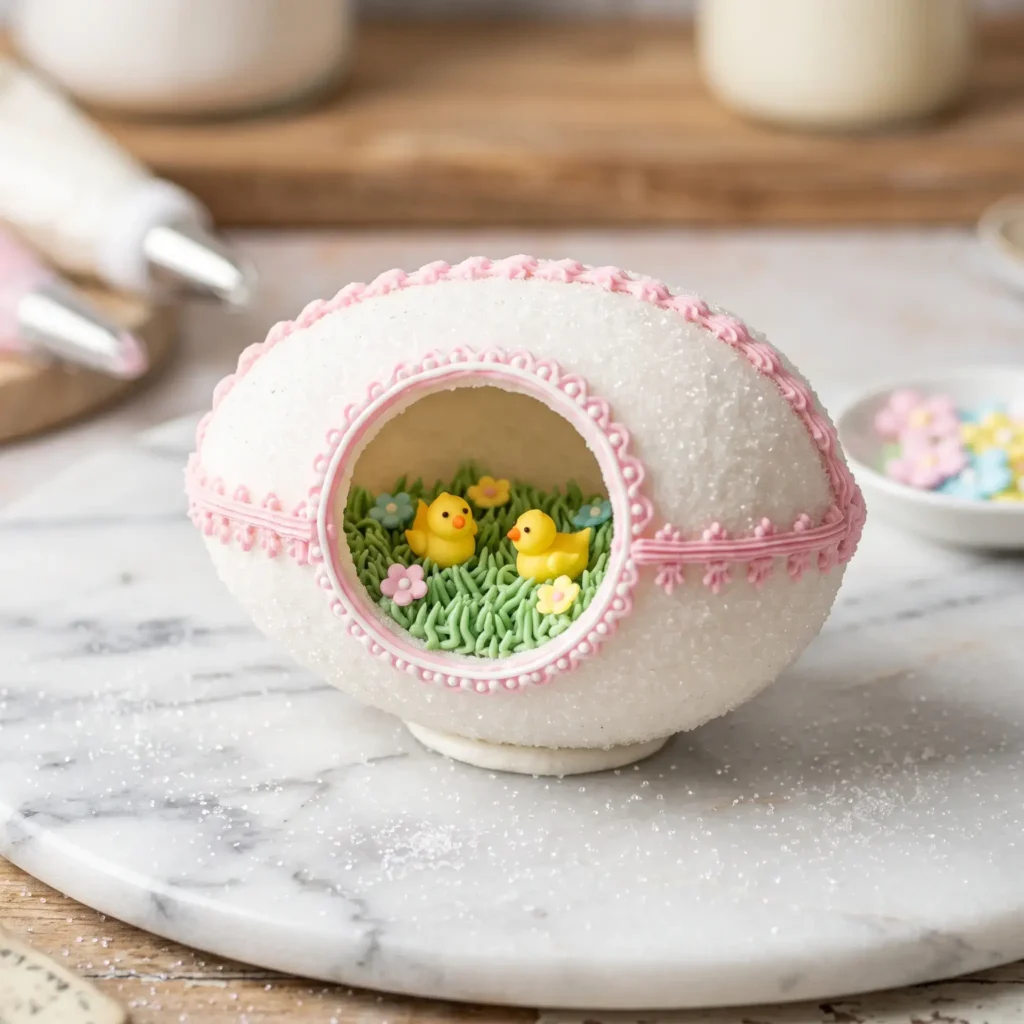
8. Victorian Panoramic Sugar Keepsake Eggs
These hollow sugar eggs feature a hidden diorama inside. Viewed through a front window, they showcase small spring figurines and piped royal icing flowers.
Moistening sugar with meringue powder and water creates a texture like damp beach sand. Packing it into a mold and flash-baking it at low heat forms a hard 1/4-inch crust while leaving the center soft. Scooping out the soft core leaves a light, hollow dome ready for decorating.
- Best For: Ages 12 to adult
- Active Time: 2 hours
- Drying Time: 12 to 24 hours
- Mess Level: Moderate (Sticky sugar)
Supplies and Products Needed
- 5 cups granulated white sugar
- 5 teaspoons meringue powder
- 6 teaspoons cold water
- 2-piece plastic panoramic egg mold with a flat viewing front
- Stiff royal icing (confectioners’ sugar, meringue powder, water)
- Piping bag fitted with star tip #16 and leaf tip #352
- Paste food coloring (leaf green, pastel violet, buttercup yellow)
- Miniature resin or sugar bunnies and chicks
- Metal measuring spoon (for scooping)
Material Ratios and Temperature Guide
Craft failures almost always come down to wrong proportions or incorrect heat. Keep these numbers handy before you start measuring.
| Project | Key Formula or Ratio | Heat Setting | Critical Curing Window |
|---|---|---|---|
| Natural Cabbage Dye | 1/2 head cabbage : 4 cups water : 4 tbsp vinegar | Simmer 30 minutes | Chill 4 to 12 hours |
| Mineral Salt Dough | 2 parts flour : 1 part salt : 0.75 parts water | 250°F (120°C) | Bake 2 to 2.5 hours |
| Yarn Lace Armature | 2 parts white PVA glue : 1 part tap water | Room temperature | Dry 24 to 48 hours |
| Panoramic Sugar Shell | 5 cups sugar : 5 tsp meringue powder : 6 tsp water | 150°F (65°C) | Bake 15 min; cure 12 hours |
Why Holiday Crafts Fail and How to Fix Them
When a project goes sideways, use these practical fixes to get it back on track.
1. Why Salt Dough Ornaments Puff and Crack
- The Cause: Setting the oven higher than 250 degrees Fahrenheit. High heat turns moisture into trapped steam, which bubbles under the dough skin.
- The Fix: Keep the heat low. If shapes feel soft on the bottom after two hours, flip them over and bake for another 30 minutes at 225 degrees Fahrenheit.
2. Why Natural Dye Looks Streaky on Shells
- The Cause: Natural mineral oils on grocery-store eggs repel water-based vegetable dyes.
- The Fix: Wipe hard-boiled eggs with a paper towel dampened with white vinegar or rubbing alcohol before dipping them into your dye jars.
3. Why Yarn Lace Eggs Collapse on Deflation
- The Cause: Pulling the balloon out before the glue cures completely, or thinning the PVA glue with too much water.
- The Fix: Stick to the 2:1 glue-to-water ratio. Let the wound yarn sit for a full 36 hours. The yarn should feel like hard plastic before you prick the balloon.
4. Why Sugar Shells Crumble During Carving
- The Cause: The sugar mixture was too dry when packed into the mold, or it sat too long after flash-baking.
- The Fix: The damp sugar must hold its shape firmly when squeezed in your fist. Scoop out the soft interior within 10 minutes of removing the mold from the oven.
Health and Safety Considerations
Keep these safety checks in mind, especially when crafting with children and pets.
- Salmonella Prevention: Raw eggshells carry bacteria. If you use raw blown shells for planters or dyeing, submerge them in boiling water for 10 full minutes before handing them to kids.
- Pet Alert on Salt Dough: High sodium levels make salt dough extremely dangerous to dogs and cats. Pets often mistake dried ornaments for treats. Keep these pieces off low tree branches and floor-level displays.
- Open Flame Safety: Pysanky uses open candle flames to melt beeswax. Keep loose sleeves rolled up, pull long hair back, and maintain adult supervision for all wax-melting steps.
Project Selection Matrix
Use this quick guide to choose the right project for your available time, budget, and age group.
| Craft Project | Target Age | Active Time | Cleanup Effort | Approximate Cost |
|---|---|---|---|---|
| Cardboard Bunny Stamps | 1 to 4 years | 15 mins | 5 minutes | Free (Recycled) |
| Natural Cabbage Dye | All ages | 30 mins | 10 minutes | Under $5 |
| Pressed Botanical Dough | 4 to 10 years | 40 mins | 15 minutes | Under $3 |
| 3D Honeycomb Paper Eggs | 8 to 14 years | 45 mins | 5 minutes | Under $5 |
| Eggshell Succulents | 6 to 12 years | 30 mins | 10 minutes | Under $10 |
| Yarn Lace Eggs | 5 to 10 years | 30 mins | 20 minutes | Under $5 |
| Wax-Resist Pysanky | 14+ years | 2 hours | 15 minutes | $15 to $25 |
| Panoramic Sugar Eggs | 12+ years | 2 hours | 20 minutes | $10 to $15 |
Frequently Asked Questions
Can you dye brown eggs with red cabbage?
Yes. Brown shells produce rich shades of jade, olive, and earthy sea green instead of pastel blue. The brown background combines with the blue anthocyanin dye to create muted, natural tones.
How do you preserve salt dough ornaments for years?
Moisture is the primary enemy of dried salt dough. Once your baked pieces cool completely, spray both sides with two light coats of clear matte acrylic spray or brush on a clear craft varnish. Store them in airtight plastic bins between seasons.
What is the best glue for paper honeycomb crafts?
Thick, quick-grab white PVA craft glue works best. Thin school glue contains too much water, which buckles 65 lb cardstock and creates wrinkled seams. Hot glue cools too thick, leaving uneven gaps between layers.
Can you eat eggs after dyeing them with natural cabbage dye?
Yes, as long as you keep the dye jars chilled in the refrigerator during the dipping process. Because this recipe uses only fresh cabbage, water, and culinary vinegar, the dyed eggs remain completely food-safe. Do not eat eggs that have sat at room temperature for more than two hours.
Successful holiday crafting comes down to preparation rather than luck. Pick a project that fits the time you actually have, set your materials out before calling the kids to the table, and follow the drying times closely. When you control the ratios and temperatures, you get clean, reliable decorations that look great and last through the season.