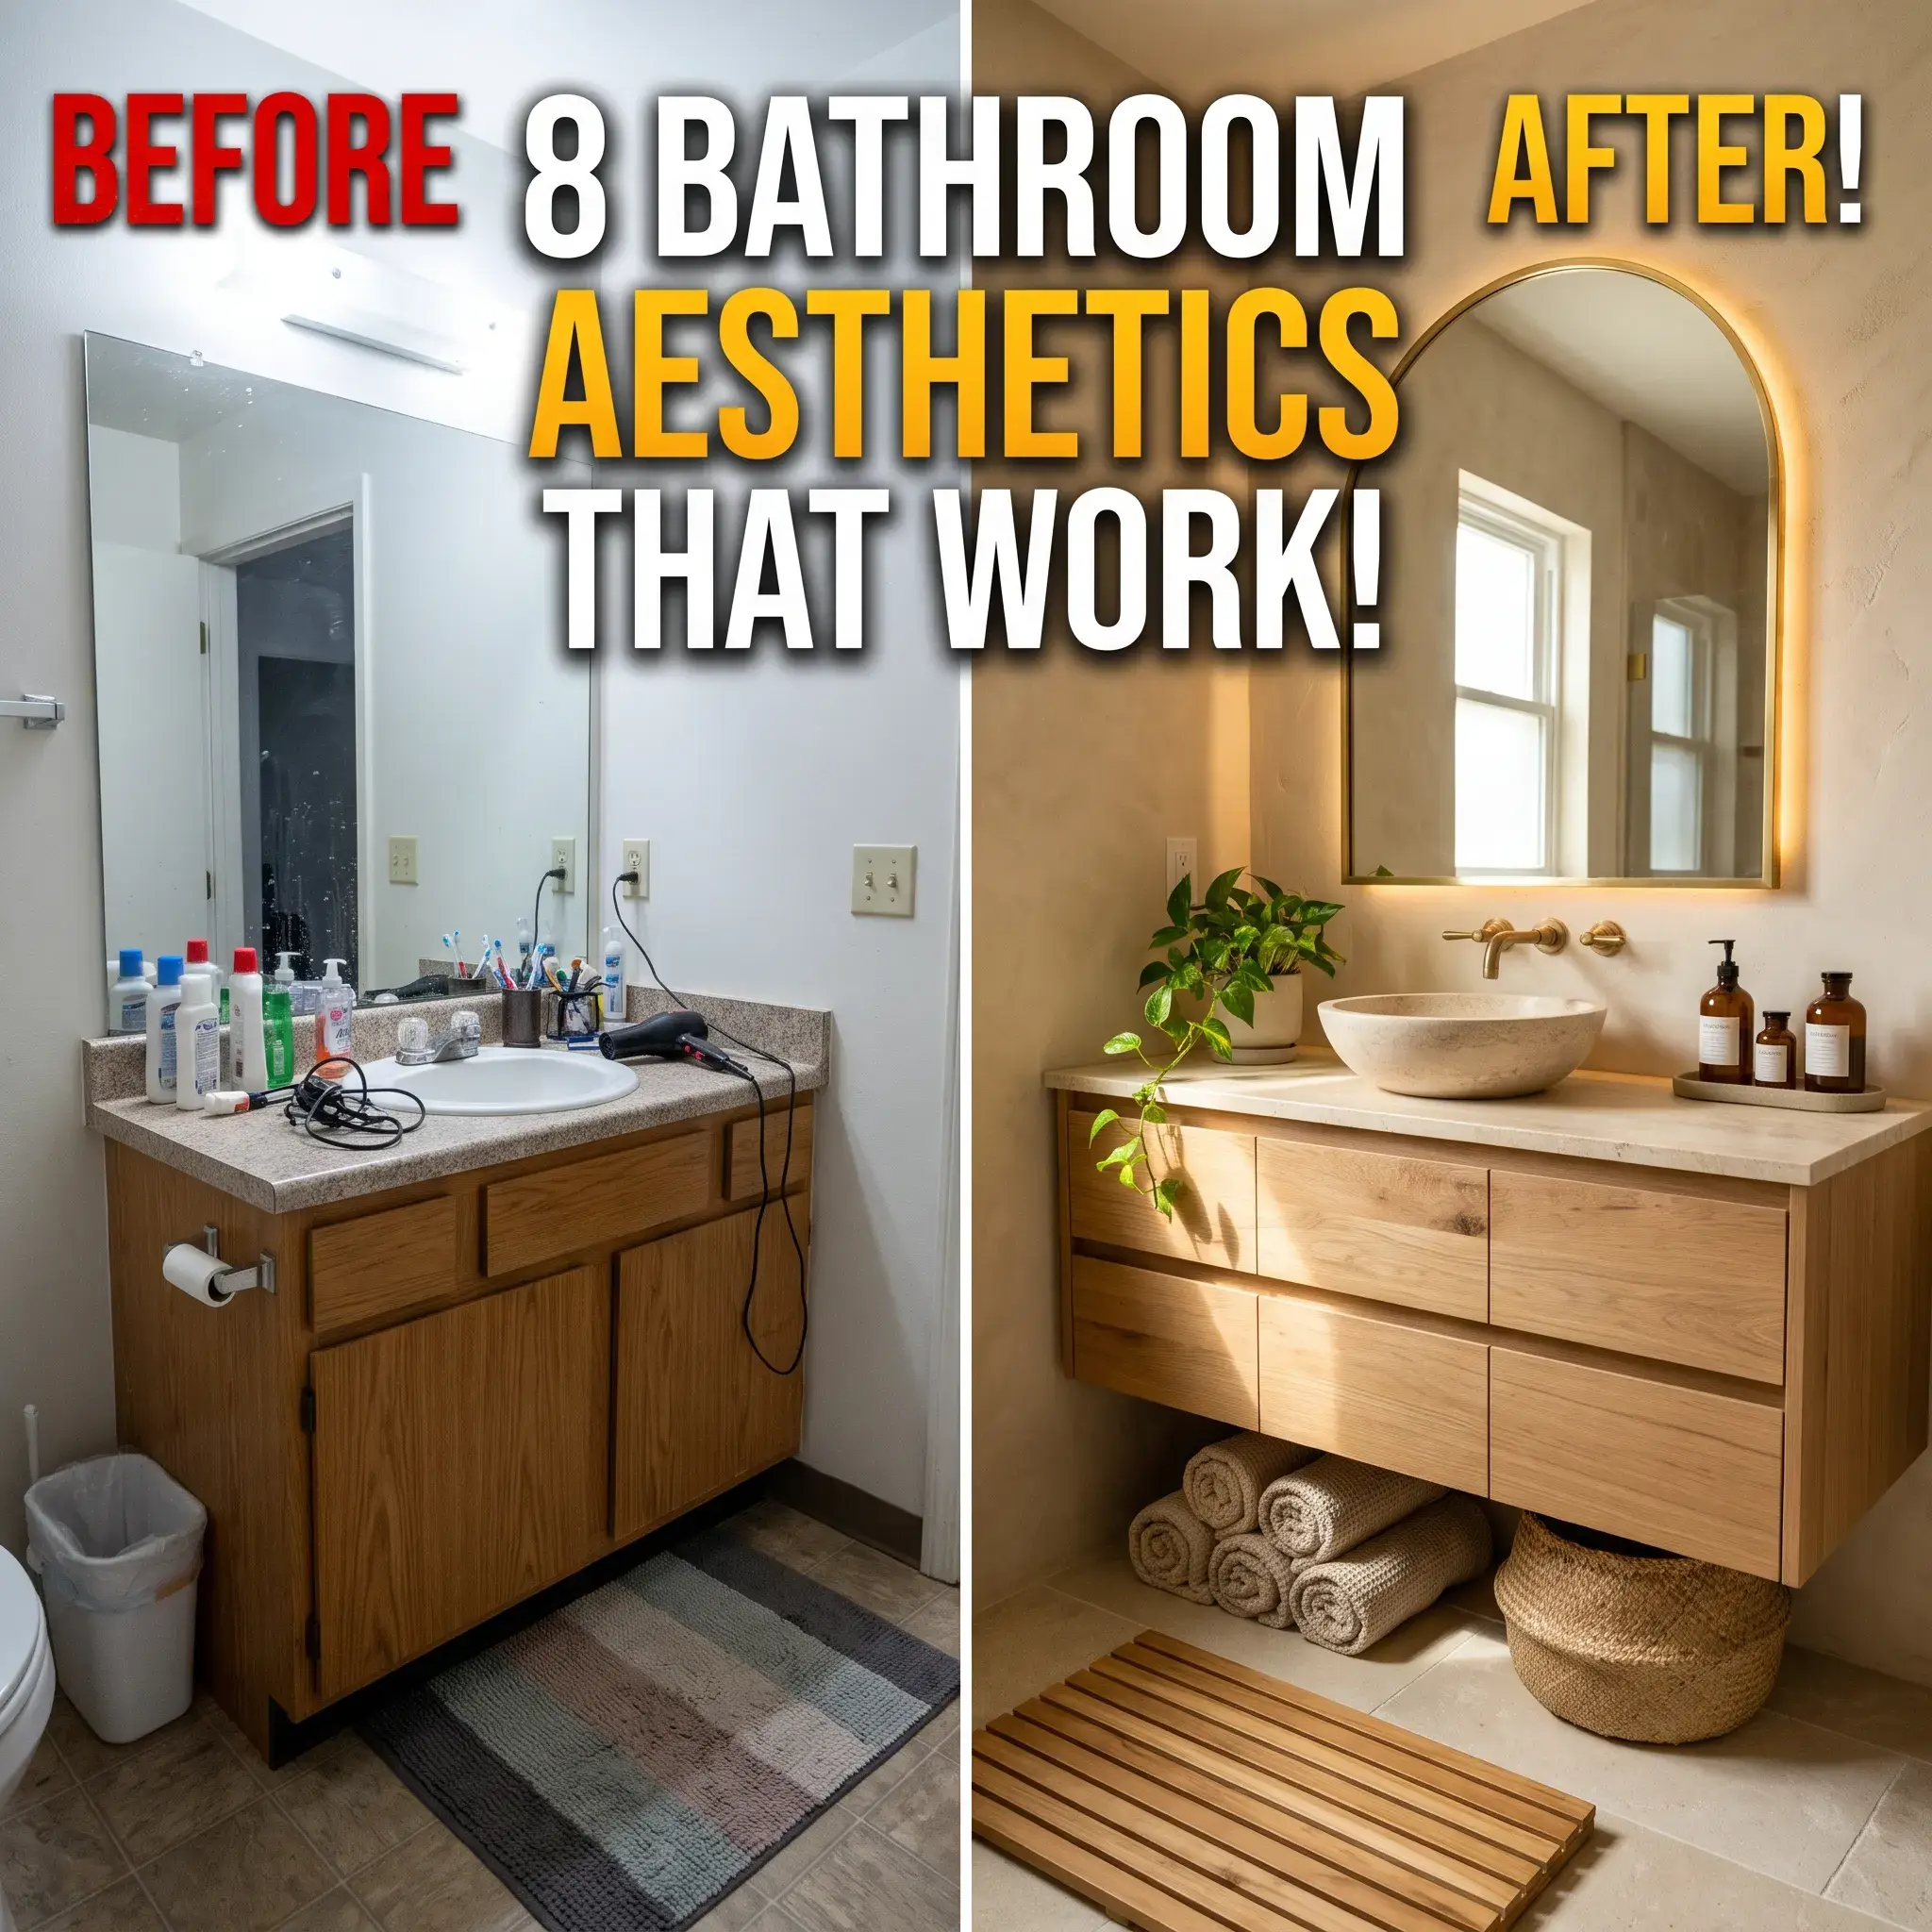
9 Renter-Friendly Bathroom Ideas That Protect Your Security Deposit
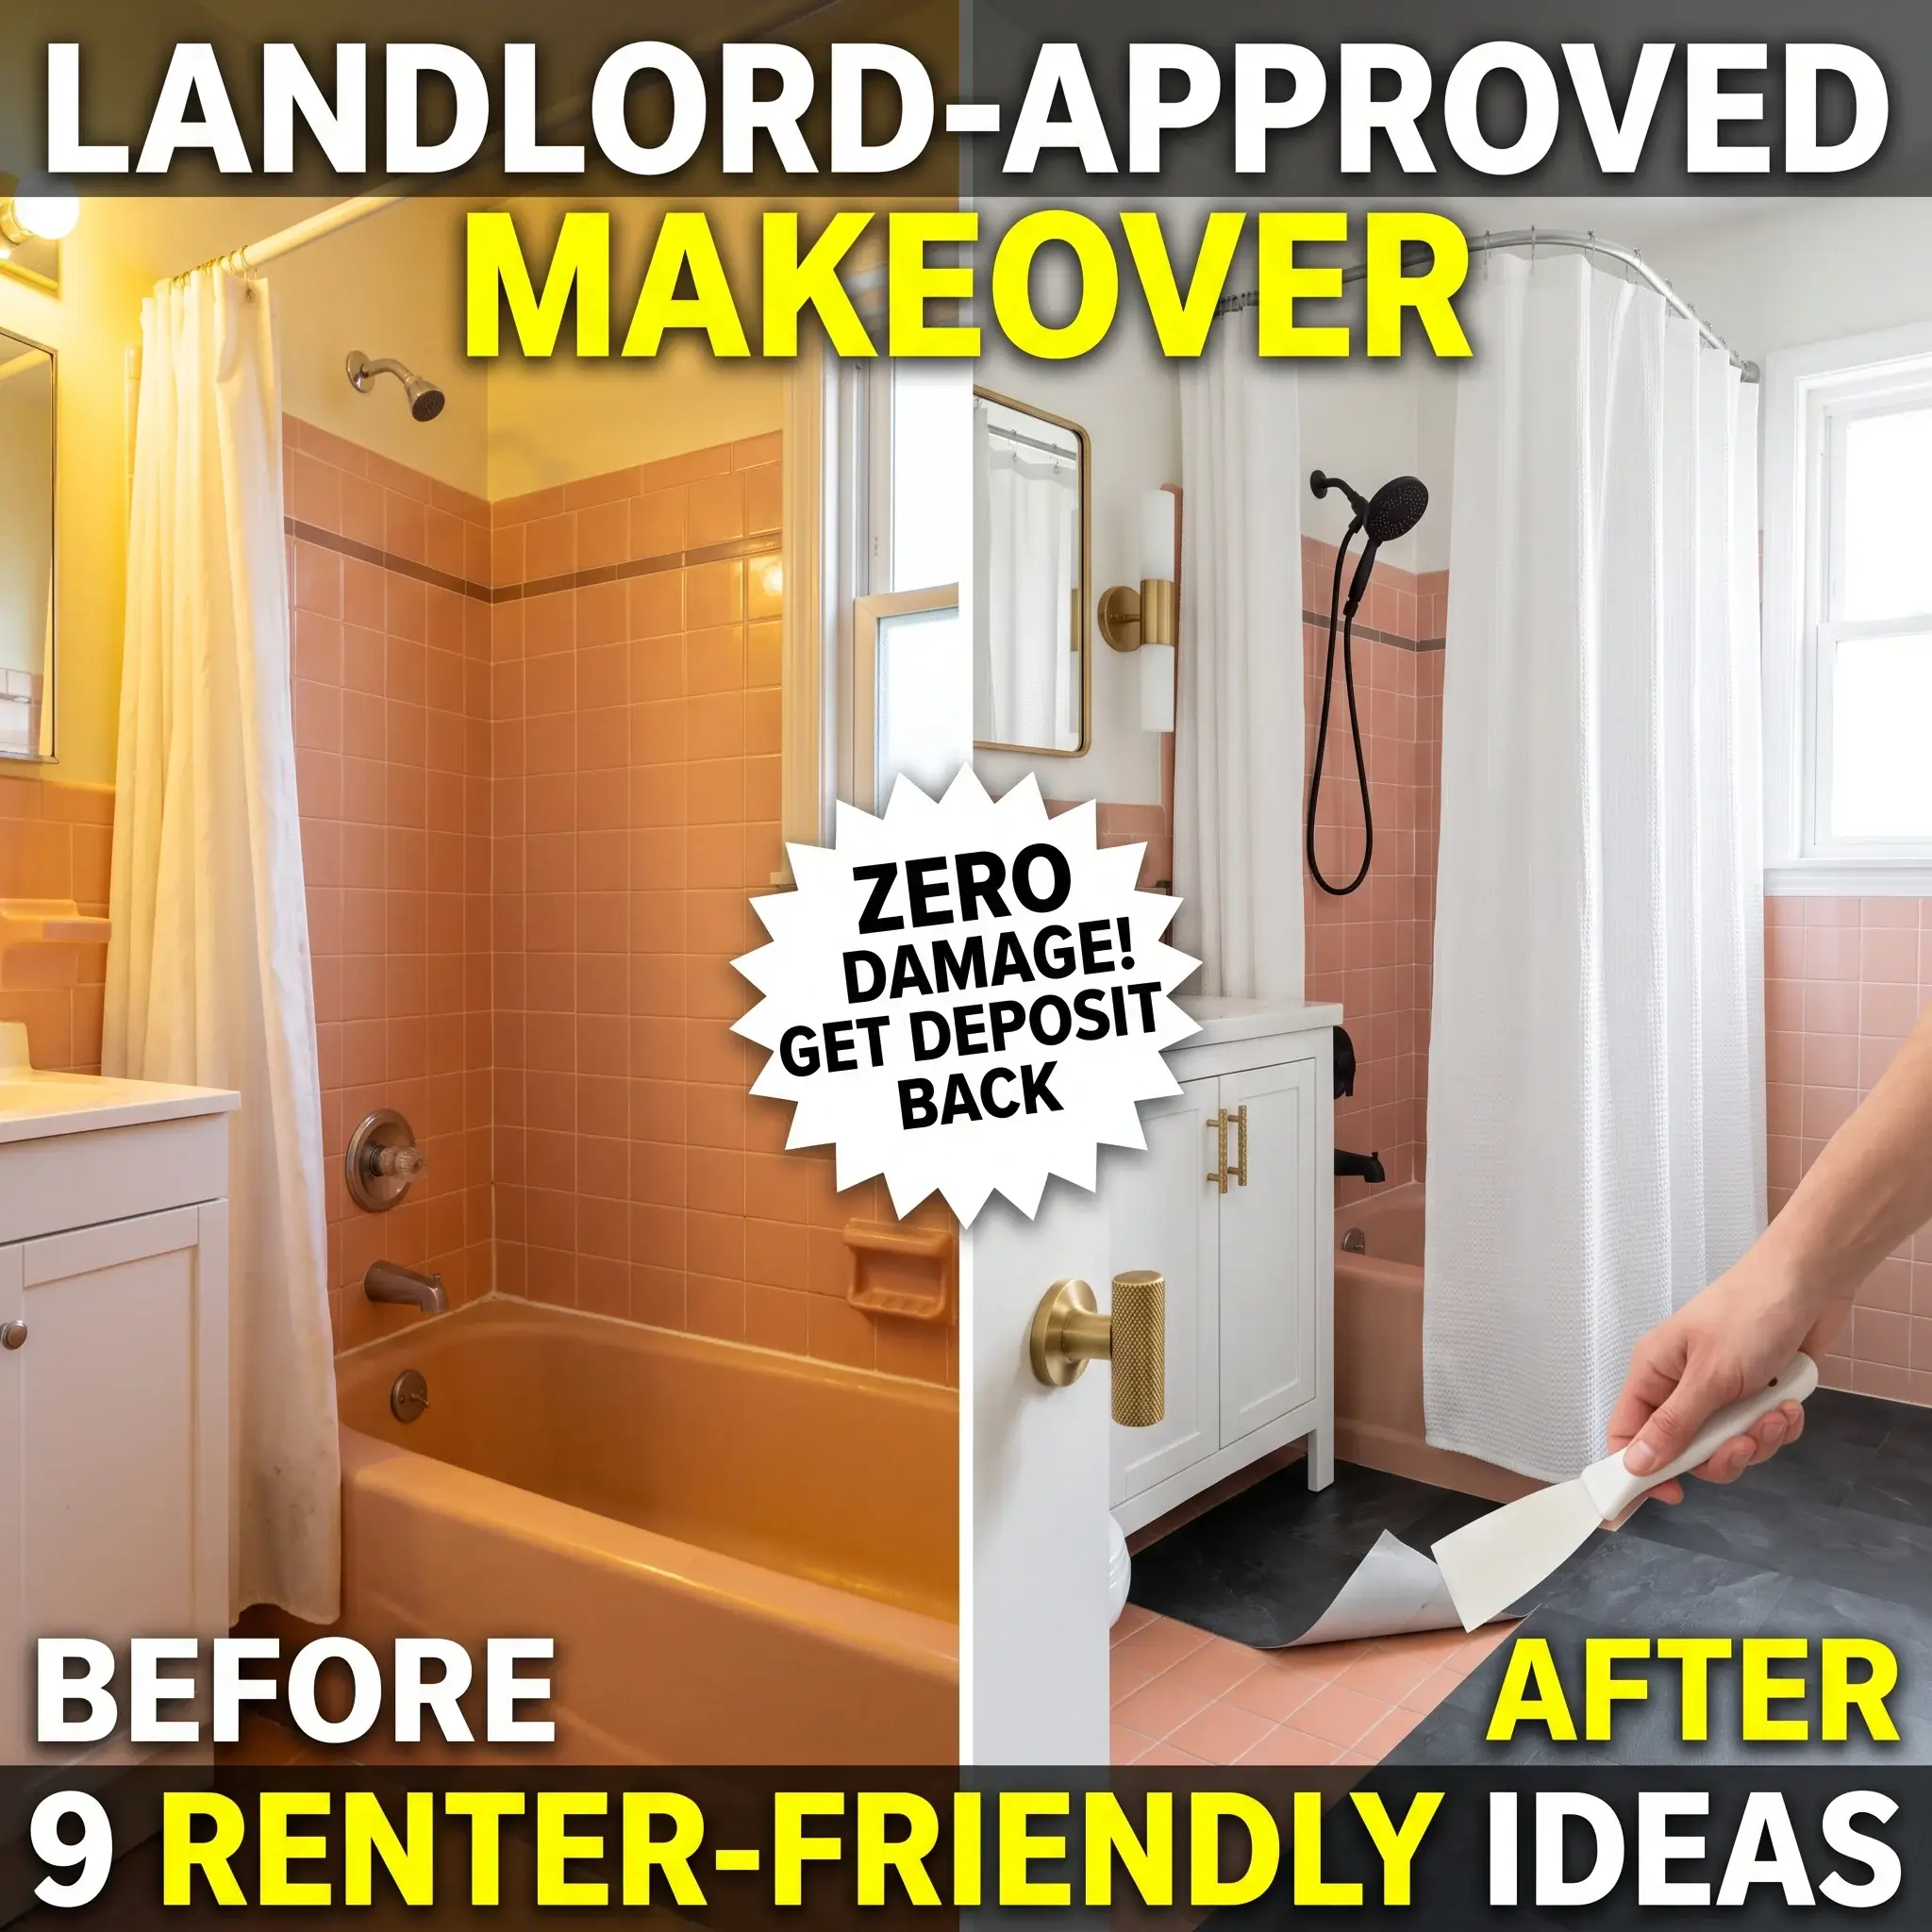
Living in a rental apartment often means accepting outdated tiles, harsh fluorescent lighting, and weak water pressure. You do not have to accept an ugly space, and you do not have to risk your security deposit to fix it.
Most online rental hacks fail because bathrooms present an aggressive environment. Shower steam softens cheap contact paper within thirty days. Heavy moisture causes adhesive corners to curl and trap mildew. Worse, generic adhesives bond too aggressively to flat latex paint, tearing drywall paper when you move out.
Transforming a rental bathroom requires matching the right materials to the right surfaces. Every project below is completely reversible, resists daily humidity, and requires zero structural changes to the building.
| Upgrade Idea | Average Cost | Install Time | Deposit Risk (1 to 5) | Best For |
| Sacrificial-Layer Flooring | $45 – $95 | 3 hours | 1/5 | Hiding cracked or dated floor tiles |
| High-Pressure Showerhead | $25 – $65 | 20 minutes | 1/5 | Fixing weak building water pressure |
| Curved Tension Rod Setup | $30 – $55 | 15 minutes | 1/5 | Expanding interior shower elbow room |
| Cast Vinyl Countertop Wrap | $20 – $40 | 2 hours | 2/5 | Covering stained laminate vanities |
| Rechargeable Sconce Lights | $35 – $70 | 30 minutes | 1/5 | Bypassing harsh overhead bulbs |
| Standardized Cabinet Pulls | $15 – $35 | 30 minutes | 1/5 | Modernizing builder-grade cabinets |
| Framed Vanity Mirror Trim | $25 – $45 | 1 hour | 1/5 | Hiding raw-edge sheet mirrors |
| Flush-Mount Adhesive Caddies | $20 – $40 | 15 minutes | 1/5 | Small shower organization |
| Floor-to-Ceiling Tension Shelf | $40 – $75 | 45 minutes | 1/5 | Adding vertical corner storage |
9 Practical Renter-Friendly Bathroom Ideas
1. The Sacrificial-Layer Vinyl Floor Upgrade
Sticking peel-and-stick vinyl tiles directly onto rental ceramic floors causes two major problems. First, the soft vinyl sinks into the low grout lines over time, creating an uneven grid across your floor. Second, aggressive tile glue melts into the porous grout, leaving a sticky film that takes hours to scrub off during move-out.
To solve this, lay a sacrificial barrier first. Clean the existing ceramic tile with a 1:1 mixture of 70 percent isopropyl alcohol and water. Apply a layer of low-tack removable contact paper across the entire floor. Then, install your decorative peel-and-stick luxury vinyl tiles directly onto that paper layer.
The heavy tile glue bonds to the contact paper, not the landlord’s grout. During move-out, slide a plastic putty knife under the corner. The entire floor assembly pulls up in large sheets, leaving the original tile clean and residue-free.
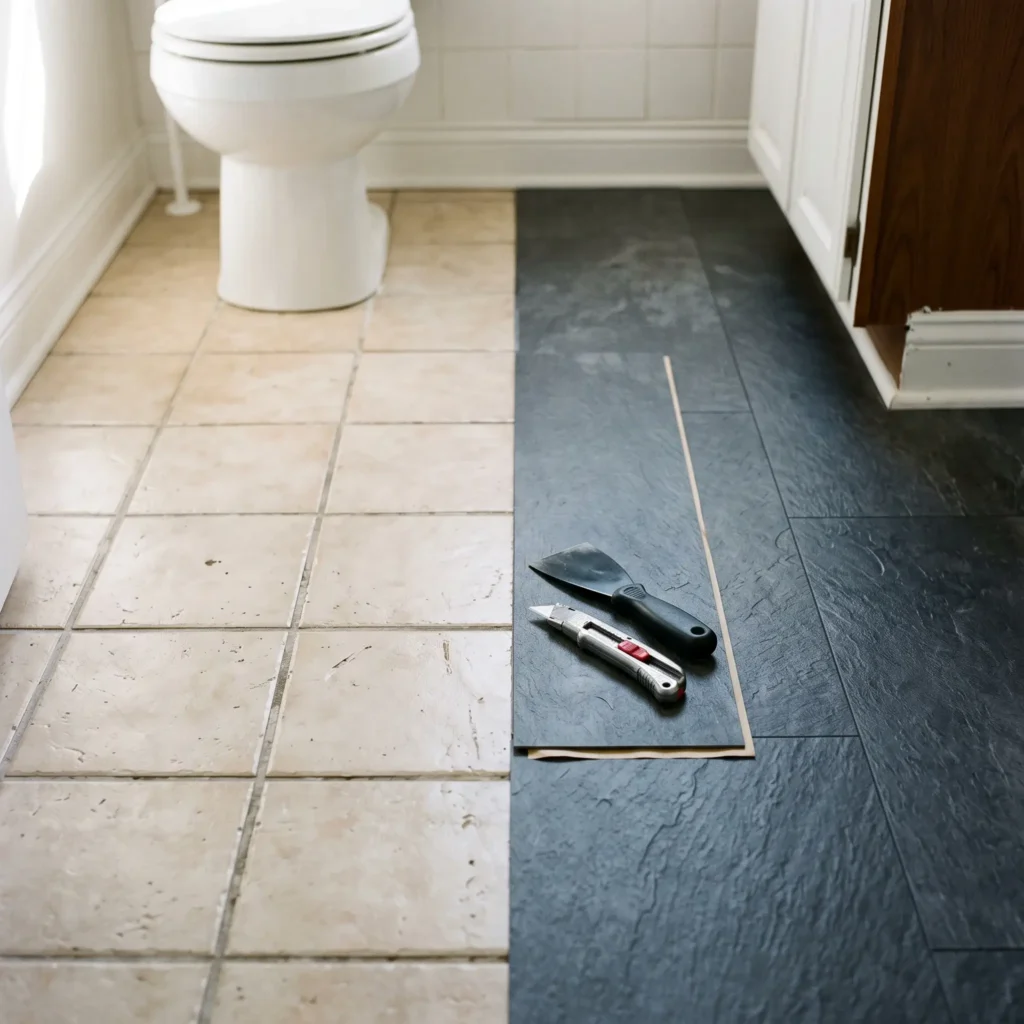
- Product Recommendations:
- Low-tack matte surface protection film (temporary barrier base)
- Heavy-gauge water-resistant peel-and-stick vinyl floor planks (wood or stone look)
- Flexible plastic putty knife (4-inch width)
- Heavy-duty utility knife with fresh straight-edge blades
2. High-Pressure Showerhead Swap with Counter-Torque Protection
Rental showerheads are usually calcified, water-wasting fixtures that spray unevenly. Swapping the showerhead is the highest-return upgrade you can make, but doing it wrong can snap pipes inside the wall.
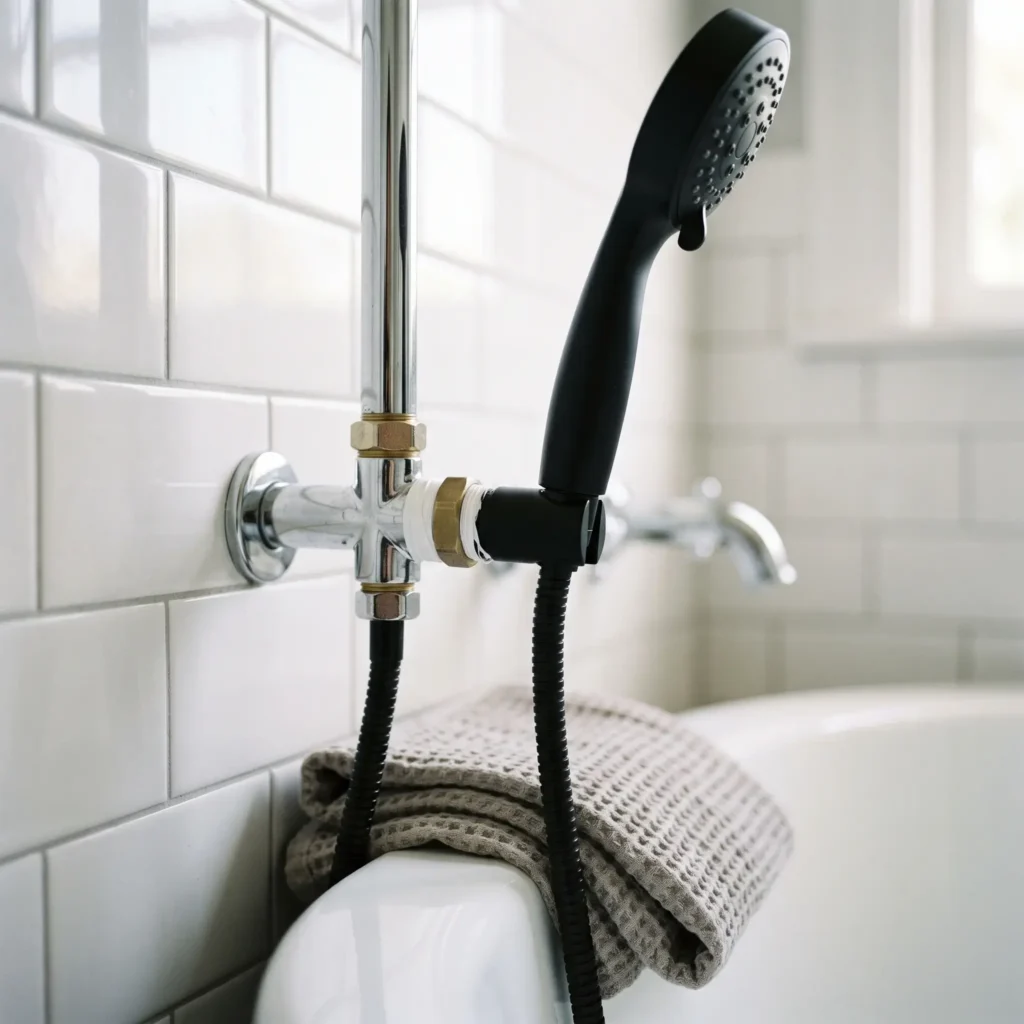
Never wrench an old showerhead loose without stabilizing the shower arm. Place a folded towel inside the bathtub to protect the finish if you drop a tool. Wrap a cotton rag around the shower pipe coming out of the wall, and hold it firmly with adjustable pliers. This provides counter-torque and stops the pipe from twisting inside the wall cavity.
Use a smooth-jaw wrench on the showerhead nut to turn it counterclockwise. Scrub off old buildup using white vinegar and a stiff toothbrush. Wrap standard polytetrafluoroethylene (PTFE) thread seal tape clockwise around the pipe threads four full times. Screw your new handheld or rainfall showerhead on by hand until snug, then tighten it one-quarter turn with a wrench. Store the original showerhead inside a labeled plastic bag under the vanity.
- Product Recommendations:
- High-pressure multi-setting handheld showerhead with stainless steel hose
- White PTFE plumber thread seal tape (1/2-inch width)
- 8-inch adjustable smooth-jaw wrench
- Cotton pipe-wrapping cloth
Check out more Bathroom Ideas
3. Ceiling-Height Curved Tension Rod and Waffle Linens
Standard straight shower rods make small apartment tubs feel cramped. Straight rods also sit low, cutting the room in half visually and making the ceiling appear lower than it is.
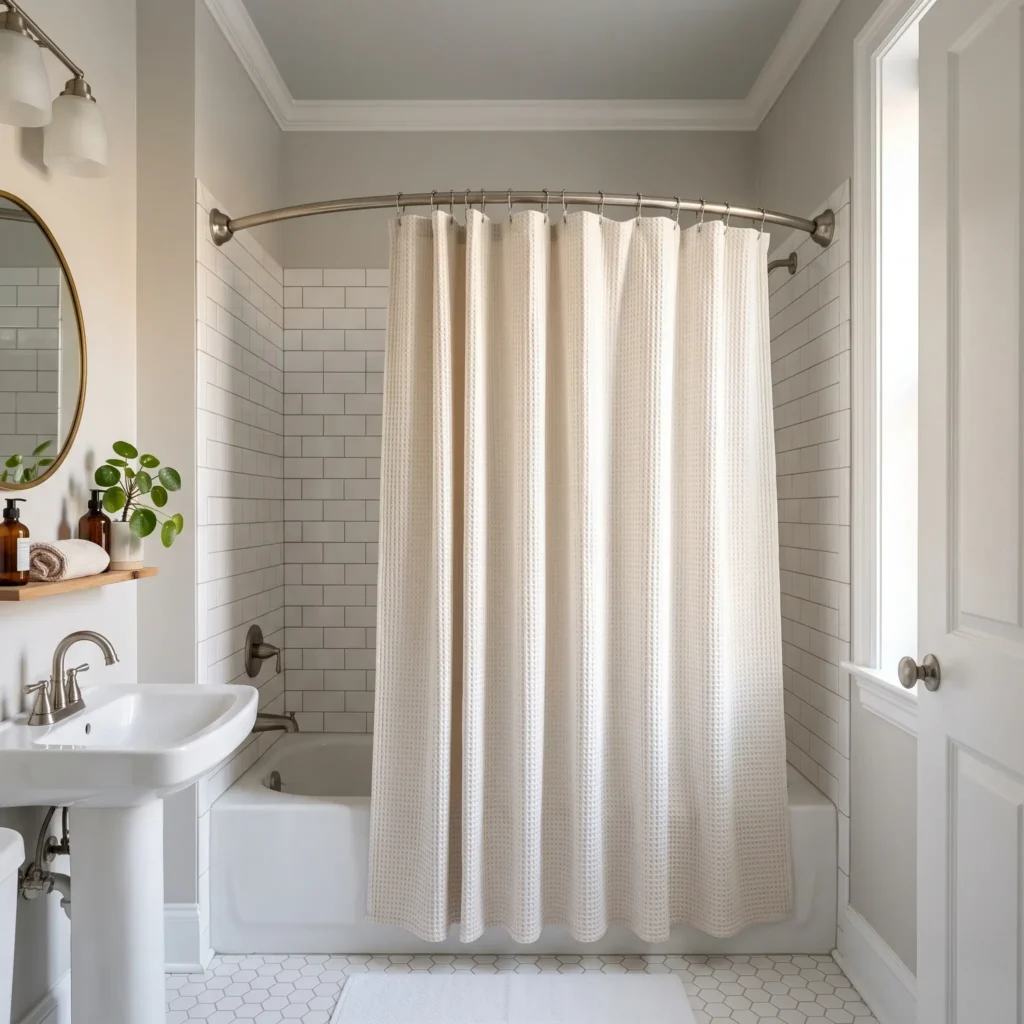
Install an adjustable curved tension rod that requires no screws. Curved rods push outward, giving you up to nine inches of extra shoulder room inside the tub without touching the bathroom footprint. Look for rods with high-friction silicone end pads. These grip glazed tile firmly without leaving scuff marks or cracking fiberglass surrounds.
Mount the rod five to six inches higher than standard height, close to the ceiling. Pair it with an extra-long 84-inch or 96-inch fabric shower curtain. The extended curtain height pulls the viewer’s eye upward, making a small, boxy bathroom feel significantly taller. The thick waffle-weave fabric also absorbs sound reflections, cutting down on hollow apartment bathroom acoustics.
- Product Recommendations:
- Rustproof stainless steel curved tension shower rod with silicone end cups
- Extra-long (84-inch or 96-inch) heavy waffle-weave cotton shower curtain
- Waterproof fabric shower liner with bottom corner weights
- Double-roller stainless steel shower curtain rings
4. Cast Vinyl Countertop Wrap
Old rental bathroom counters often feature stained laminate or yellowing faux marble. Painting them risks your deposit, but architectural cast vinyl wrap provides a durable, waterproof surface that peels off cleanly.
Choose cast vinyl rather than cheap craft contact paper. Cast vinyl resists hot water splashes and does not shrink along the edges when the room gets warm. Clean the vanity countertop thoroughly with isopropyl alcohol to strip away all soap scum, cosmetics, and oils.
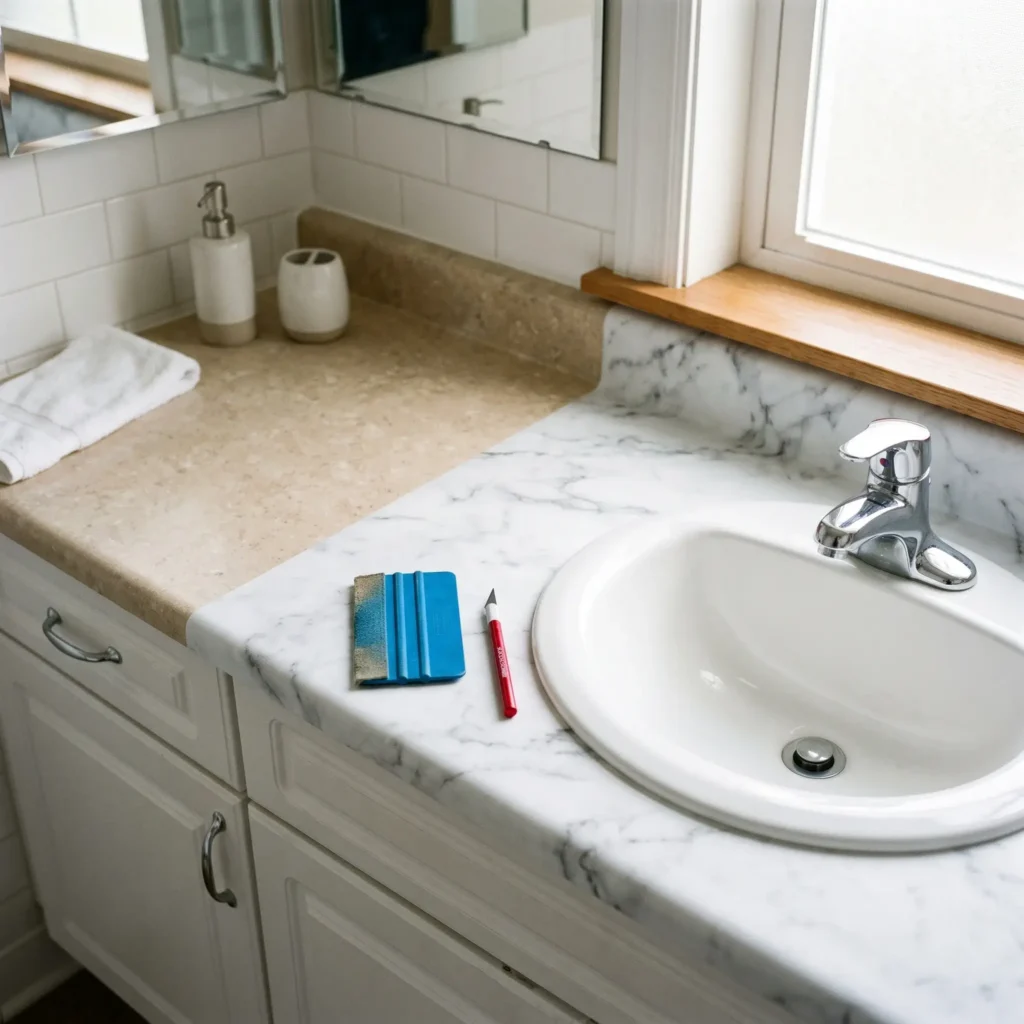
Roll the vinyl from the back wall forward to the front drop-edge. Smooth the sheet down using a felt-edge squeegee to push air bubbles toward the borders. Trim the film flush against the sink basin with a fresh razor blade. Run a clean, thin bead of clear silicone caulk along the sink rim seam. This stops water from working underneath the cut edge. When moving out, slice the silicone bead with a plastic razor, warm the vinyl with a hair dryer, and peel it off.
- Product Recommendations:
- Architectural cast vinyl wrap in matte Carrara marble or solid slate
- Felt-edge vinyl squeegee
- Precision hobby craft knife with replacement #11 blades
- Clear removable waterproof silicone sealant
5. Rechargeable Sconce Lighting
Most rental bathrooms rely on a single harsh overhead bar with bare globe bulbs. This produces unflattering shadows and an institutional feeling. Since you cannot run new electrical wiring through rental drywall, use rechargeable magnetic lighting.
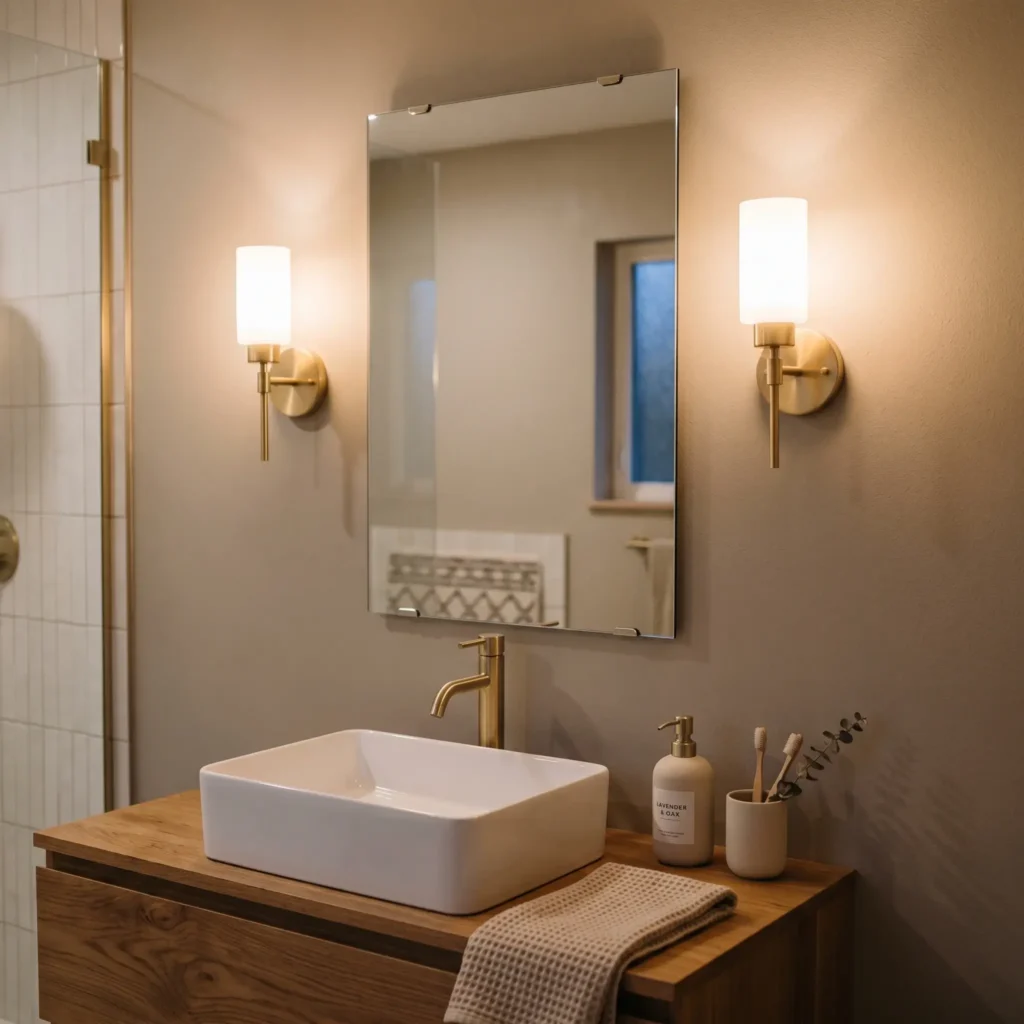
Purchase battery-powered wall sconces that come with metal mounting plates. Instead of using screws, secure the slim metal base plates to the drywall or mirror perimeter using water-resistant picture hanging strips. The light fixtures snap onto these plates using internal magnets.
These lights use USB-C rechargeable LED bulbs that run for weeks on a single charge. Select warm-white color temperatures between 2700K and 3000K. Placing two sconces at eye level on either side of the mirror eliminates vertical facial shadows and creates balanced, relaxing illumination. When the battery runs low, simply pull the sconce off its magnetic plate and plug it into a phone charger.
- Product Recommendations:
- Wireless rechargeable magnetic LED wall sconce set with remote control
- Warm-white (2700K to 3000K) rechargeable LED bulbs
- Water-resistant Command picture hanging strips (medium size)
- Multi-port USB-C desktop charging hub
6. Standardized Hardware Swap
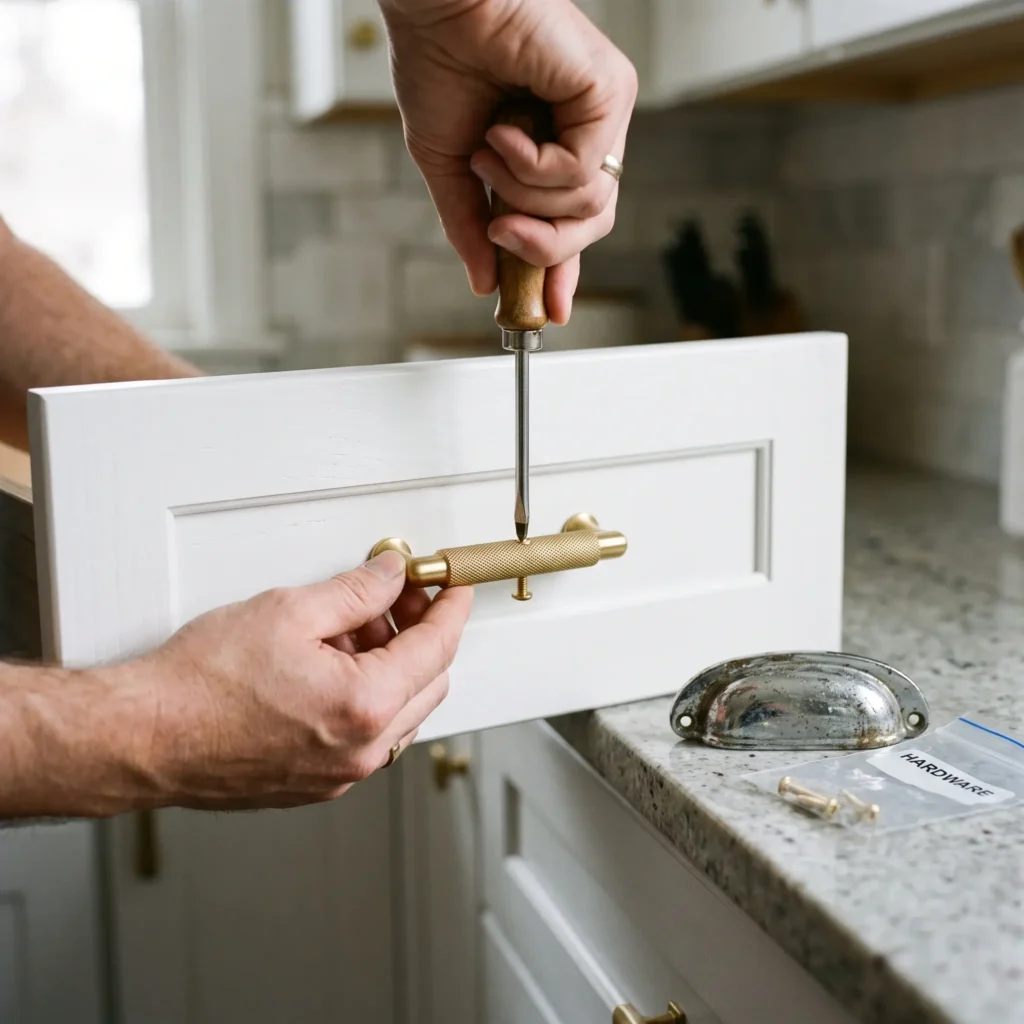
Changing generic plastic or pitted chrome cabinet handles gives an immediate custom look. However, drilling new holes in rental cabinet doors will result in repair charges from your landlord.
Before buying new hardware, measure the center-to-center (CTC) spread of the existing screw holes. CTC is the exact distance between the centers of the two screw holes. Standard sizes are 3.00 inches (76.2 mm), 3.75 inches (96.0 mm), or 5.04 inches (128.0 mm). Measure your existing cabinet pulls with a metal ruler and purchase replacements that match that exact spacing.
Standard cabinet hardware uses #8-32 machine screws. Standard doors measure 3/4 inch thick, requiring 1-inch screws for secure thread engagement. If you have decorative single-hole knobs that left an indentation or discoloration in the wood, choose replacement knobs that feature an integrated backplate to conceal the old mark completely. Place all original handles and screws in a labeled zip-top bag for safekeeping.
- Product Recommendations:
- Solid brass or matte black cabinet pulls (matching your measured CTC spacing)
- Cabinet knobs with integrated round or rectangular backplates
- Assorted length #8-32 zinc-plated truss head machine screws
- Manual #2 Phillips head screwdriver
7. Frameless Mirror Molding with Water-Resistant Hanging Strips
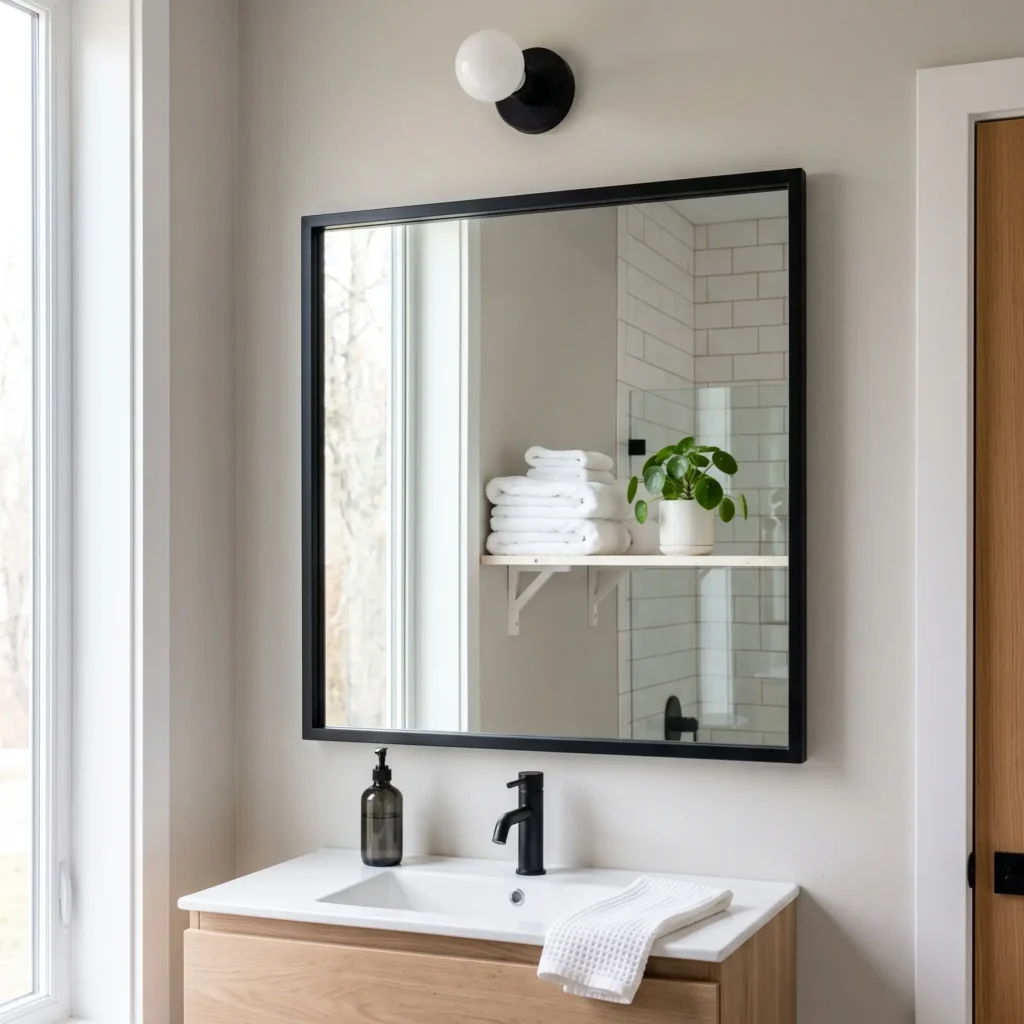
Builder-grade bathrooms almost always feature large, frameless plate glass mirrors glued directly to the wall. The exposed silver edges look unfinished and frequently suffer from “black edge” corrosion around the bottom corners.
You can frame this mirror in under an hour without drilling into the wall or removing the glass. Measure the outer perimeter of your mirror. Purchase lightweight extruded polystyrene or PVC decorative trim from your local hardware store. Cut the corners at 45-degree angles using an inexpensive hand saw and plastic miter box.
Paint the trim pieces your chosen accent color and let them cure for 24 hours. Attach the trim directly onto the outer glass border of the mirror using water-resistant double-sided foam strips. Mirrors offer an ideal, non-porous glass surface that holds adhesive firmly. At move-out, slide a length of dental floss or fishing line behind the wood trim to slice through the foam tape. Scrape residual tape off the glass using a single-edge razor blade and a spray of rubbing alcohol.
- Product Recommendations:
- Lightweight primed polystyrene or PVC flat architectural casing
- Manual hand saw and plastic miter box set
- Water-resistant mounting tape strips rated for humid environments
- Single-edge safety razor scraper tool
8. Flush-Mount Adhesive Caddies and Hooks
Suction cups regularly fail in humid bathrooms, dropping shampoo bottles in the middle of the night. Standard Command strips also fail because shower steam softens standard adhesive tackifiers.
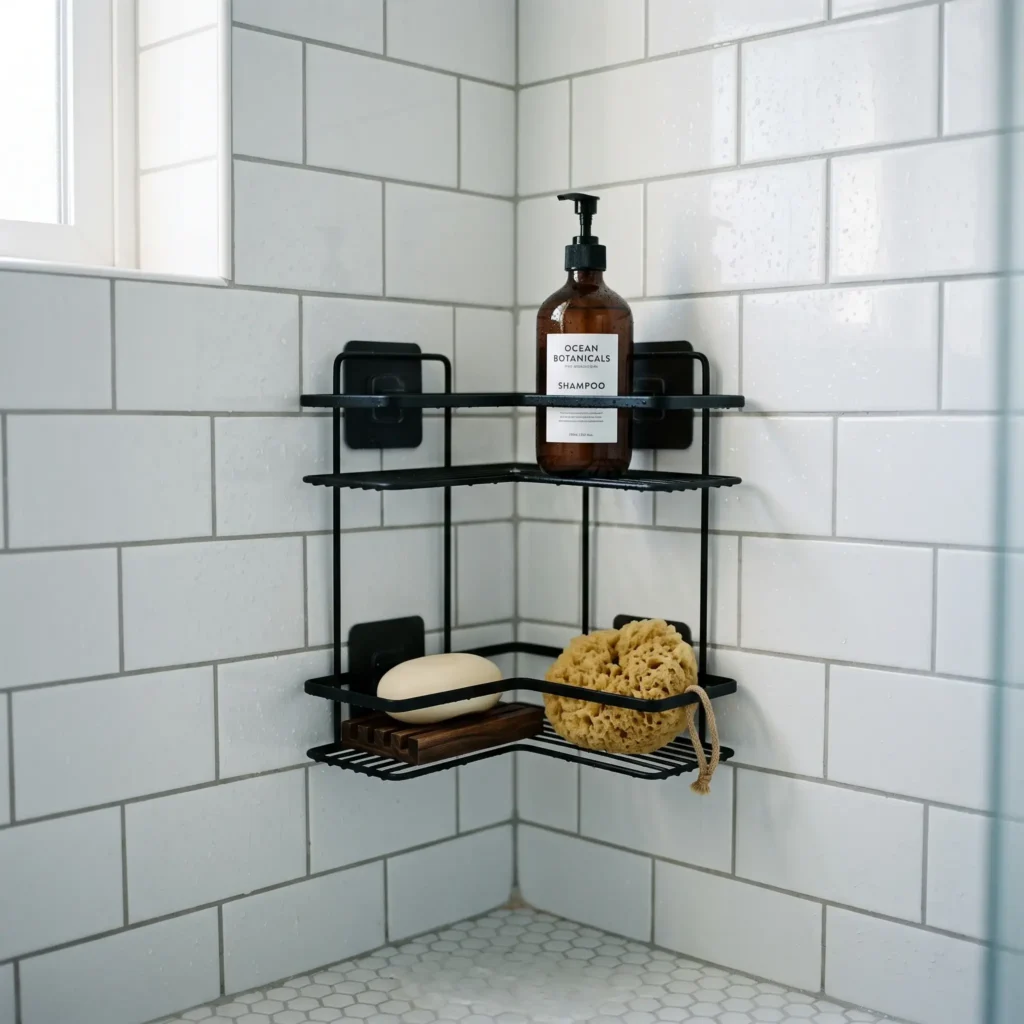
Use dedicated water-resistant bath strips made with closed-cell synthetic rubber foam. Clean the tile wall with 70 percent isopropyl alcohol to remove all invisible soap scum. Press the adhesive strip firmly against the tile for 30 seconds. Wait a full hour before hanging any weight on the hook so the adhesive polymer can fully seat against the non-porous tile glaze.
Keep your storage flush against the wall. Deep hanging shelves project outward, creating a lever effect that puts outward peeling force on the top of the strip. Flush-mounted corner baskets and flat utility hooks channel weight straight downward in pure shear load. In shear loading, large water-resistant strips hold up to five pounds safely for years.
- Product Recommendations:
- Rustproof stainless steel corner shower caddy with adhesive corner pads
- Heavy-duty water-resistant replacement bath strips
- Matte black water-resistant single towel hooks
- 70 percent isopropyl rubbing alcohol
9. Vertical Floor-to-Ceiling Tension Shelving
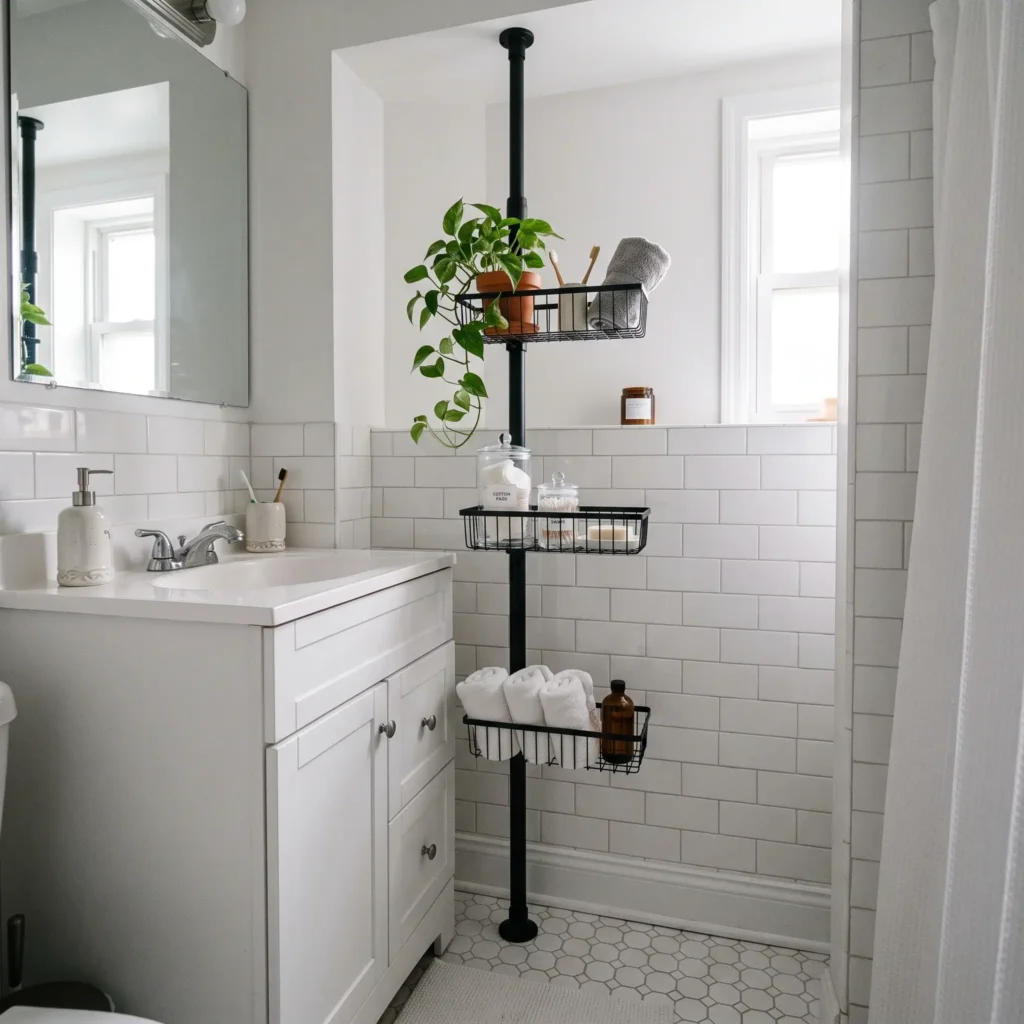
Small rental bathrooms rarely offer adequate storage, and landlords prohibit drilling floating shelves into hollow drywall. A vertical spring-loaded tension pole system creates three to four tiers of sturdy shelving using zero floor space and zero screws.
These heavy-gauge poles rely on an internal industrial steel spring paired with non-marring rubber end cups. You set the pole length slightly taller than your ceiling height, compress the internal spring, and wedge it vertically into place between the floor and ceiling. You can position it over the back corner of your vanity or behind the toilet.
The continuous mechanical pressure locks the system firmly in place without leaving marks on painted drywall or ceiling plaster. Wire baskets clamp securely along the pole at adjustable heights, holding folded hand towels, skincare products, and toilet paper rolls. When moving out, simply compress the spring down and slide the unit out of the room.
- Product Recommendations:
- Heavy-duty rust-resistant floor-to-ceiling spring tension storage pole
- Adjustable wire organizer baskets with drainage slots
- Clear acrylic shelf liners (to prevent small bottles from tipping)
- Silicone floor and ceiling protection pads
The Science of Bathroom Surfaces: Why Temporary Upgrades Fail
Most rental bathroom modifications fail because the installer treats a bathroom like a dry living room. Bathrooms experience rapid changes in temperature, airborne surfactants from hairsprays and soaps, and cyclical humidity loads.
Bathroom Relative Humidity (RH) Thresholds:
- Normal Room Level (30% to 50% RH): Safe operating range for all temporary adhesives.
- EPA Safe Upper Limit (60% RH): Maximum recommended ceiling before moisture risk and fungal growth increase.
- Shower Peak Level (85% to 95% RH): The adhesive failure zone. Water vapor penetrates unsealed seams and loosens glue tack.
The U.S. Environmental Protection Agency recommends keeping indoor relative humidity between 30 and 50 percent, and always below 60 percent to stop mold growth. During a hot shower, a small rental bathroom with a weak exhaust fan quickly exceeds 90 percent relative humidity. This atmospheric moisture searches for any unsealed seam to penetrate behind wall coverings.
Paint Porosity and the 24-Hour Condensation Test
The success of any removable adhesive depends directly on the surface energy and porosity of your wall paint.
- Semi-Gloss and Satin Paints: These finishes feature high resin content. They create a smooth, tight, non-porous surface that holds removable adhesives firmly while releasing cleanly when heated.
- Flat and Matte Latex Paints: These paints contain high pigment levels and low binder resin. They act like sponges, pulling adhesive tackifiers deep into the porous paint matrix. Over several months, this bond becomes permanent. When you pull the film away, it tears the paper face right off the gypsum drywall board.
- Fresh Paint Outgassing: If your landlord repainted right before you signed the lease, the paint may feel dry to the touch, but it is not cured. Paint requires four to six full weeks to evaporate all carrier solvents and achieve cross-linking. Applying vinyl film over uncured paint traps evaporating solvents, turning the adhesive into a gummy, destructive glue.
The 24-Hour Substrate Moisture Test: Before applying peel-and-stick wallpaper, tape a 12-inch by 12-inch sheet of clear plastic food wrap to the bathroom wall using blue painter tape. Seal all four edges completely. Leave it for 24 hours. If moisture droplets or dark condensation appear behind the plastic, your wall holds trapped moisture. Do not apply adhesives until you run a dehumidifier and dry the space thoroughly.
Moisture Zones: Where Adhesives Work (and Where They Fail)
Even heavy-duty vinyl peel-and-stick coverings are water-resistant, not fully waterproof. Hydrostatic pressure from standing water or direct shower spray will dissolve edge bonds.
- Zone 1: Direct Wet Zone (Shower walls and tub surrounds): Never install temporary peel-and-stick films here. Constant water streams penetrate cut seams, trapping stagnant water against the landlord’s wall and breeding hidden black mold.
- Zone 2: Splash Zone (Vanity backsplash and sink perimeter): Removable 3D gel tiles and cast vinyl work well here, provided you elevate the base four inches above the sink rim or seal the bottom joint with a bead of clear silicone caulk.
- Zone 3: Indirect Moisture Zone (Accent walls opposite the shower, water closet areas): Ideal for 100 percent polyvinyl chloride (PVC) removable wallpaper. Always avoid paper-backed cellulosic wallpaper, which absorbs steam, expands, and wrinkles.
How to Neutralize Ugly Rental Tile Without Covering It
Covering every square foot of rental tile with vinyl stickers is expensive, time-consuming, and difficult around plumbing cutouts. If you have 1970s avocado green, 1980s salmon pink, or dull yellowed beige tile, use color theory to balance the room instead of covering it.
Color Theory Neutralization Rules:
- 1980s Salmon or Pink Tile: Pair with deep forest or olive green accents. Ground the look using warm terracotta linens and brass fixtures.
- 1970s Avocado Green Tile: Pair with rich rust or warm ochre accents. Ground the space using crisp white towels and matte black hardware.
- Builder Beige or Cream Tile: Pair with charcoal or slate grey runners. Ground the surfaces using bright 3000K soft-white lighting and clean white accents.
- Mute Dated Pink or Salmon Tile: Pair salmon wall tiles with deep forest green or olive bath linens. Green sits directly opposite red on the color wheel. This contrast makes the pink tone read as an intentional retro design choice rather than an accident. Add natural wood accessories and warm brass hardware to pull the look together.
- Tone Down Yellowed Beige Tile: Counteract yellowed tile by introducing crisp charcoal grey floor runners and bright matte black hardware. Swap warm yellow incandescent lightbulbs for clean 3000K soft-white LED bulbs. The cleaner light spectrum cuts through yellow undertones, making surfaces look crisp and clean.
The Move-Out Exit Strategy: Safe Restoration in Two Hours
Getting your entire security deposit back depends entirely on how cleanly you remove your updates. Ripping cold vinyl off walls or yanking adhesive hooks will chip tile glaze and tear drywall paper. Follow this two-step de-installation protocol to leave surfaces in original move-in condition.
Step 1: Thermal Softening
Never pull adhesive coverings away cold. Adhesives harden and crystallize over years of temperature swings.
Turn a standard hair dryer on medium heat. Hold the nozzle four inches from the surface and warm a six-inch section for twenty seconds. When the vinyl feels soft and pliable, use your fingernail or a plastic putty knife to lift the corner.
Peel the film backward at a flat 45-degree angle. Pulling straight outward at 90 degrees pulls on the drywall surface. Pulling flat at 45 degrees directs peeling forces into the adhesive bond, sliding the glue off the paint smoothly.
Step 2: Solvent Residue Dissolution
If adhesive residue remains on glazed tiles, countertops, or glass mirrors, do not scratch it with steel wool or metal blades.
Apply a citrus-based solvent containing d-limonene or odorless mineral spirits to a microfiber rag. Dab the solvent onto the sticky residue and let it sit undisturbed for five minutes to break down the synthetic tackifiers. Wipe the softened glue away with a clean shop towel.
Follow immediately with a wipe of 70 percent isopropyl alcohol. The alcohol removes the oily solvent film, leaving the landlord’s original tile completely clean for the final move-out walk-through.
Making Your Rental Feel Like Home
Living in a rental property does not require living with bad lighting, dingy surfaces, and low water pressure. Focus on mechanical upgrades first. Swapping the showerhead, switching cabinet pulls to match existing screw holes, and installing a curved tension rod take under two hours, carry zero risk to your deposit, and deliver daily comfort. When tackling surfaces, prepare your walls with isopropyl alcohol, respect humidity limits, and always use gentle heat when it comes time to move out.
Frequently Asked Questions
Will peel-and-stick wallpaper ruin bathroom walls when removed?
Peel-and-stick wallpaper will not ruin walls if applied over cured semi-gloss or satin paint and removed with gentle heat. However, it will damage flat latex paint or freshly painted drywall that has cured for less than four weeks. Always warm the paper with a hair dryer before peeling it away at a 45-degree angle.
Can I install peel-and-stick tile over ceramic tile in a rental?
Yes, but you should not place it directly over grout lines. Soft vinyl tiles sink into recessed grout depressions under foot traffic, creating an uneven surface. Place a low-tack protective contact paper barrier over the ceramic floor first, then adhere the new vinyl tiles to that barrier. This prevents adhesive from sticking inside the porous grout lines.
What is the best way to upgrade a rental showerhead without causing leaks?
Wrap the male pipe threads clockwise with white PTFE plumber tape for three to four full turns before screwing on the new fixture. Always use an adjustable wrench wrapped in a cloth to hold the wall shower arm stationary while turning the showerhead. This prevents counter-torque from loosening or cracking the plumbing pipe connection inside the wall.
How do I hang shelves in a rental bathroom without drilling?
Use freestanding vertical storage units instead of hanging deep wall shelves. Over-the-toilet étagère shelves and floor-to-ceiling spring tension poles add substantial multi-tier storage without putting a single hole in the wall. Avoid deep adhesive floating shelves, as downward shelf leverage creates peeling tension that tears adhesive strips off the wall.
How do I remove sticky adhesive residue from rental bathroom tile before moving out?
Apply a citrus-based adhesive remover or mineral spirits directly to the residue and let it sit for five minutes to dissolve the sticky polymers. Scrape the softened glue away using a flexible plastic putty knife. Finish by wiping the area with 70 percent isopropyl alcohol to remove all solvent oils.