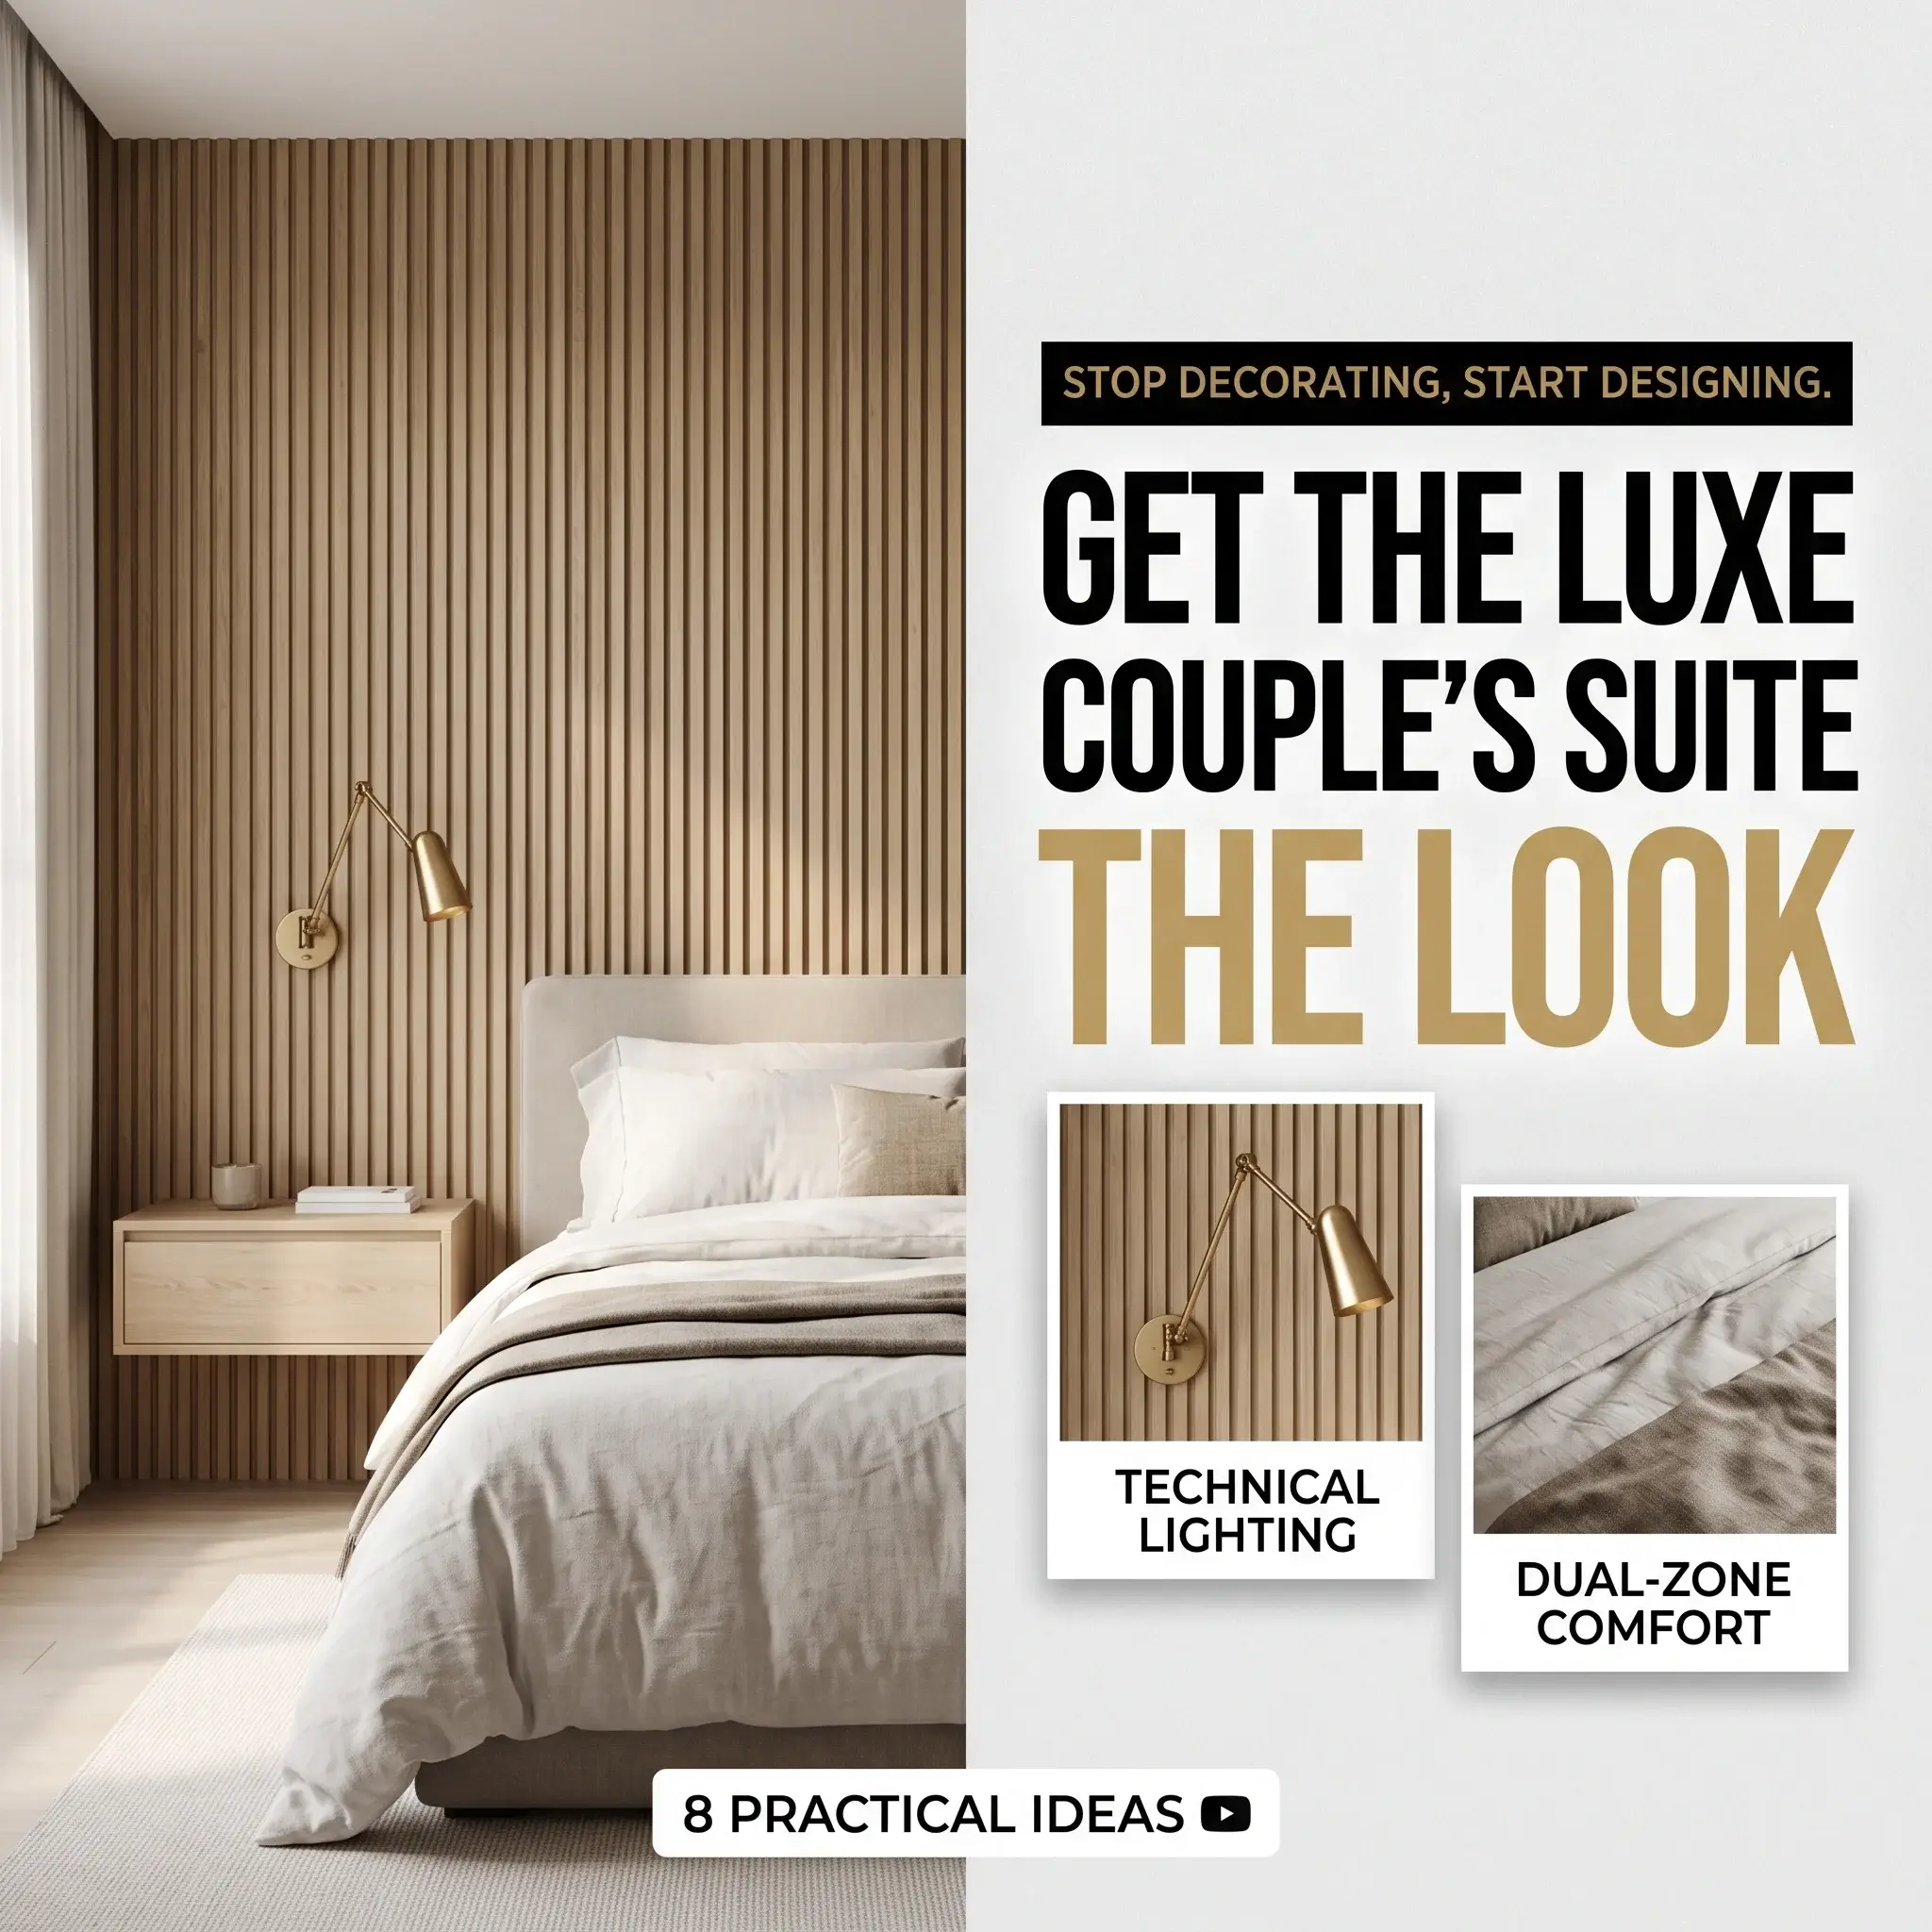
8 Apartment Bedroom Makeover Ideas You Can Do in a Weekend
Living in an apartment usually means dealing with plain, builder-grade finishes. You might face faded beige walls, plastic blinds, and harsh overhead light fixtures.
You can upgrade your space without risking your security deposit. A single weekend gives you roughly 48 hours to complete meaningful visual changes. The key is working with reversible methods that leave no structural damage behind.
Here are eight practical, renter-safe projects you can finish between Friday evening and Sunday afternoon.
8 Practical Weekend Bedroom Makeovers for Renters
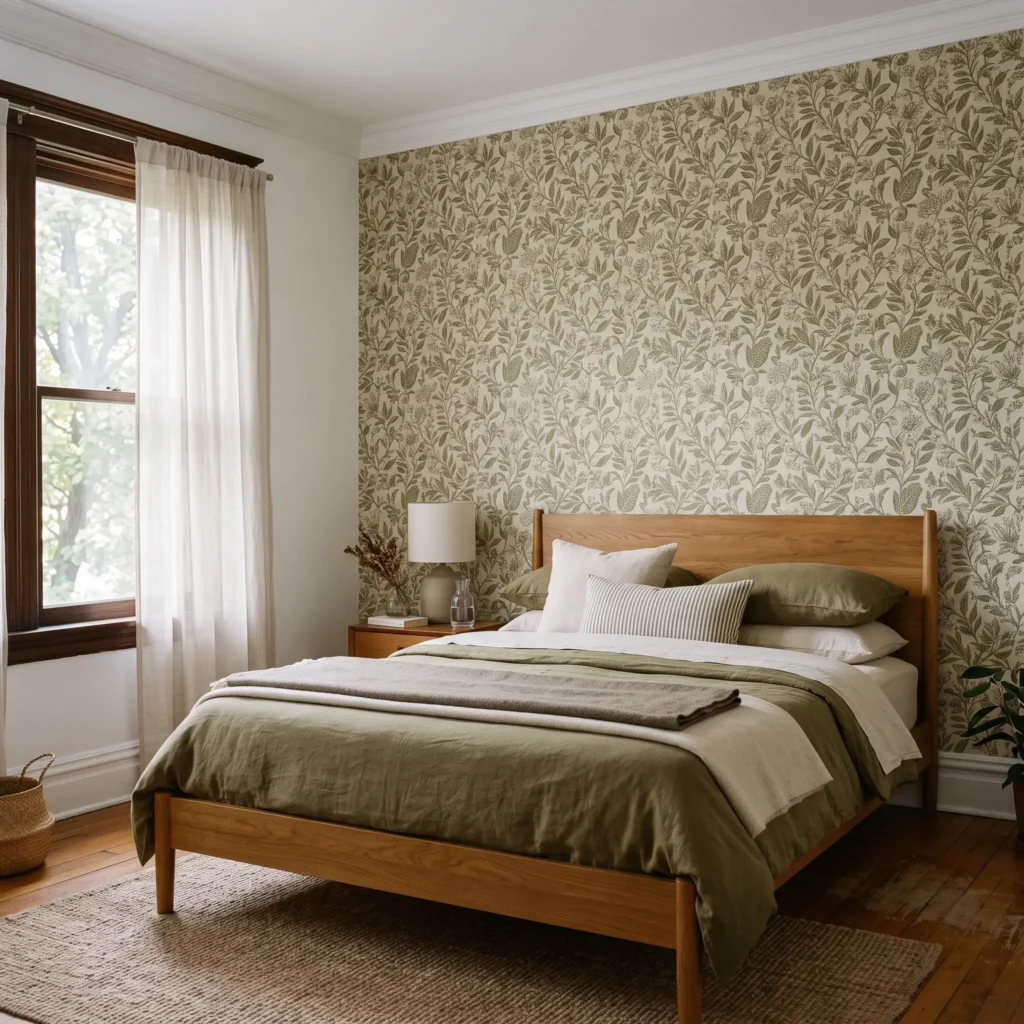
1. The Liquid-Starch Fabric Accent Wall
Standard peel-and-stick vinyl wallpaper often struggles on textured drywall. If your rental features orange peel or knockdown walls, synthetic adhesives trap air pockets and fall down.
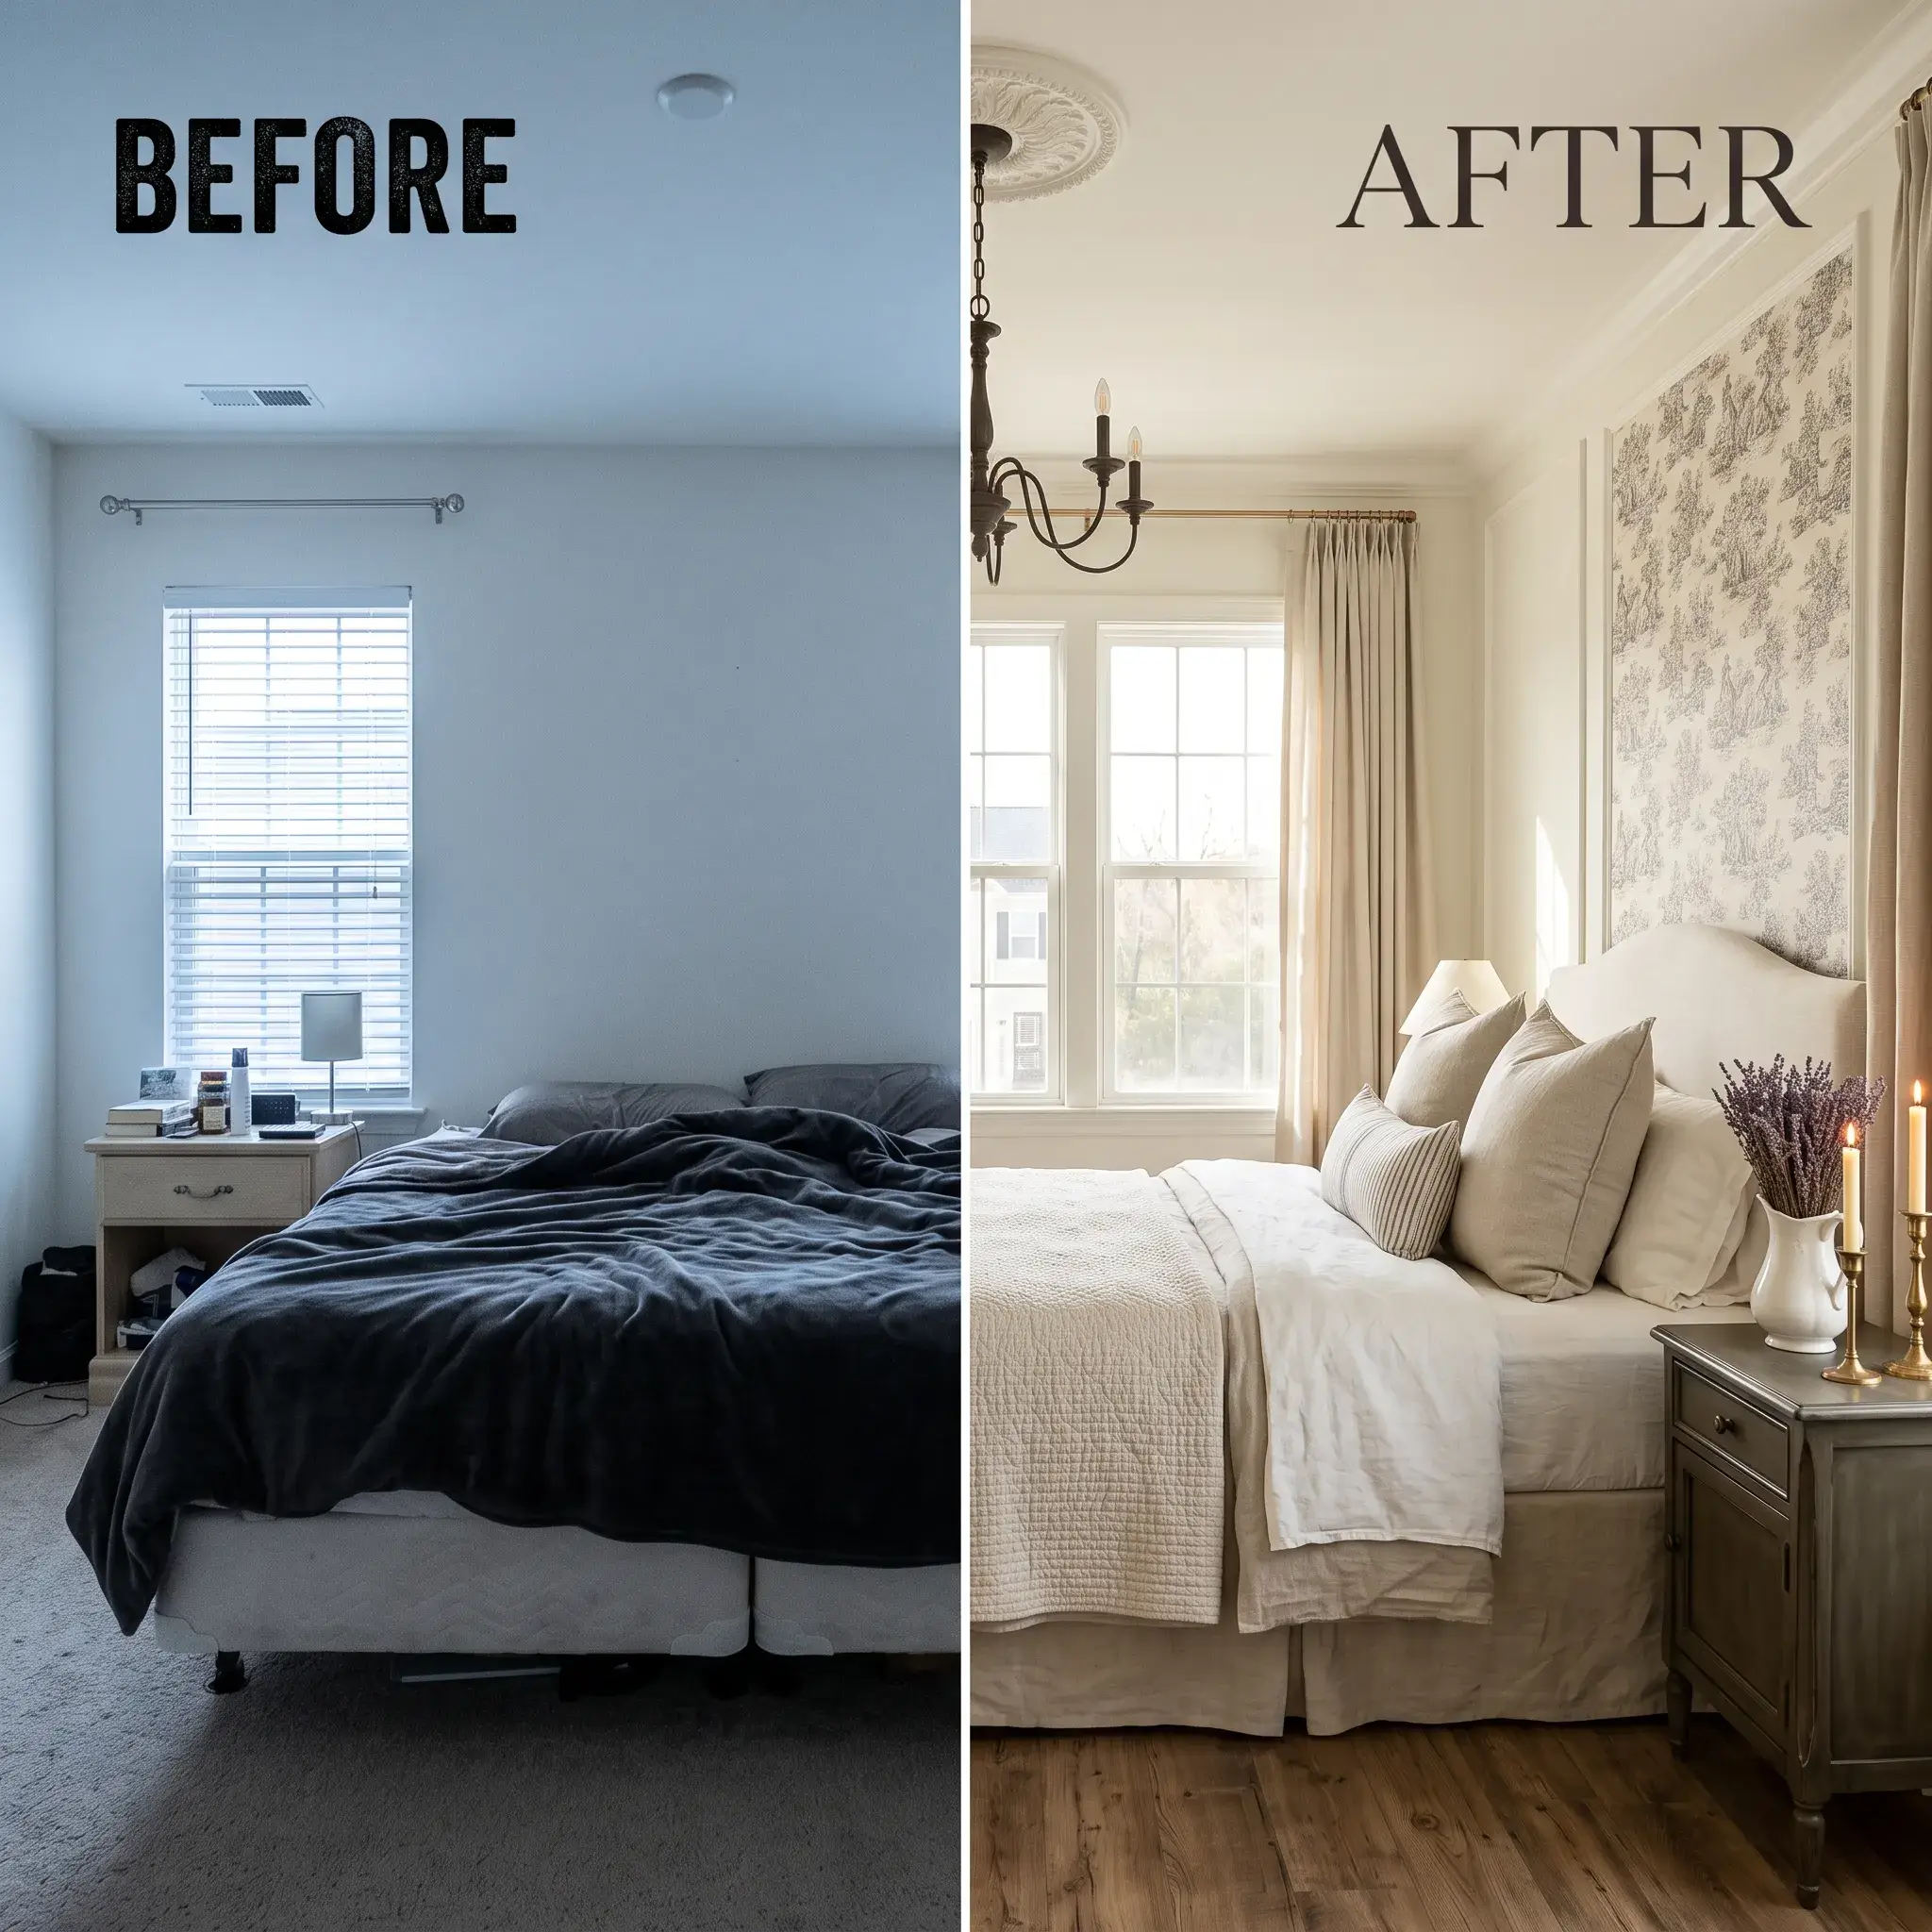
A natural cotton fabric installed with liquid cornstarch solves this issue. The starch acts as an organic paste. It holds lightweight cotton firmly against uneven wall surfaces. When your lease ends, soak the fabric with warm water from a spray bottle. The fabric peels off cleanly, leaving the landlord’s original paint intact.
- Key Products Featured:
- Lightweight 100% cotton print fabric (cut to wall height)
- Liquid laundry starch (or homemade cornstarch paste)
- Paint roller tray with medium-nap roller
- Smoothing squeegee tool
- Heavy-duty utility knife with fresh blades
2. High and Wide No-Drill Window Drapery
Standard rental window treatments usually consist of aluminum mini-blinds or vertical plastic louvers. They block drafts poorly and cut off visual height.
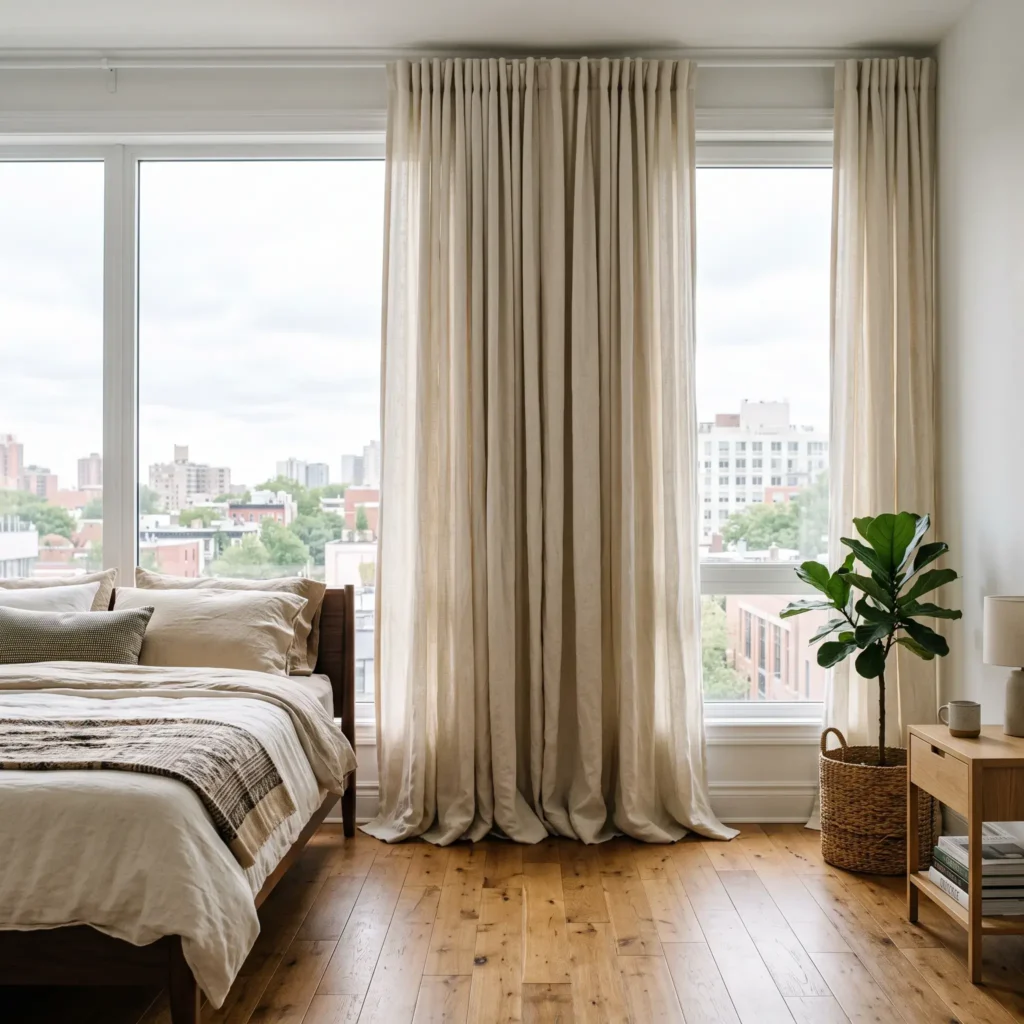
You can hang full-length curtains without drilling holes into the drywall. Use outside-mount adapter brackets that clamp directly onto your existing blind headrails. Hang your curtain rod 4 to 6 inches above the casing, extending it 8 to 12 inches wider than the window frame. This setup creates the illusion of higher ceilings and lets natural light flood the room.
- Key Products Featured:
- NoNo Bracket outside-mount blind headrail adapter brackets
- 1-inch matte black adjustable curtain rod
- Pinch-pleat linen curtain panels (96-inch or 108-inch drop)
- Metal curtain drapery ring clips
Check out more Modern Bedroom Ideas
3. The 3-Point 2700K Circadian Lighting Setup
A single flush-mount glass dome light in the center of the ceiling flattens the room. It casts harsh downward shadows and ruins evening relaxation.
Switch off the ceiling fixture and introduce three independent points of light around your space. Install two plug-in wall sconces beside your headboard and place one accent uplight or table lamp in an opposite corner. Equip every socket with 2700K warm white LED bulbs. This specific color temperature mimics the gentle amber warmth of evening light, supporting healthy sleep rhythms.
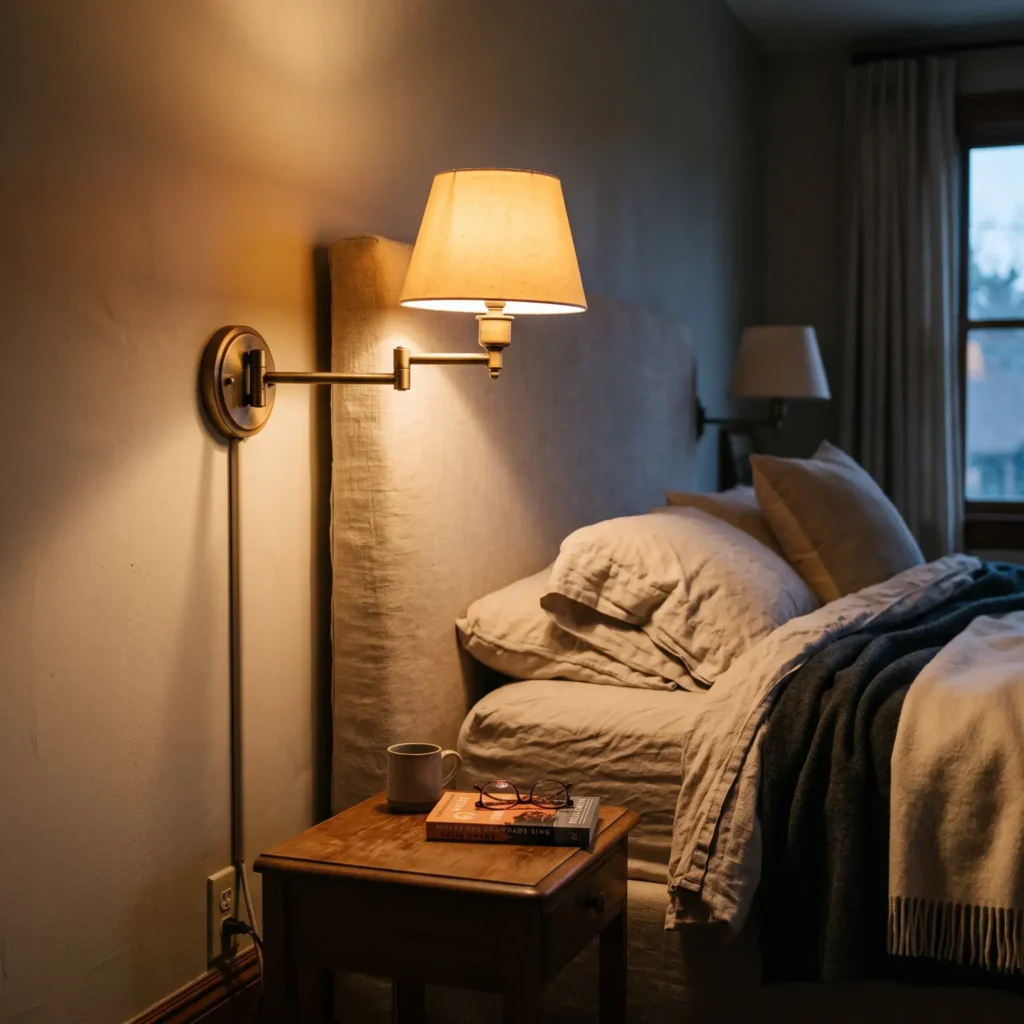
- Key Products Featured:
- Plug-in articulating swing-arm wall sconces
- 2700K dimmable LED bulbs (90+ CRI rating)
- Self-adhesive, paintable rigid wire raceways
- Smart plug-in dimmer switch with wireless remote
4. The Perpendicular Floor Anchor Rug
Small accent rugs break up floor space and make a compact rental bedroom feel smaller. You need a properly scaled foundation to unite your sleeping area.
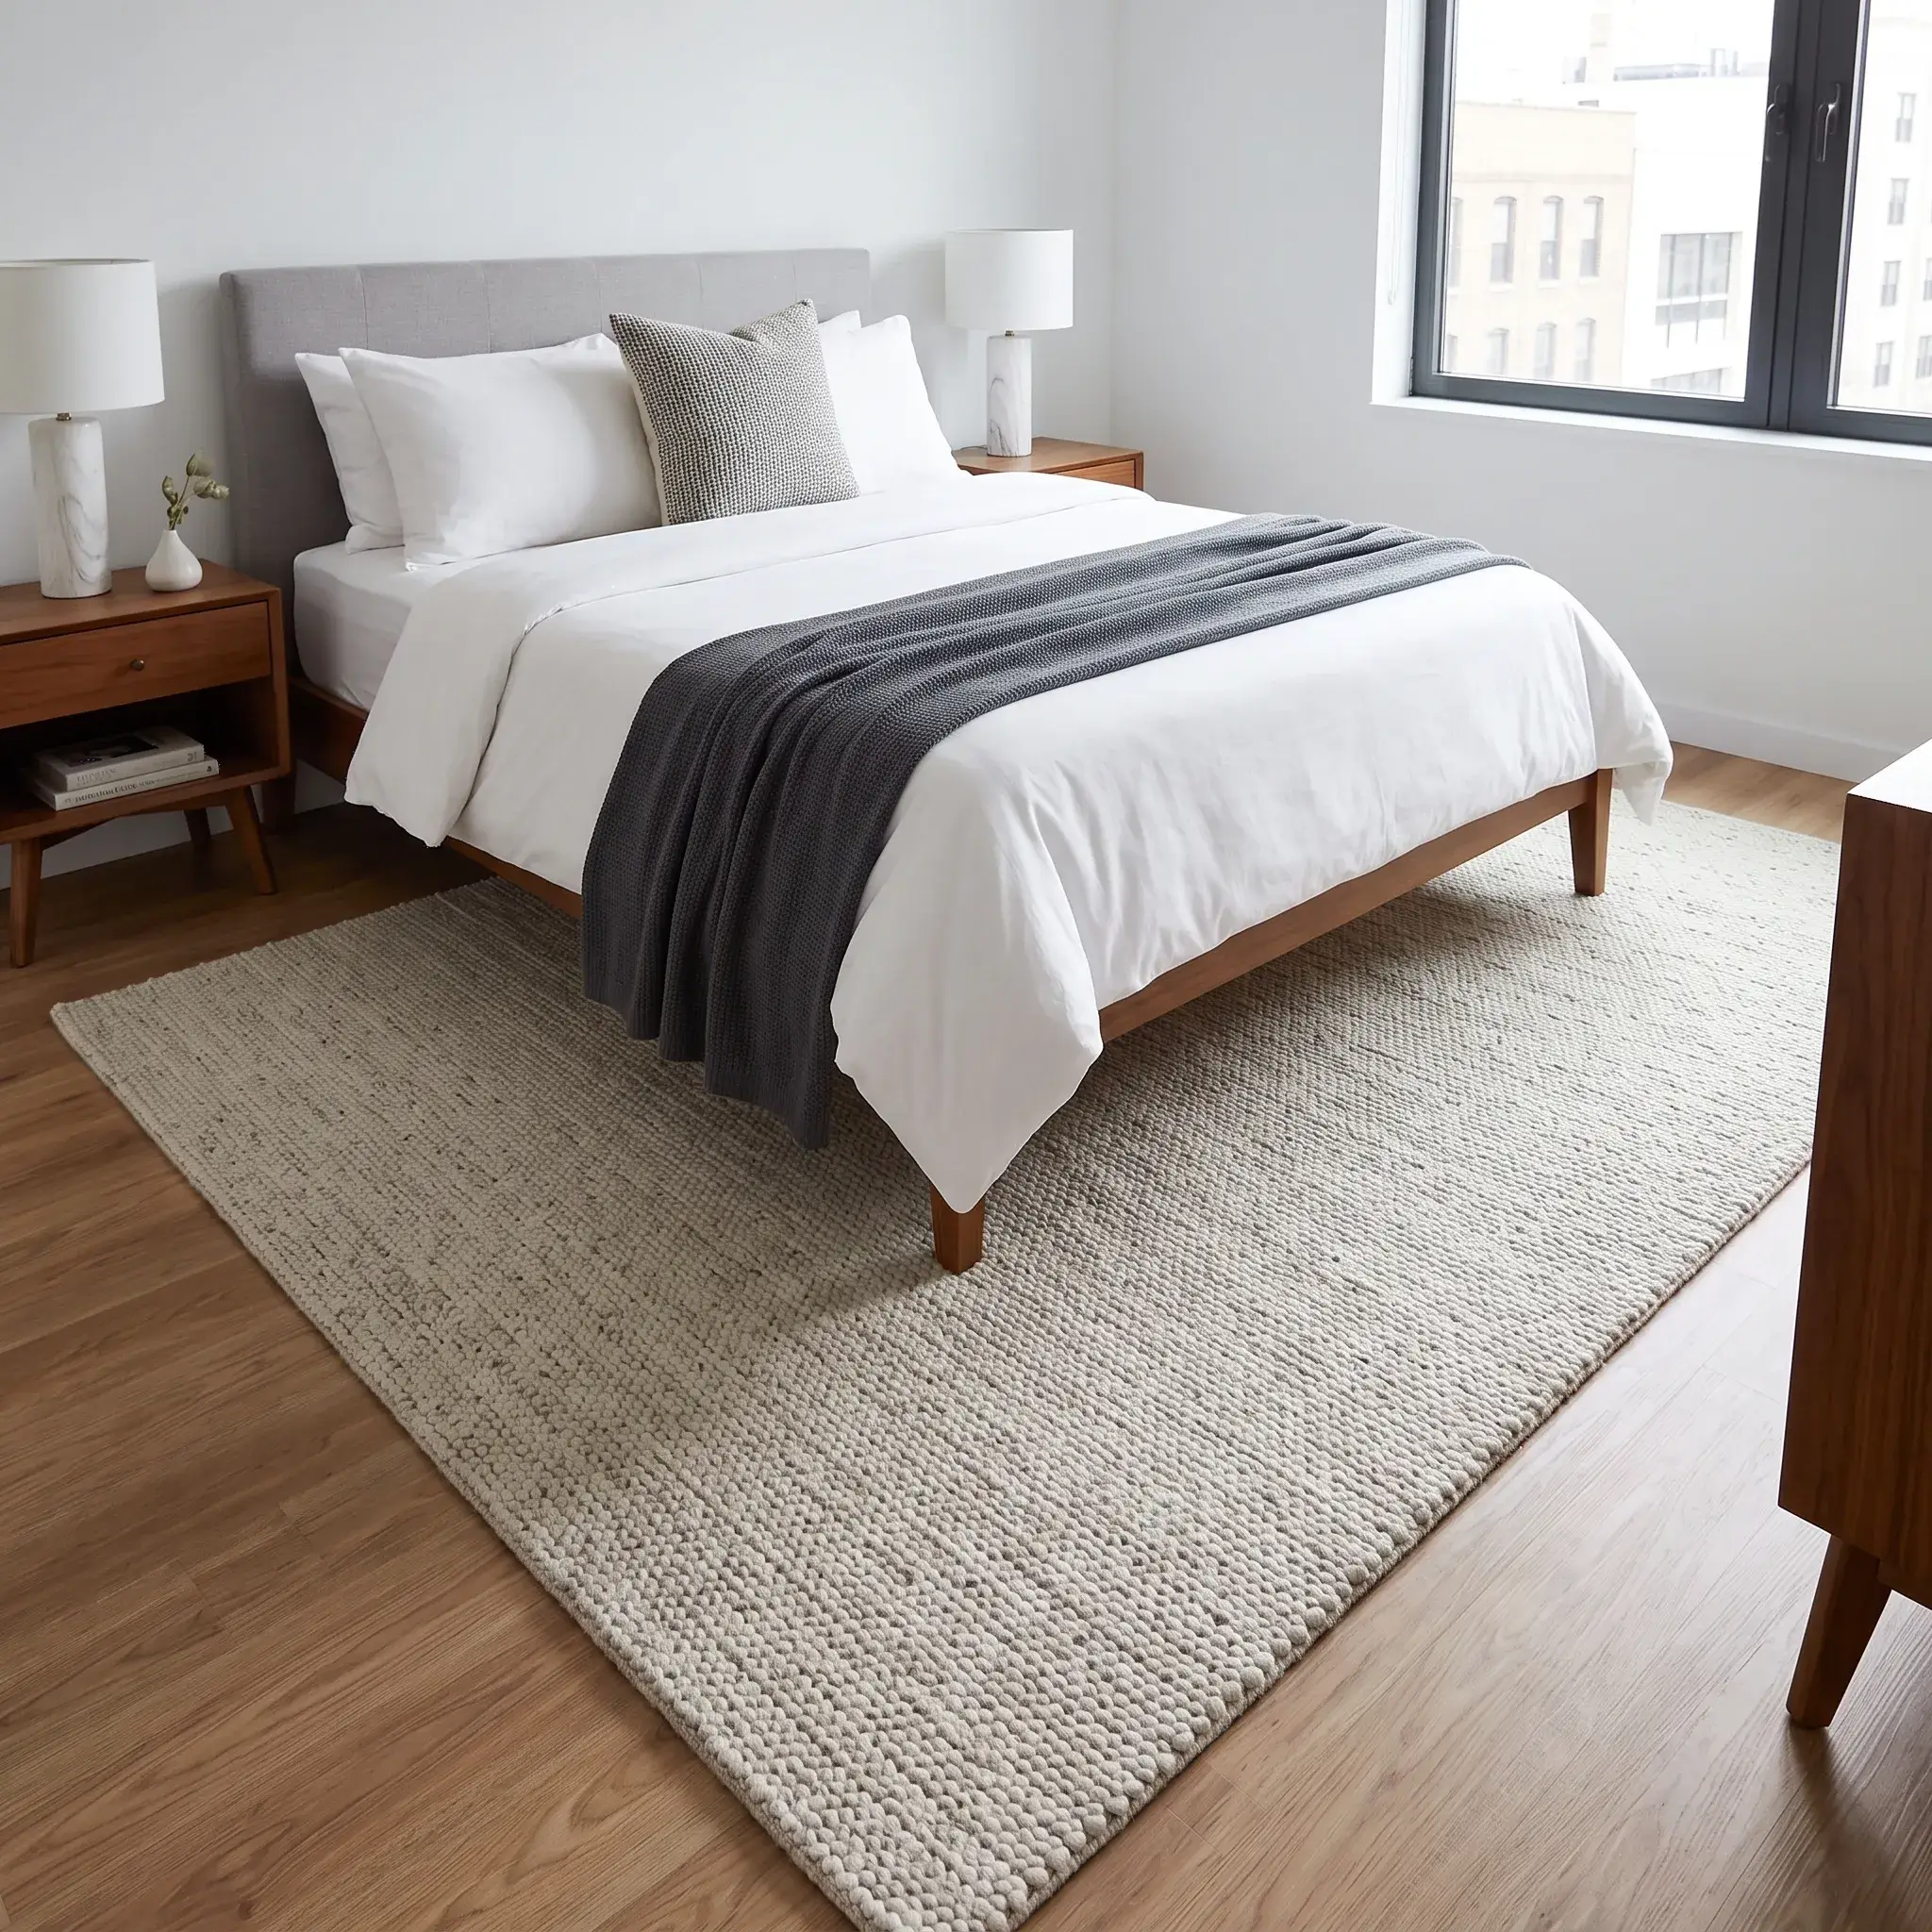
Place an 8×10 foot area rug perpendicular to a queen bed frame. Slide the rug under the lower two-thirds of the mattress, leaving 18 to 24 inches of soft rug on each side. Keep an 8 to 12-inch border of bare flooring visible along the bedroom walls. This spacing defines the bed zone while keeping nightstands level on the original flooring.
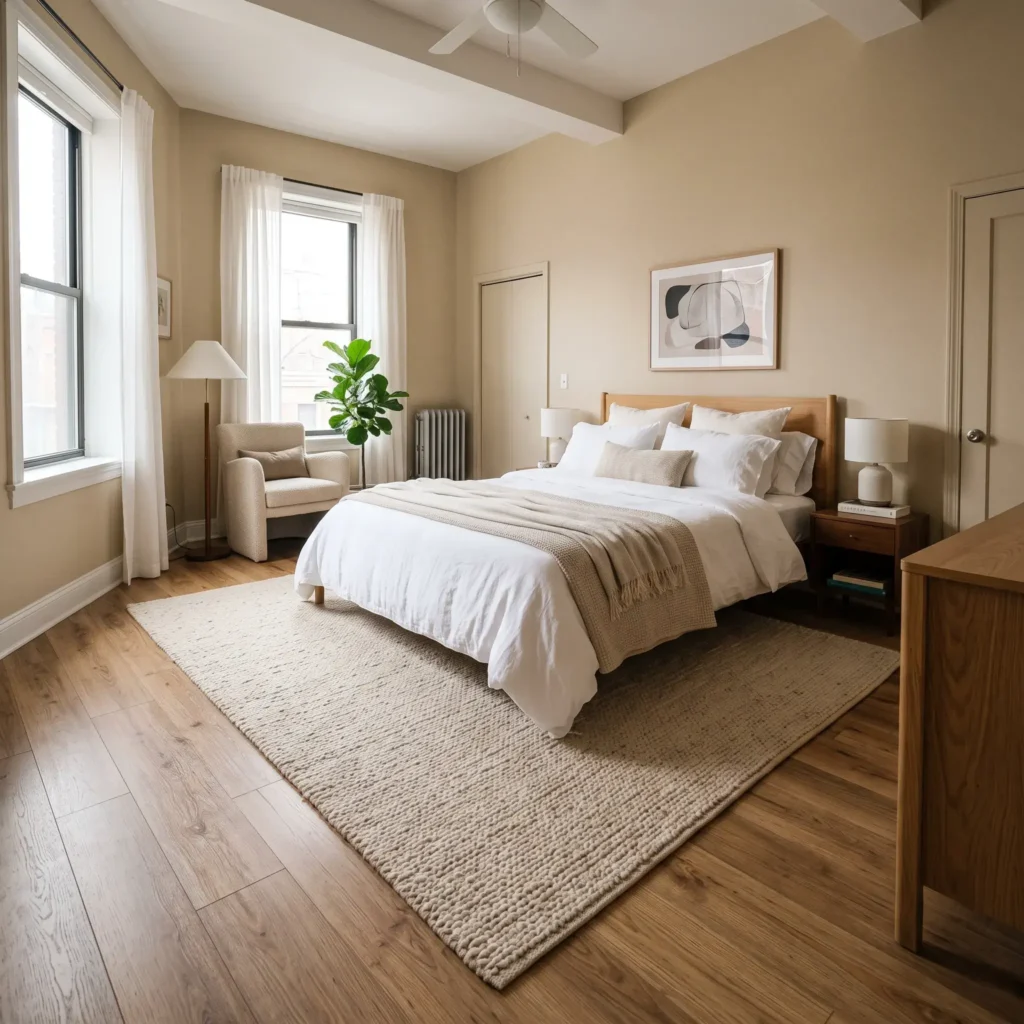
- Key Products Featured:
- 8×10 low-pile textured wool or flatweave rug
- Non-slip low-profile rug pad
- Heavy furniture sliding pads for easy bed repositioning
5. Multi-Tiered Five-Layer Bed Assembly
A single flat bedspread makes your bedroom look unfinished. Layering varied textures gives your room the comfort and depth of a boutique hotel.
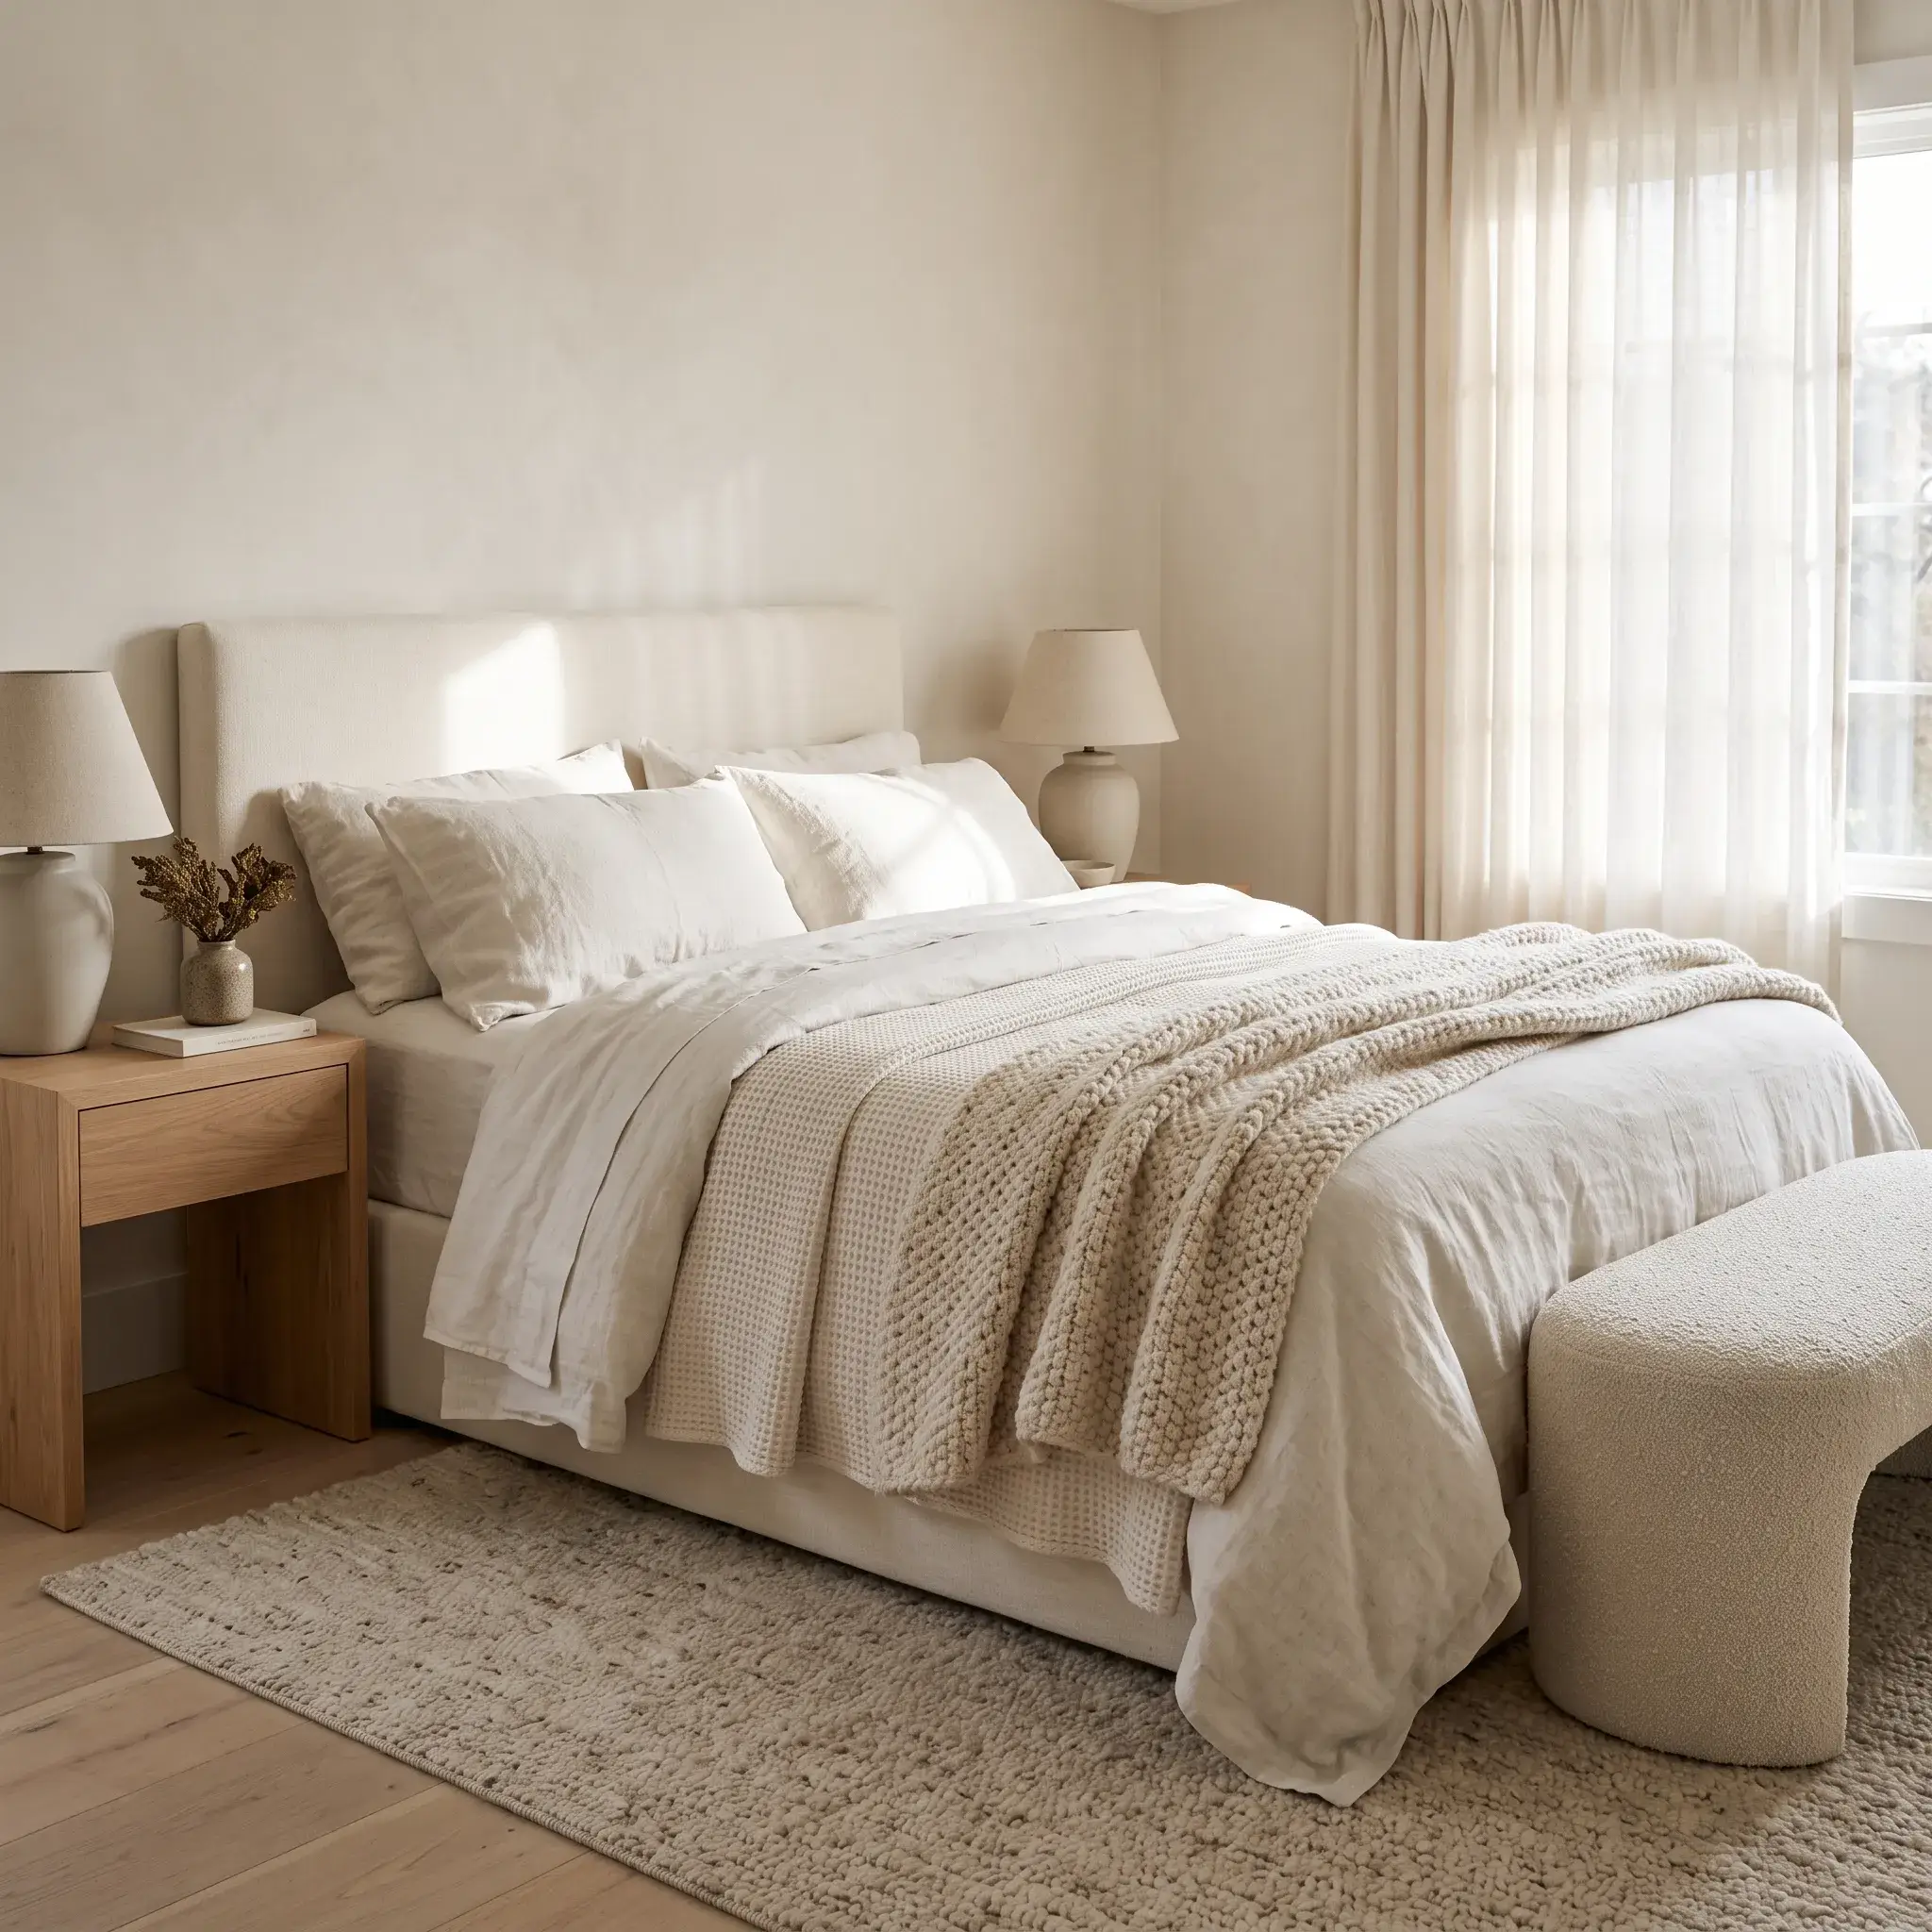
Start with crisp, deep-pocket cotton percale or linen sheets. Add a lightweight waffle-weave blanket across the mattress top. Fold your primary down alternative duvet in half or thirds at the foot of the bed for physical height. Stack two European shams against the headboard, place standard sleeping pillows upright in front, and finish with a single textured lumbar pillow.
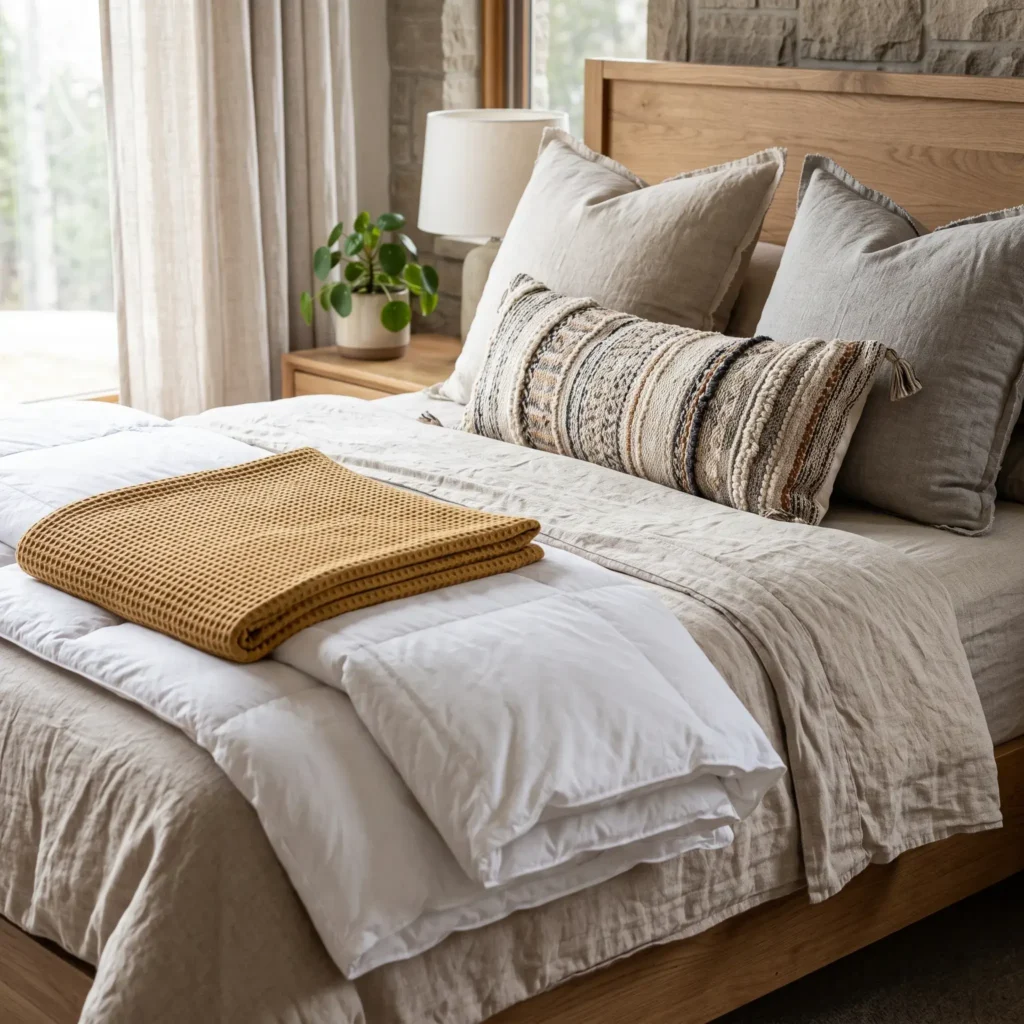
- Key Products Featured:
- 100% washed cotton percale sheet set
- Textured cotton waffle-weave coverlet
- High-fill down alternative duvet insert with washed linen cover
- 26×26 inch feather-down European sham inserts
- Extra-long textured woven lumbar pillow cover
6. Fast-Curing Mineral Paint Nightstand Upcycle
Outdated dark wood or orange-toned veneer nightstands make a bedroom feel drab. Traditional chalk paints require tedious wax buffing and take weeks to harden.
Refinish your bedside tables using Fusion Mineral Paint on Saturday morning. This acrylic-based resin formula includes a built-in topcoat that dries to the touch in 30 minutes. You can apply a second coat within 4 hours. Because it seals itself without extra wax, you can safely set down lightweight bedside items by Sunday night.
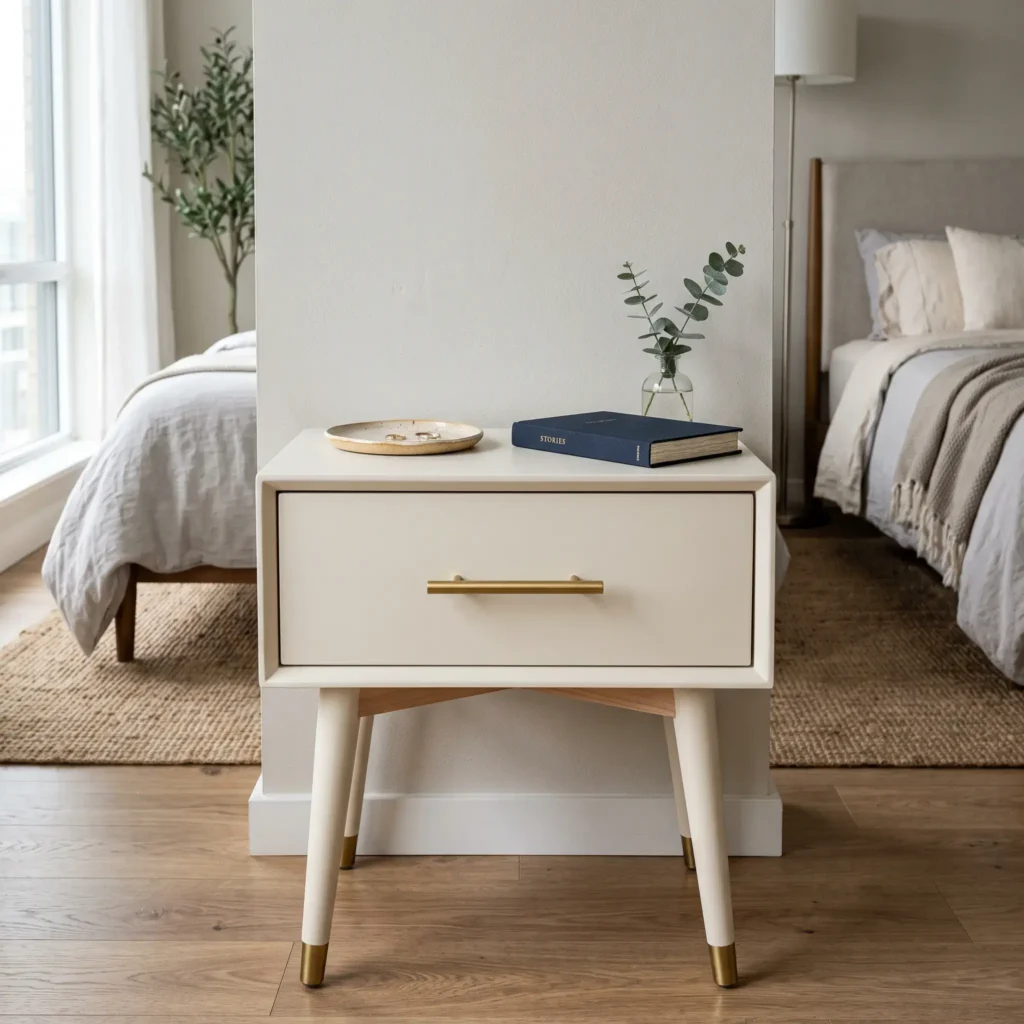
- Key Products Featured:
- Fusion Mineral Paint (matte or satin finish)
- High-density foam paint roller and angled synthetic brush
- Surface degreaser cleaner
- 220-grit fine sanding sponge
7. Zero-Patchwork Center-to-Center Hardware Swap
Swapping generic handles on builder-grade dressers or closet doors creates an immediate difference. Drilling new holes leaves you with messy spackle patches during move-out inspections.
Measure the exact center-to-center (C-to-C) distance between the screw holes on your current hardware. Standard furniture handles usually follow precise metric spacing: 96mm, 128mm, 160mm, or 192mm. Order new knurled brass, leather, or matte black pulls that match these measurements. Keep the landlord’s original pulls inside a labeled bag in your closet for easy replacement later.
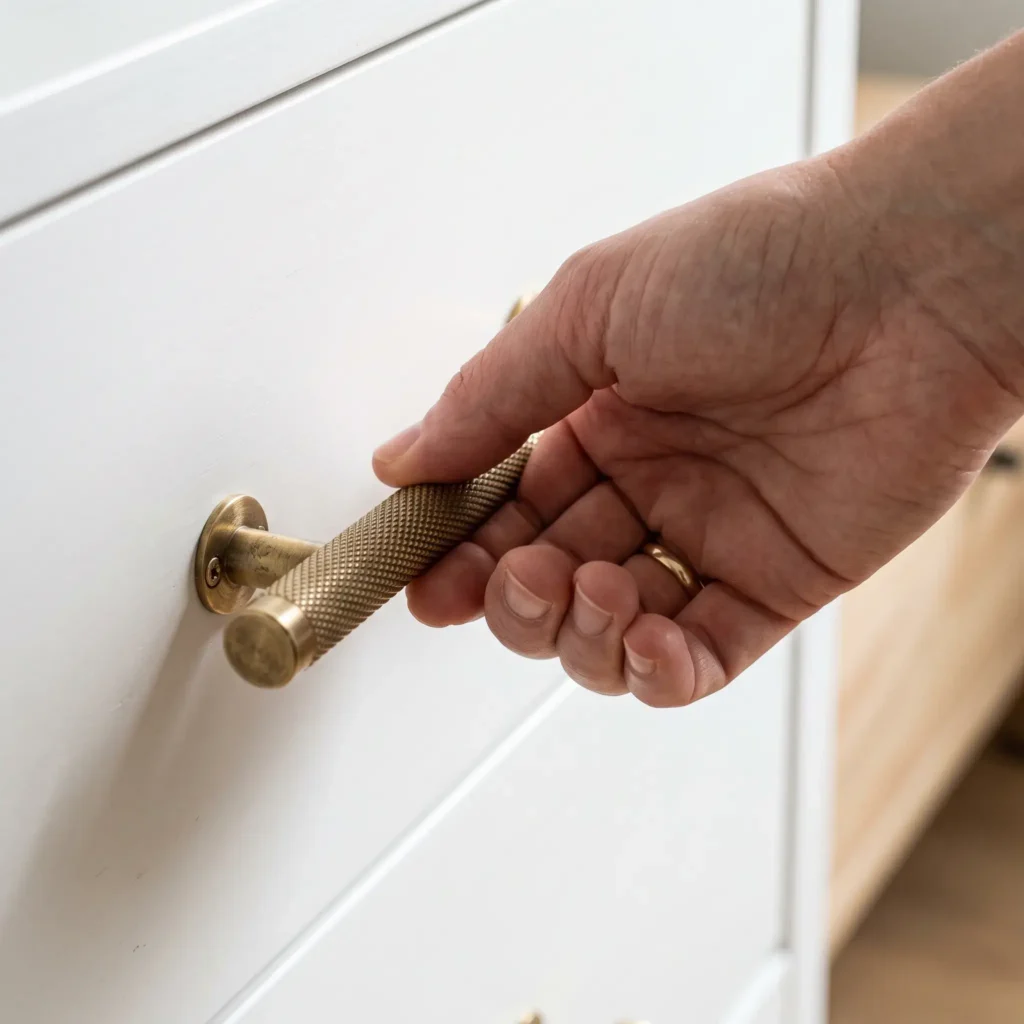
- Key Products Featured:
- Metric measuring ruler or digital caliper
- Solid knurled brass drawer handles (matching existing C-to-C dimensions)
- Manual handheld screwdriver (avoids stripping delicate furniture threads)
8. Flameless Scent and Ambient Candle Warmer Station
Open-flame jar candles pose safety risks in compact rooms. They emit carbon soot that coats drywall and discolors white ceiling paint over time.
Set up a top-down halogen candle warmer lamp on your dresser or nightstand. These fixtures use a focused GU10 halogen bulb to melt the candle wax from the top down. You get clean fragrance throw and an inviting amber glow without smoke, fire hazards, or wall discoloration. When the scent fades, soak up the top pool of wax with cotton balls to reveal fresh fragrant wax underneath.
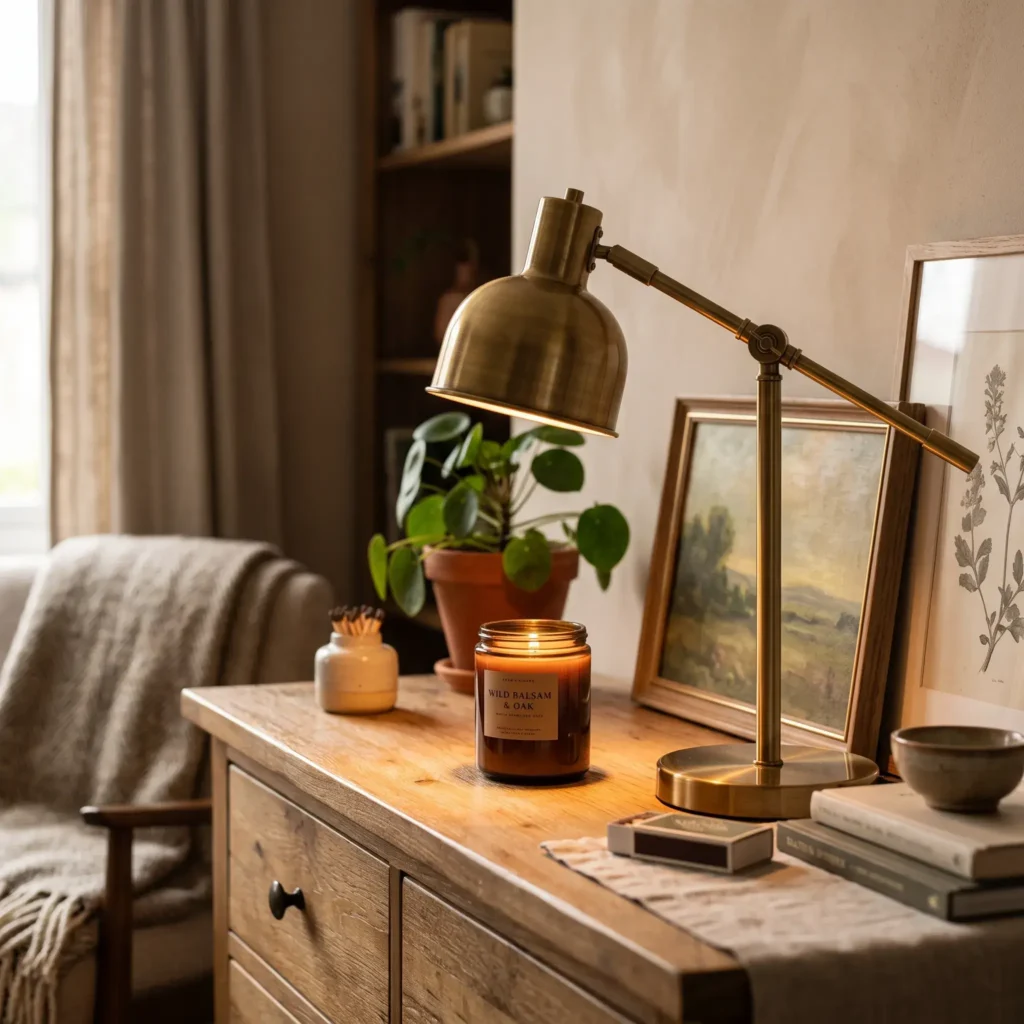
- Key Products Featured:
- Dimmable electric top-down candle warmer lamp (with integrated auto-shutoff timer)
- Replacement 50W GU10 halogen warming bulbs
- Clean-burning soy or coconut wax scented candle
- Bag of pure cotton balls for wax maintenance
Technical Wall Prep and Adhesive Science
Before hanging peel-and-stick wallpaper or vinyl decals, verify your wall finish. Removable adhesives rely on balanced chemical forces. They require enough shear strength to stay upright, but low peel strength to pull away cleanly later.
| Paint Finish | Surface Characteristics | Removable Adhesive Compatibility | Pre-Installation Step |
|---|---|---|---|
| Satin / Semi-Gloss | Tight polymer film; uniform, non-porous finish | Optimal: balance of shear hold and clean release | Wash with mild soap and water; dry for 24 hours |
| Eggshell Sheen | Moderate porosity; slight surface tooth | High: standard peel-and-stick adhesive profiles hold reliably | Dust with a dry microfiber cloth; wipe lightly |
| Flat / Matte Latex | Highly porous, open micro-structure | Low: adhesive sinks into binders and may tear paint | Run a 48-hour patch test in an out-of-sight corner |
| Scrubbable / Stain-Resistant | Contains silicone or Teflon additives | Poor: repels acrylic adhesives, causing edges to curl | Wipe with 70% isopropyl alcohol; check edge hold |
| Textured Plaster / Knockdown | Irregular topography; reduced surface contact | Incompatible with standard vinyl sheets | Use the liquid-starch fabric method instead |
To hang framed wall art safely without nails, calculate the exact fastener pairs you need based on weight:
- Adhesive Strip Formula: Divide the total frame weight by the safe load rating of one pair of strips. Always round up to the next whole number.
- Example: A 12-pound framed print using strips rated for 4 pounds per pair requires at least 3 pairs.
- Placement: Distribute the strip pairs evenly along the vertical edges of the frame to prevent peeling torque. Always wipe the wall zone with 70% isopropyl alcohol first to clear away dust.
Furniture Clearances for Small Bedrooms
A successful weekend makeover requires good circulation. Cramming too much furniture into a narrow room restricts easy daily movement.
Keep these physical measurements in mind as you set up your floor plan:
- Primary Walking Paths: Maintain 30 to 36 inches of clear floor space from your bedroom door to the bed and wardrobe.
- Bed Flank Clearances: Keep at least 24 inches on both sides of the bed frame so you can walk comfortably and change sheets without bumping into walls.
- Dresser and Closet Access: Ensure full drawer extension plus an extra 18 to 24 inches of standing room in front of case goods.
48-Hour Weekend Project Schedule
Organize your weekend workflow by keeping wet tasks on Saturday morning. This schedule ensures paints and adhesives dry completely before you stage your textiles on Sunday.
Friday Evening: The Staging Phase
- 6:00 PM – 7:00 PM: Strip old bedding, sort through surface clutter, and box up items you do not use daily.
- 7:00 PM – 8:00 PM: Wash the targeted accent wall and clean dirty nightstand surfaces using a mild cleaner.
- 8:00 PM – 8:30 PM: Clamp your no-drill brackets onto the existing window blind headrails so walking paths remain clear.
Saturday Morning: Wall Application
- 8:30 AM – 9:30 AM: Mark a vertical plumb line using a level to keep patterns straight.
- 9:30 AM – 1:00 PM: Apply your fabric wall covering or peel-and-stick accent panels, smoothing outward from the center to eliminate air pockets. Trim edges with a fresh blade.
Saturday Afternoon: Painting Case Goods
- 2:00 PM – 3:00 PM: Lightly scuff-sand nightstands using a fine 220-grit sponge, then roll on your first coat of Fusion Mineral Paint.
- 3:00 PM – 4:30 PM: Wait for the 30-minute touch-dry window to pass while cleaning your painting tools.
- 4:30 PM – 5:30 PM: Apply the second coat of paint. Leave the furniture alone overnight for at least 16 hours to form a firm surface film.
Sunday Morning: Rug and Bed Setup
- 9:30 AM – 11:00 AM: Slide the 8×10 area rug under the lower two-thirds of the bed frame, leaving an 8 to 12-inch border of bare flooring near the walls.
- 11:00 AM – 1:00 PM: Screw new handles onto the dry nightstands, mount your plug-in sconces, and route cords through paintable wall channels.
Sunday Afternoon: Final Styling
- 2:00 PM – 3:30 PM: Hang your floor-length curtain panels on the rod above the window casing.
- 3:30 PM – 5:00 PM: Build the five-tier bedding assembly using your fitted sheets, blanket, folded duvet, and upright shams.
- 5:00 PM – 6:00 PM: Place the candle warmer lamp on the dresser, check the warm 2700K lighting levels, and clean up remaining packaging.
Frequently Asked Questions
Can I paint my apartment bedroom walls if I paint them back before moving out?
Most lease agreements require written landlord approval before painting, even if you offer to repaint before moving. Returning deep colors to builder-grade white requires multiple coats of high-grade primer and topcoat paint, which gets expensive. Removable wallpaper or liquid-starch fabrics eliminate this work entirely.
How do I hang heavy art without drilling into rental drywall?
Use interlocking hook-and-loop adhesive strips rated for heavy loads. Clean the wall and frame with 70% isopropyl alcohol, apply the strips along the vertical perimeter, and press firmly against the wall for 30 seconds. For extra-heavy framed mirrors, lean them safely against the wall over anti-slip silicone floor grips.
Will peel-and-stick wallpaper pull off the builder’s paint?
Peel-and-stick vinyl releases cleanly from smooth surfaces finished in satin, semi-gloss, or eggshell paint. If your rental features builder-grade flat or matte paint, the adhesive can bond directly into the loose paint binders and lift patches during removal. Always test a small sample behind your door for 48 hours first.
How do I hide messy cords from plug-in sconces?
Use surface-mounted rigid cord channels with self-adhesive backing. Route the lamp cords straight down the wall to the baseboard outlet, clip the raceway closed, and paint the plastic exterior with matching wall paint so the wires blend into the background.
A rental bedroom makeover does not demand thousands of dollars or permanent structural work. Focus on clean vertical focal points, proportionate floor coverings, and warm, indirect lighting. These targeted weekend updates deliver the comfort and character of a personalized home while keeping your security deposit safe.